Trash
NOTE:
To perform operations on this page, the user signed in to Control Center must be a member of the NRTADMIN group, or be assigned to a role with Tier 1 or Tier 2 access to Control Center. For more information about the specific operations allowed, see Understanding tiers.
The Trash page enables you to manage documents and emails that iManage Work users have moved to the Trash. You can restore the documents for users or delete them permanently.
- When a document is restored, its location, metadata, and security are restored along with the document.
- When a document or email is permanently deleted, it is purged from the system and cannot be retrieved.
Use the Trash page to:
- Search for documents moved to the trash.
- Restore documents that were moved to the trash by users.
- Restore to the original location
- Restore to a new location
- Restore to the original location
- Permanently delete documents.
- View the details of deleted documents using the View option.
Understanding the User Trash feature
When the User Trash feature is enabled on the Global settings page in iManage Control Center:
- The Delete menu option available in iManage Work client applications changes to the Move to Trash option. Documents and emails that have been moved to the trash are no longer visible in search results or when browsing through folders.
- In iManage Work 10 Web, the Trash option is made available in the user profile menu, which displays items that a user has moved to trash. Users have the option to restore any of their items they previously moved to trash.
Regardless if the User Trash feature is enabled or disabled, administrators can search for, restore, or permanently delete these items on the Trash page in iManage Control Center.
Searching for documents moved to the trash
As an administrator for iManage Work, you can use the Trash page to search for any documents that users have moved to trash. This is useful for reviewing the deletion activities for a specific user, or generating reports of the items that have been deleted over a specific time frame.
- Browse to Content > Trash. The list of default search fields appears as shown in the following figure:
Figure: Trash page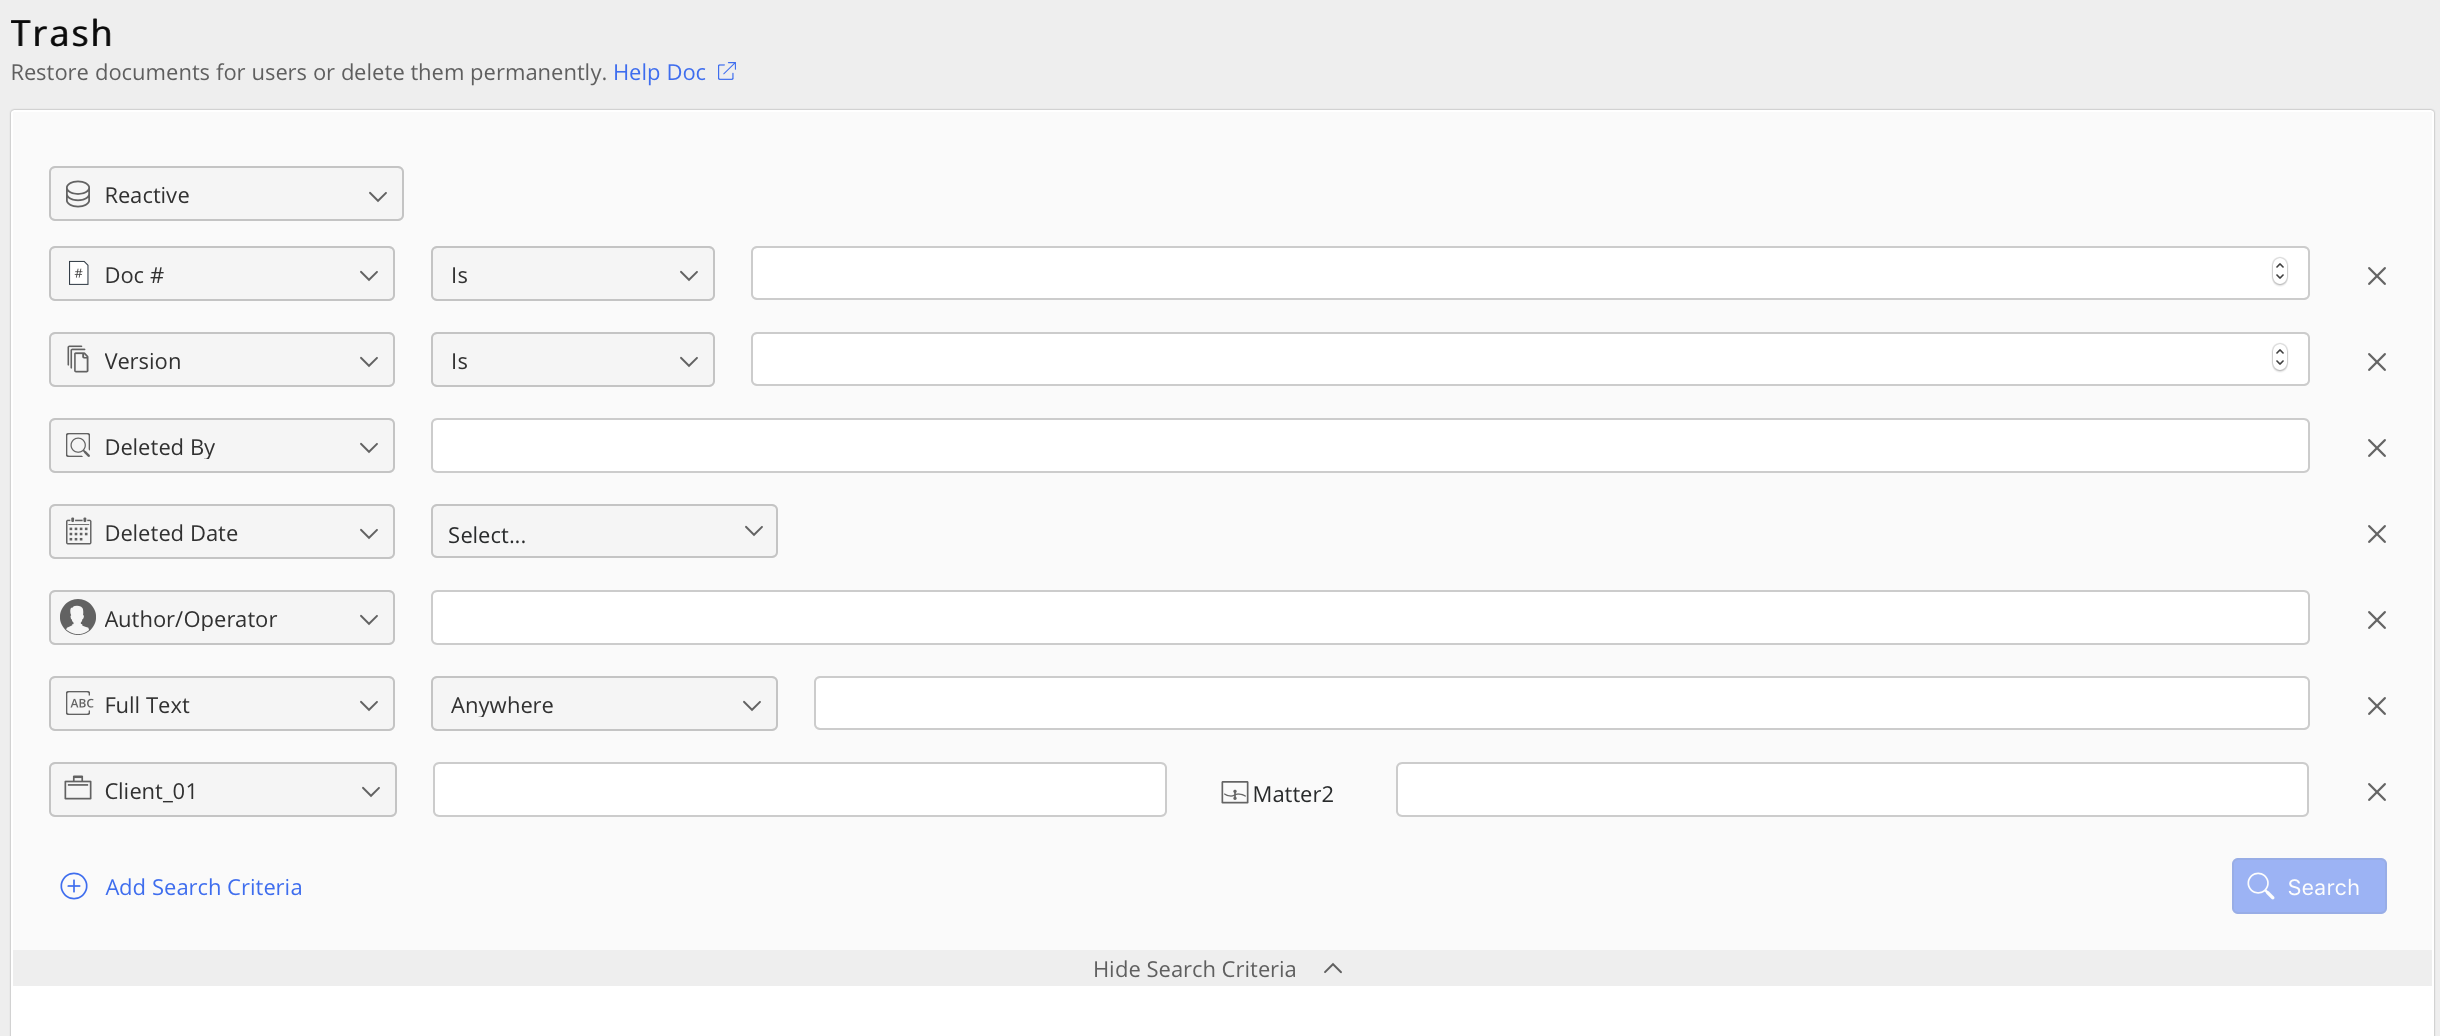
Use the search fields to refine your search, then select Search.
To add more search criteria, select Add Search Criteria.
With the Search button enabled, the Clear values option is displayed; select it to clear all search criteria you have entered.
In the preceding figure, the Hide Search Criteria toggle option is displayed.
- To hide the search criteria and focus only on the list of filtered documents, select Hide Search Criteria.
- Selecting Hide Search Criteria changes it to Show Search Criteria. Select this to view the search criteria list.
NOTE:
For performance reasons, search results are limited to 5000 items. If your search exceeds 5000 results, please refine the search with additional criteria.
Searches can alternatively be performed without the 5000 result limitation using the iManage Work Universal (REST v2) API.
iManage Control Center preserves the search fields you enter when searching for documents, workspaces, or trash. When you add or remove search fields, your settings are automatically saved and will be present the next time you sign in and access the Documents, Workspaces, or Trash pages. This provides the advantage of not having to remember or reselect your search fields for subsequent searches.
Search fields are stored locally in the browser's cache for each individual library. If you switch to a different browser or to a different device, you will see the default search fields.
Restoring trashed documents
Restoring a document or email on behalf of another user is often needed when the user who moved the item to the trash:
- Is away or cannot be contacted to restore the document themselves.
- has left your organization.
As an administrator, you can restore these documents or emails that have been moved to the trash so others can access them again.
Restore to the original location
This activity moves the item from the trash back to the folder from which it was deleted.
- Locate the document or email using the instructions in Searching for deleted documents.
Right-click the desired document and select Restore. The Restore dialog box appears.
NOTE: The Restore all versions check box is available only when multiple versions of the selected document are in Trash. If you want to restore all the document versions, select this check box.Enter the following details:
- In the On Behalf Of field, enter the user ID for whom you want to restore document.
- Optionally enter any other useful information in the Audit Comment field. These audit comments are viewable in the document's Timeline.
- In the On Behalf Of field, enter the user ID for whom you want to restore document.
- Select Restore. The deleted document is restored, along with its metadata and security, to the parent folder from where it was deleted.
- After the restoration is successful, select Copy Link on the progress bar to copy the link to the document; one link is created for each document.
Send the copied link to the user, whose document you have restored. The user can paste this link in their browser and open the document in iManage Work.
TIP:
If an Invalid parameter for request error is returned while attempting to restore a deleted document, the original folder may no longer exist. If this occurs, select Pick new location in the Restore dialog box.
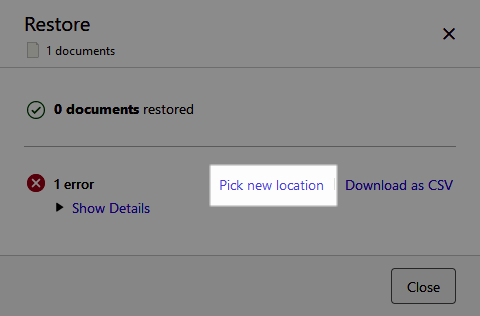
Select a new folder for this item to be restored to, then select Restore.
Restore to a new location
This activity moves the item from the trash and allows you to select a new folder for this item. This workflow is especially useful when you know the original folder no longer exists.
- Locate the document or email using the instructions in Searching for deleted documents.
Right-click the desired document and select Restore to new location.
Figure: Restoring to a new location
The Restore to new location dialog box appears.
NOTE: The Restore all versions check box is available only when multiple versions of the selected document are in Trash. If you want to restore all the document versions, select this check box.Enter the following details:
- In the On Behalf Of field, enter the user ID for whom you want to restore document.
- Optionally enter any other useful information in the Audit Comment field. These audit comments are viewable in the document's Timeline.
- In the On Behalf Of field, enter the user ID for whom you want to restore document.
- Select Choose location. The Restore to new location dialog box opens.
- Navigate or search for the new folder where you want to restore this document. Select the folder, then confirm your selection using the Select button.
The deleted document is restored to the selected folder.- After the restoration is successful, select Copy Link on the progress bar to copy the link to the document; one link is created for each document.
Send the copied link to the user, whose document you have restored. The user can paste this link in their browser and open the document in iManage Work.
Permanently deleting documents
NOTE:
Only members of the NRTADMIN group can permanently delete documents.
CAUTION:
You cannot undo this action and the permanently deleted documents cannot be restored.
To permanently delete a document that has been moved to the trash:
- Locate the document or email using the instructions in Searching for deleted documents.
- Right-click the document and select Permanently Delete.
The Permanently Delete dialog box appears. Confirm the action. If you select Delete, you receive an acknowledgement for the delete action.
NOTE:
The Delete all versions check box is available when multiple versions of the selected document are in Trash. If you want to permanently delete all the document versions, select this check box and select Delete.
Viewing details about trashed documents
Use the following steps to view information about an item that has been moved to the trash. This is useful to review about the item before permanently deleting or restoring it.
- Kebab menu: Select the
 icon adjacent to each document to see this option.
 - Context menu: Right-click a document to see this option.
- Clickable link: In the DOC#/Version column, select a document.
Use one of the above option and select View.
NOTE:
The Restore and Permanent delete actions can also be performed when you are on the View page.