Using Auto Updates
iManage recommends that you install iManage Work clients using the iManage Auto Updates feature as this option installs additional components that offer you the benefit of staying up-to-date with the latest features, enhancements, and/or bug fixes that are periodically released by iManage. Updates are seamlessly installed with minimal user intervention. As an IT administrator, you can control, configure, and easily deploy latest updates.1
Starting the installation from iManage Help Center
Visit the iManage Help Center and download the iManageInstaller.exe file.
Perform Steps 3 and 4 mentioned in the following section (Starting the installation from the iManage Work web application).
Starting the installation from the iManage Work web application
Log into iManage Work (web application). Notice the following iManage Auto Updates banner:
Figure: iManage Auto Updates banner

Select Download iManage Work for Windows. The iManageInstaller.exe file is downloaded to your desktop, and the following screen appears:
Figure: iManage Installer download confirmation
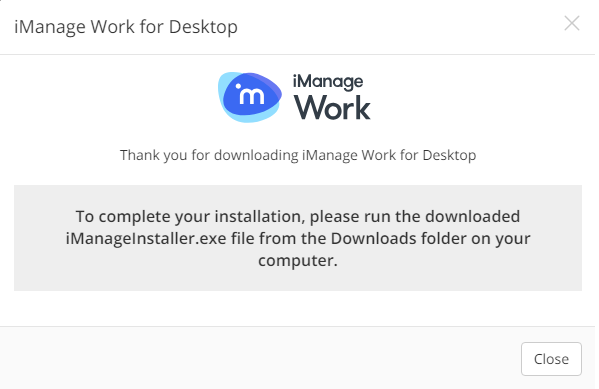
Select Close and then run iManageInstaller.exe. The iManage Installer Setup screen appears.
Figure: iManage installer setup
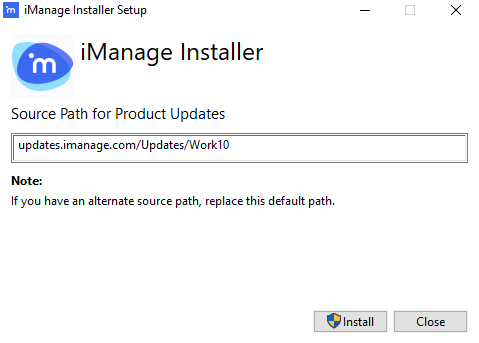
This screen is pre-populated with the location where iManage Work product updates are stored. This location is configurable.3Select Install. iManage Installer initiates the download and installation process for iManage Work Desktop for Windows. The following screen appears:
Figure: iManage installer message
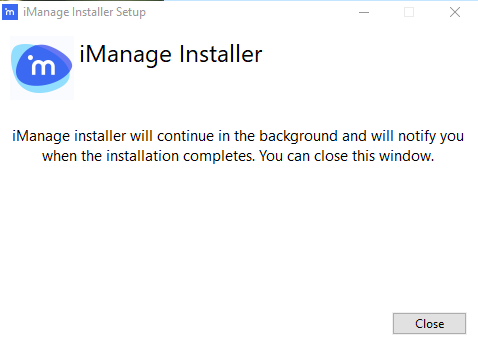
You may have to wait for a few minutes for the entire process to complete. It is an automated process and does not require any intervention (besides Windows confirmation to install updates). After the installation is successfully complete, the What's New page is launched in your default browser. It provides information on the new features, enhancements, and/or bug fixes in the latest update.
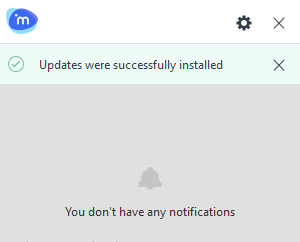
In addition, the following notification appears in your Windows system tray (bottom-right corner of your desktop screen).
Figure: Updates installed
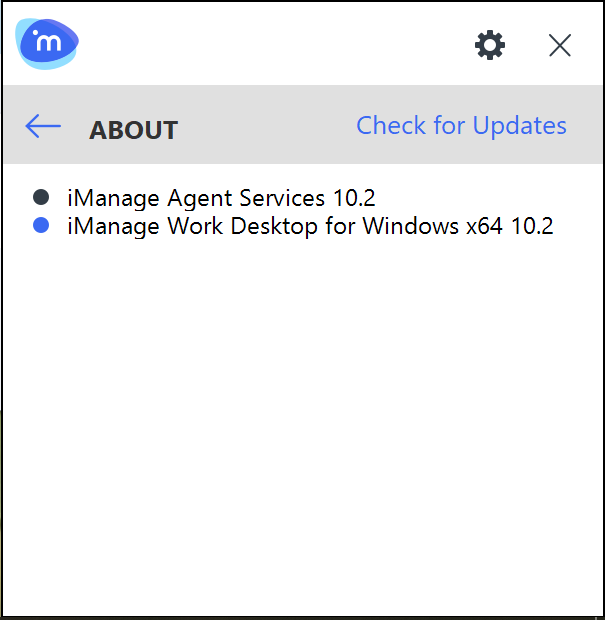
iManage Work Desktop for Windows notifies you when the application updates are available. You can easily identify the component(s) to be updated by selecting the Settings (![]() ) menu and then selecting About. The components that need to updated have a blue dot next to their names.
) menu and then selecting About. The components that need to updated have a blue dot next to their names.
Figure: Blue dot indicating update required
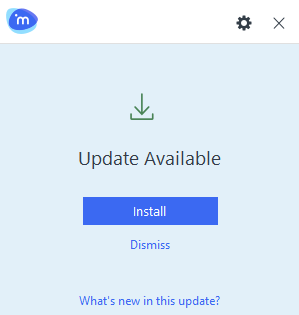
You can also check for the updates manually and install them using the Settings (![]() ) menu in the iManage Work Agent. In addition, based on the configuration supported by your IT administrator, you can choose the desired channel (for example, BETA or RELEASE). A channel determines which products and versions should be installed on your desktop. For more information, refer to the Installing application updates section in iManage Work Desktop for Windows User Guide.
) menu in the iManage Work Agent. In addition, based on the configuration supported by your IT administrator, you can choose the desired channel (for example, BETA or RELEASE). A channel determines which products and versions should be installed on your desktop. For more information, refer to the Installing application updates section in iManage Work Desktop for Windows User Guide.
Figure: Application update notification in the Windows system tray
You can specify whether updates should be automatically downloaded and kept ready for you before you select Install. To enable or disable this feature, perform the following steps:
Open the system tray.
Select the iManage Work Agent
 icon and:
Select the
 icon.
icon.
From the drop-down list, select Update settings.
Alternatively, right-click the iManage Work Agent icon and select Update Settings. The Update Settings screen appears.
Figure: Update settings
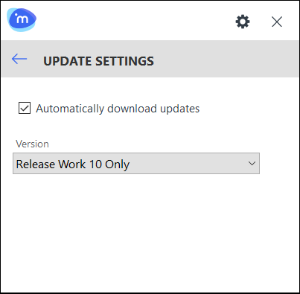
Select or clear the Automatically download updates option. By default, the option is selected, which ensures that if there are any updates, they are automatically downloaded to your desktop even before you select Install. This eliminates the download wait time and provides a seamless, quicker installation experience.
Additionally, the iManage Work Agent provides the ability to switch between update channels. Depending on how it is configured in your environment, you may be able to see and select different update channels, to allow you to pilot new releases ahead of all the users in your company. To use this feature, select the ![]() icon, select Update Settings, and select the desired update channel from the Version drop-down list. Changing the channel automatically starts the relevant software updates download process.
icon, select Update Settings, and select the desired update channel from the Version drop-down list. Changing the channel automatically starts the relevant software updates download process.
References:
For more information on configuring the Auto Updates installation, see Configuring the Auto Updates Installation.
For more information, see Configuring the Auto Updates Installation.
For more information on configuring this location, see Specifying the Update Server Location.
For more information, see Automatically Downloading Updates.