Network Settings
NOTE:
To perform operations on the Network page, the user signed in to iManage Control Center must be assigned to a Global Management role which has the Settings Management privilege. For more information, see Global privilege descriptions.
Modifications to the settings on this page may take up to four hours to take effect.
This page enables you to configure network settings for iManage Cloud. When configured, these settings are applied across all iManage Work libraries.
Application and tool requirements
Before enabling these features, ensure users are on the minimum required versions of these iManage Work clients:
- iManage Work Desktop for Windows 10.5.1 or later
- iManage DeskSite or FileSite 9.3.7 or later
You should also confirm that all third-party tools in your environment are supported before enabling these features.
About custom subdomains and seamless SSO
Custom subdomains
A custom subdomain is a company-specific name you can apply to the cloudimanage.com URL. Once configured, your users can access iManage Work using either the cloudimanage.com URL or the URL that includes your subdomain, such as company.cloudimanage.com.
Benefits:
- Once a subdomain is configured, you can enable Seamless SSO, which simplifies the sign in experience for your users.
- A custom subdomain can help with communications to your iManage Work users, and ultimately drive adoption as users sign in to a URL with a familiar name.
Seamless SSO
When a custom subdomain is configured in your environment, you can take advantage of Seamless SSO.
- Users accessing iManage Work from the custom subdomain are automatically directed to your company's SSO provider, without needing to enter their email address in the iManage Work sign in dialog box.
- Users can continue to sign in to the cloudimanage.com URL. In this case, they are first prompted to enter their email address in the iManage Work sign in dialog box, and then are redirected to your company's SSO provider for authentication. After successful authentication, users are automatically redirected to your custom subdomain.
Configure a custom subdomain and enable seamless SSO
This feature is available only if it's enabled in your environment. Contact your Customer Success Manager for more information or to ask for this feature.
Once a custom subdomain is configured, users signing in to cloudimanage.com are automatically redirected to the custom subdomain URL. Users may also sign in directly using the custom subdomain URL (company.cloudimanage.com).
TIP:
As a best practice, a subdomain should be configured prior to your iManage Cloud launch date.
IMPORTANT:
Only one subdomain can be configured for your iManage Cloud environment.
Once a subdomain is added, you cannot edit or disable the subdomain. Contact your Customer Success Manager or iManage Cloud Support for assistance if you require modification or removal of your custom subdomain.
To configure a custom subdomain:
- In Control Center, select Network & Security > Network Settings.
- In the Custom Subdomain section, select +Add. The Add Custom Subdomain dialog box appears.
Figure: Add Custom Subdomain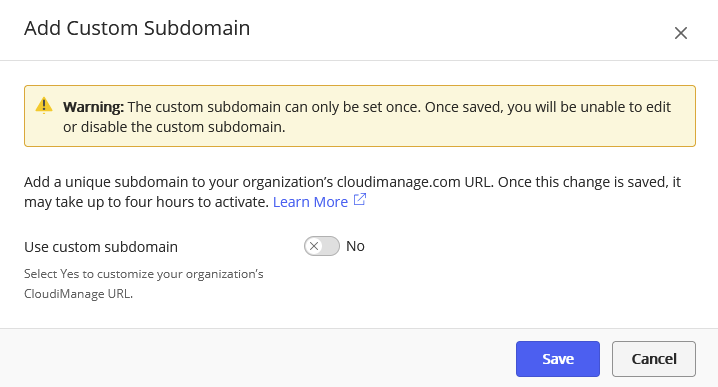
- Set Use custom subdomain to Yes.
In Subdomain, enter the text for your custom subdomain.
- Subdomains must be 2–63 characters.
- Special characters are not allowed.
- Dashes (-) are allowed, but can't be used as the first or last character.
- Uppercase characters aren't allowed. If you enter an uppercase character, it's automatically converted to lowercase.
- Subdomains must be globally unique. You will receive a message notifying you if the subdomain you entered is already registered.
- Set Seamless Sign-in to Enabled. This allows Enterprise users to be immediately directed to their IDP for authentication without first needing to enter their email address in the iManage Work sign in screen.
NOTE: When Seamless Sign-in is enabled, virtual users in iManage Work are no longer able to sign in using the usual method. Virtual users must instead connect using the following sign in page: https://cloudimanage.com/auth/login.html
You can also use this sign in page for testing purposes to bypass single sign-on. - Select Next and review the information in the confirmation screen.
- Select Save custom domain.
The new subdomain may take up to four hours to become active. Contact your Customer Success Manager or iManage Cloud Support if you require modification or removal of your custom subdomain.
TIP:
After adding a custom subdomain, you must also update the SAML/OIDC authentication configuration based on the new subdomain.
- See the following iManage Help Center articles for instructions (sign in required):
Configure OpenID Connect SSO with Microsoft Azure
Configure SAML-based SSO with Microsoft Azure
Configure SAML-based SSO with Microsoft AD FS
Configure SAML-based SSO with Okta - Use the new custom subdomain to download the metadata file, for example:
https://company.cloudimanage.com/auth/api/v1/saml/metadata/{customerId}