The following steps describe how to configure SAML SSO in Okta.
Configure SSO in Okta
Complete the following steps in Okta to configure single sign-on for iManage users:
Create a new SAML application by browsing to Admin > Add Applications > Create App Integration.
NOTE: If switching from OpenID Connect (OIDC) SSO to SAML SSO in iManage Control Center, we recommend that you create a new application in Okta. Creating a new application allows you to preserve your existing SSO application and roll back to it if necessary.Figure: Create a new app integration dialog box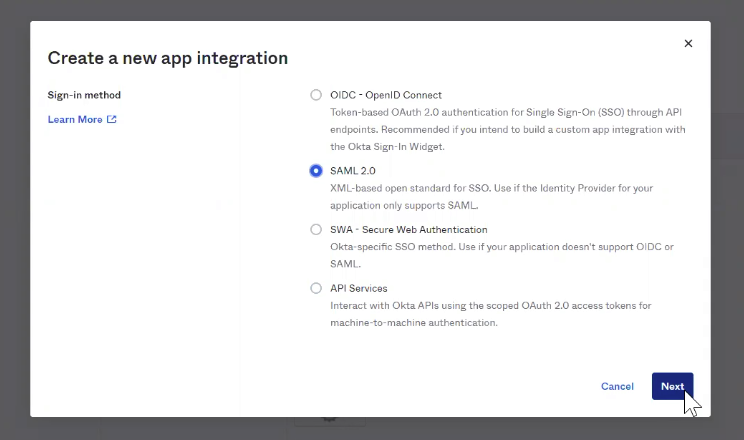
Select SAML 2.0.
Select Next. The Create SAML Integration page opens.
Figure: Create SAML Integration > General Settings page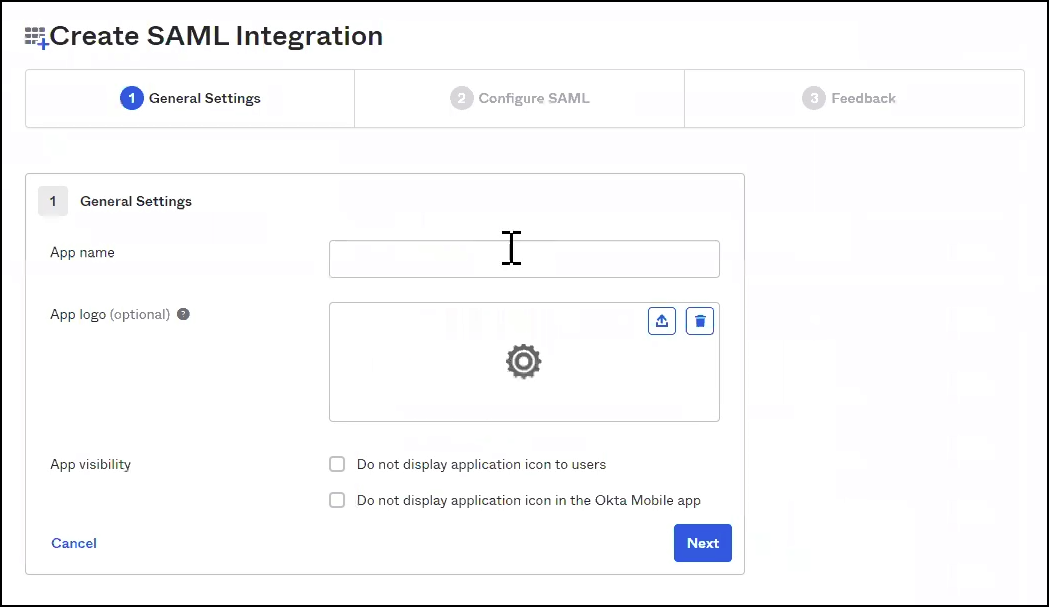
In App name enter a name, such as iManage.
Select Next to proceed to the Configure SAML page.
Figure: Create SAML Integration > Configure SAML page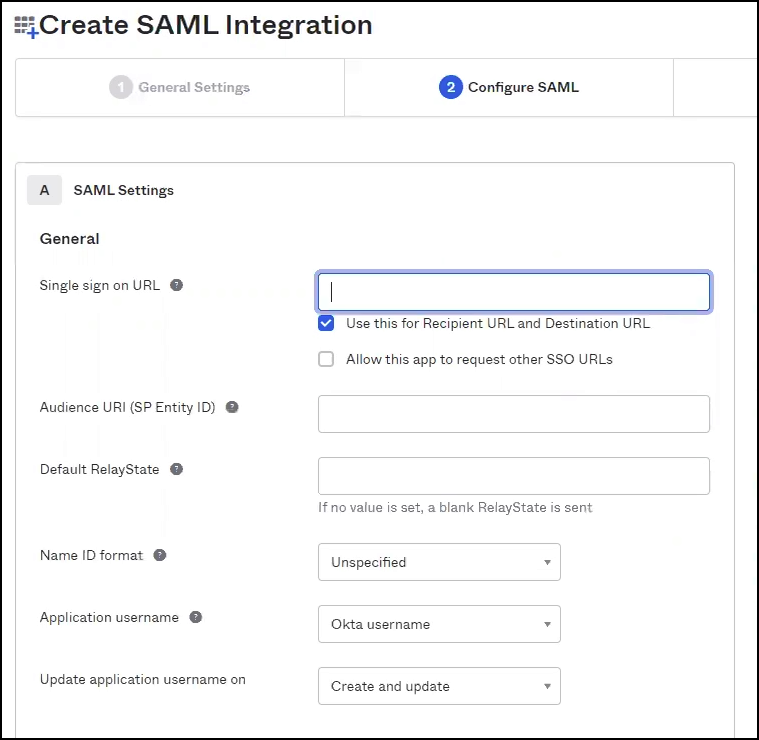
Copy URL information from iManage Control Center and paste it into your IdP configuration.
In iManage Control Center, browse to Network & Security > Single Sign-On (SSO), then select Copy in SAML consumer URL.
Figure: SAML consumer URL in iManage Control Center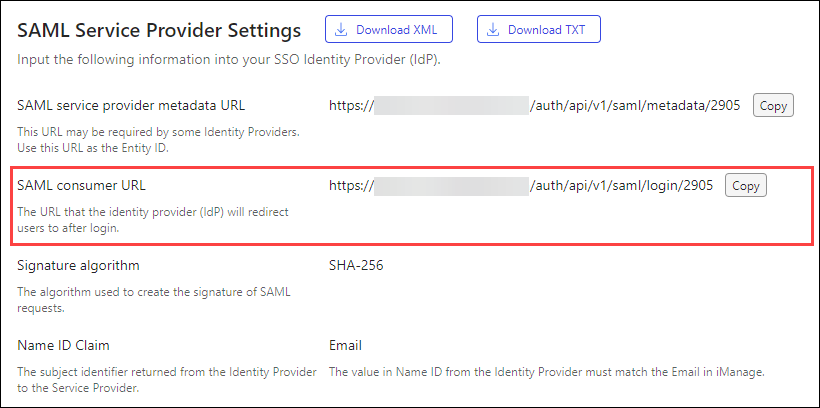
In Okta, paste the URL in Single sign on URL and Audience URI (SP Entity ID).
Select Next.
On the Feedback page, select I'm an Okta customer adding an internal app.
Select Finish. The Application > Sign On page is displayed.
Figure: Application > Sign on page in Okta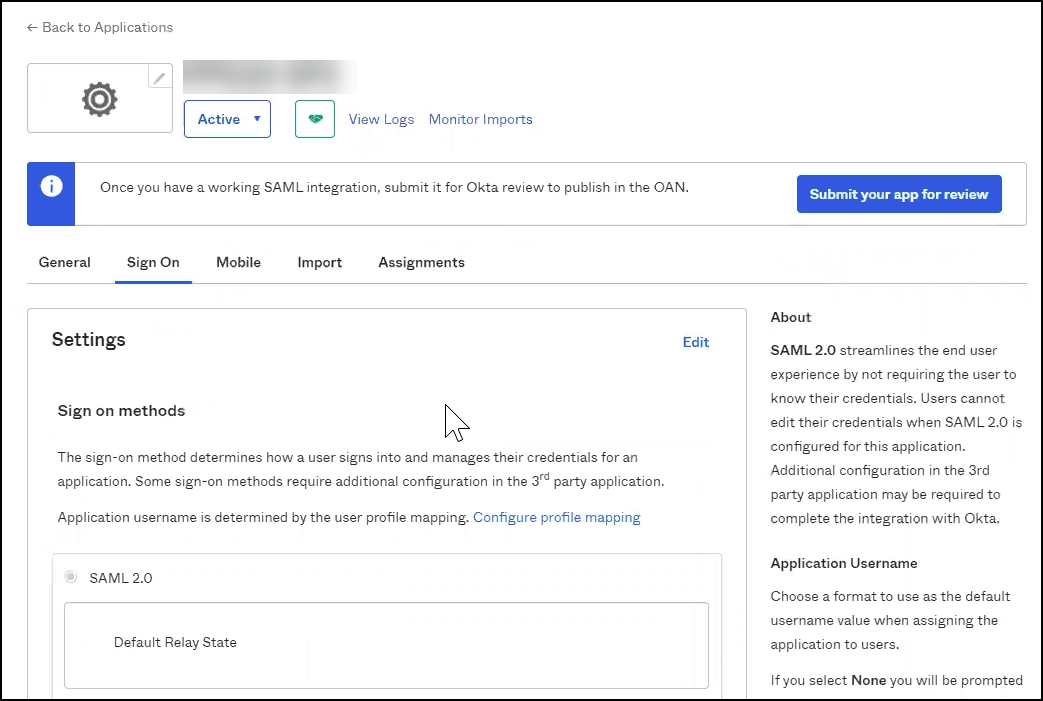
Select Edit.
In Application username format, select Custom.
In the next field, enter the expression to map usernames in Okta to the User ID format in iManage. To learn more about the options available, select Expression Language Reference.
Common examples include the following:John.Doe = user.firstName + "." + user.lastName
JDoe = substring(user.firstName, 0, 1) + user.lastName
Figure: Configure the Application username format in Okta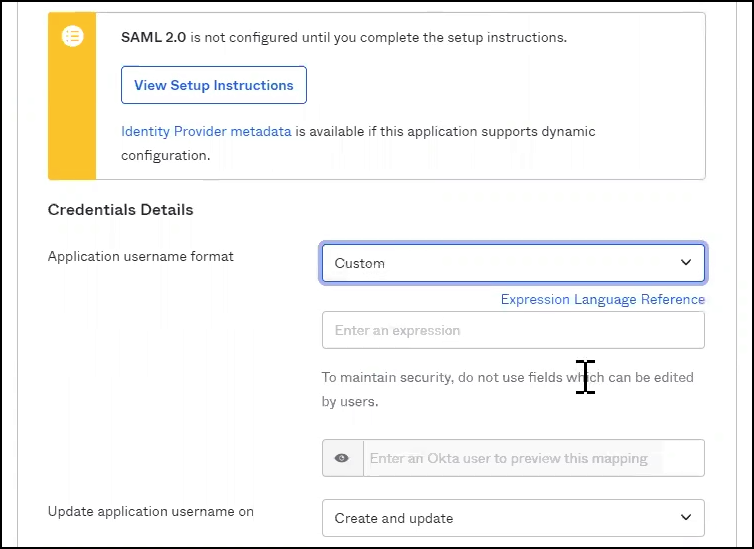
Select Save.
To update the application with your new Credential Details configuration, select Update Now. When prompted, select Update to confirm the update.
Figure: Update credential details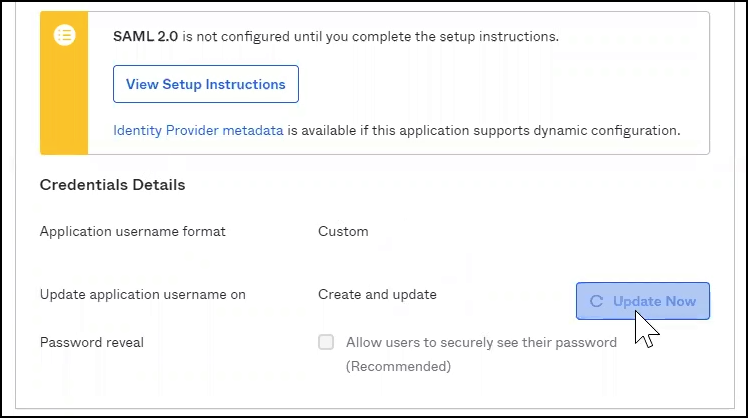
To configure which users in Okta are allowed to authenticate to iManage, select Assignments.
Figure: Configure the Assignments for this Application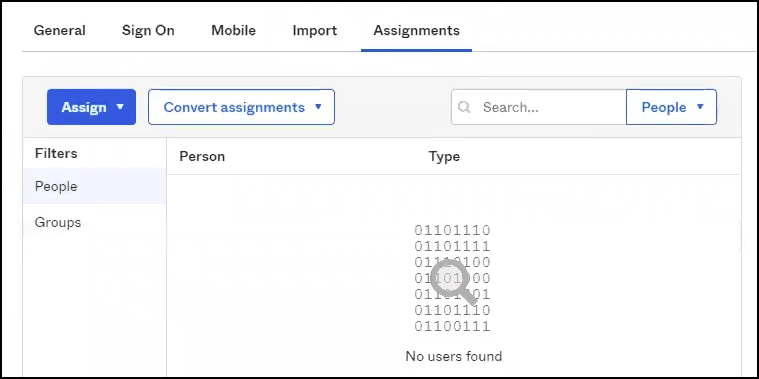
Select Assign > Assign to People or Assign > Assign to Groups to assign this application to users or groups, respectively.
Search for the users and/or groups and then select Assign.
Select Save and Go Back.
When you have completed assigning users and groups, select Done.
To download the Federation metadata XML file, select Identity Provider metadata.
Figure: Download Identity Provider metadata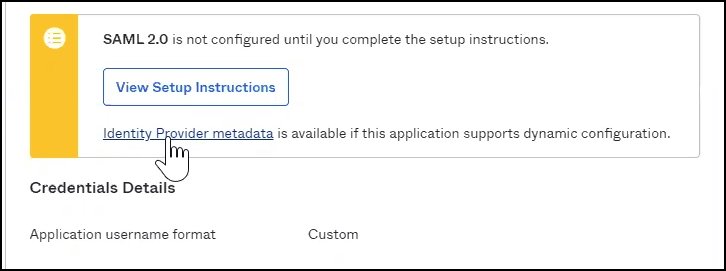
The XML file opens in a new tab in your browser.To save the displayed XML as a file, right-click in your browser, and select Save As.
Enter a file name and select Save.
Import the Federation Metadata XML file into iManage Control Center by returning to iManage Control Center and completing the steps in Enable SAML SSO.