After you create a schedule, you have to apply a schedule to a workspace, folder, or sub-folder by for them to be processed by doing the following:
On the File Plan page, browse to the workspaces, folders, or sub-folders to which you want to apply a schedule.
Select the
 kebab menu next to the workspace, folder, or sub-folder, and select Add to schedule and then select the schedule to be added. The schedule is applied and then is displayed under the Schedule column on the File Plan page. Figure: Selecting a schedule to be applied to a folder
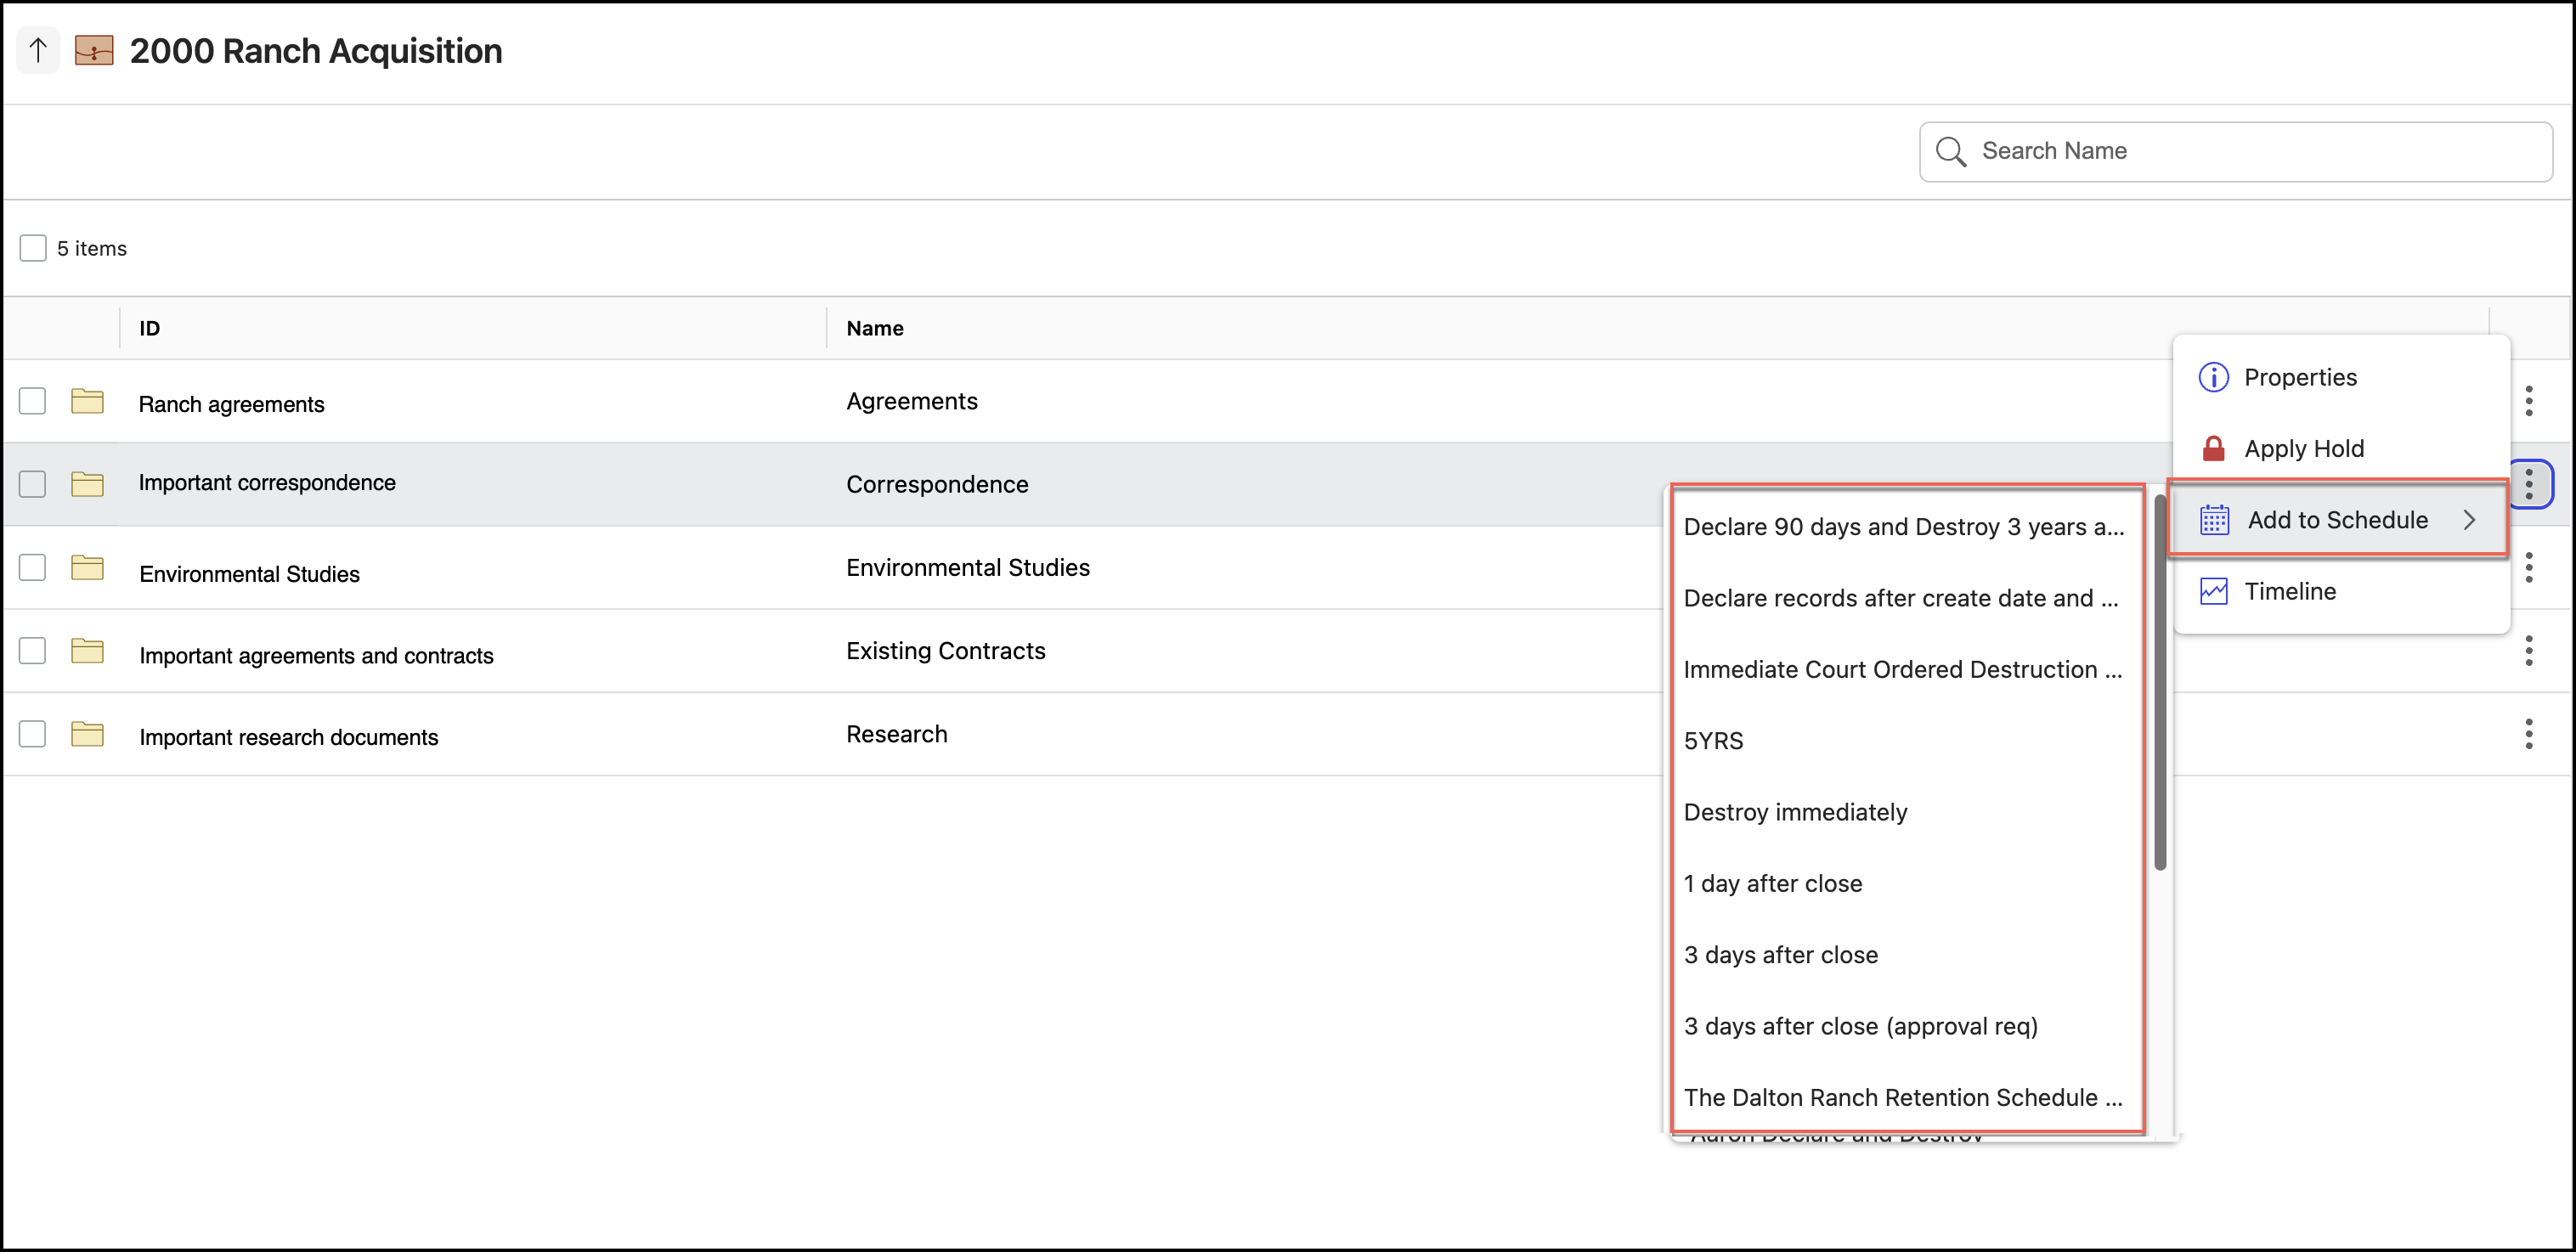
Also, you can apply a schedule to multiple workspaces, folders, or sub-folders by selecting the check box next to them and then selecting Apply Schedule as shown in the following figure:
Figure: Selecting folders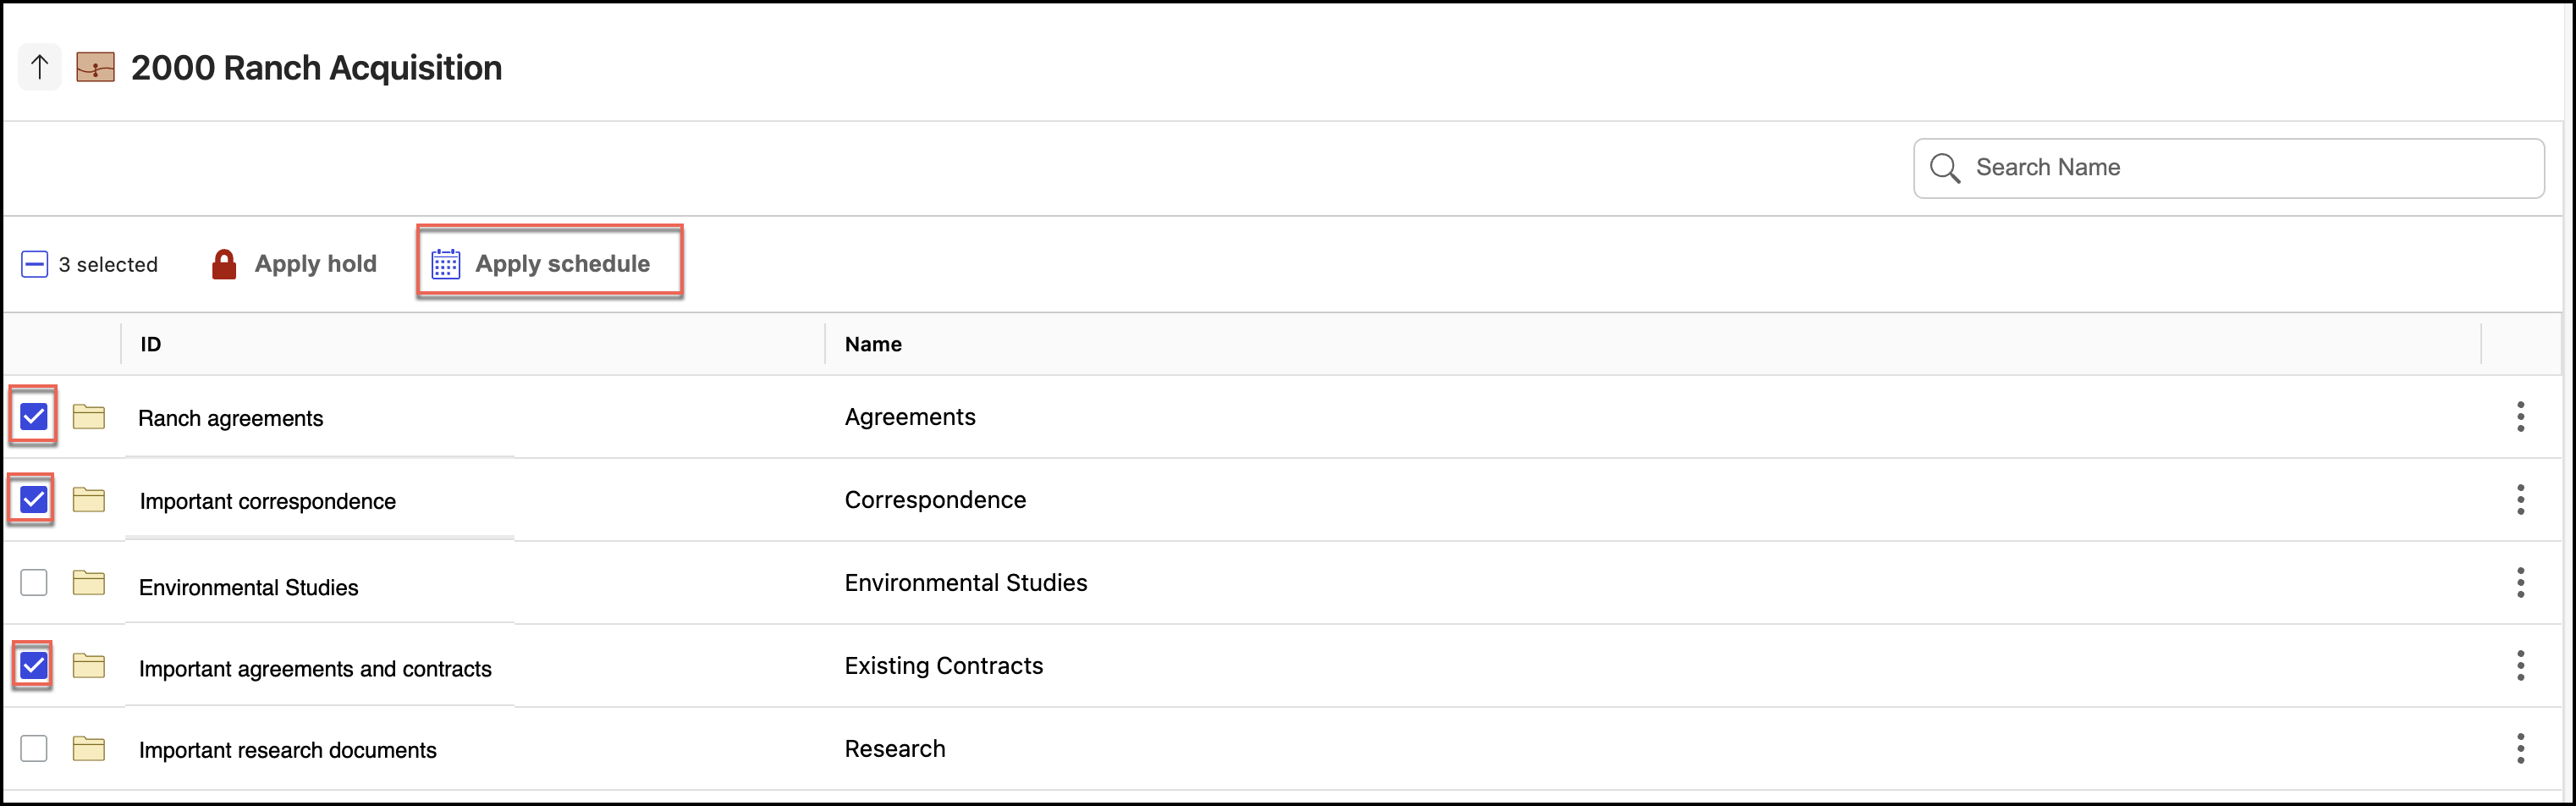
In the Apply Schedule dialog that appears, select the schedule to be applied and then select Apply. The schedules are applied to the workspaces, folders, or sub-folders selected.
Figure: Selecting a schedule to be applied to multiple folders
Also, if the mapped retentionId property for a workspace or folder matches the retentionid property of the schedule, the schedule is automatically applied.
NOTES:
To change the schedule, repeat Step 2 and select the schedule to be added. The previous schedule is replaced with the new schedule.
To remove a schedule, select the
kebab menu next to the workspace, folder, sub-folders, or records and select Remove from schedule. The schedule is removed and the workspace, folder, sub-folder, or record is not processed.