An event defines a specific action to be taken on a record. After an event is processed on a record, depending on the event, it changes the status of the item. For example, the event Review for Destruction, 10 years past Retention Start Date changes the document status to Reviewed for Destruction.
NOTE: You should be a Record Manager to create, modify, or delete events.
To create an event:
In the left view pane, under Retention, select Events.
Figure: Select Events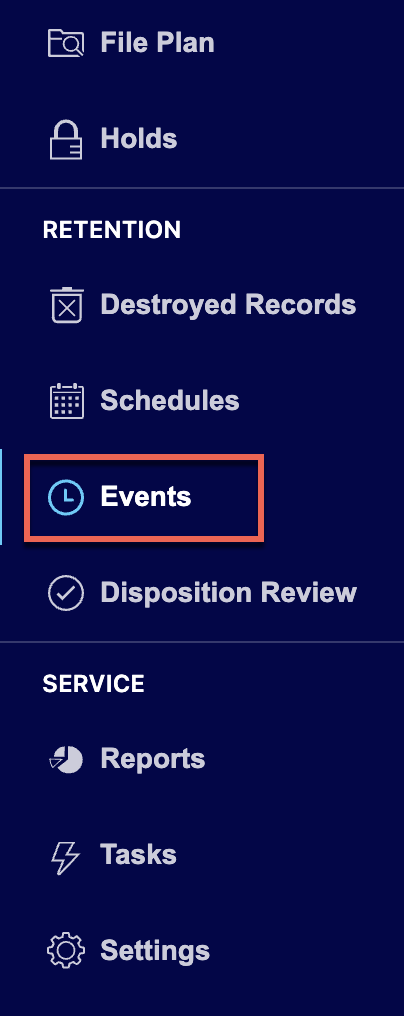
Select Add Event.
Figure: Selecting Add Event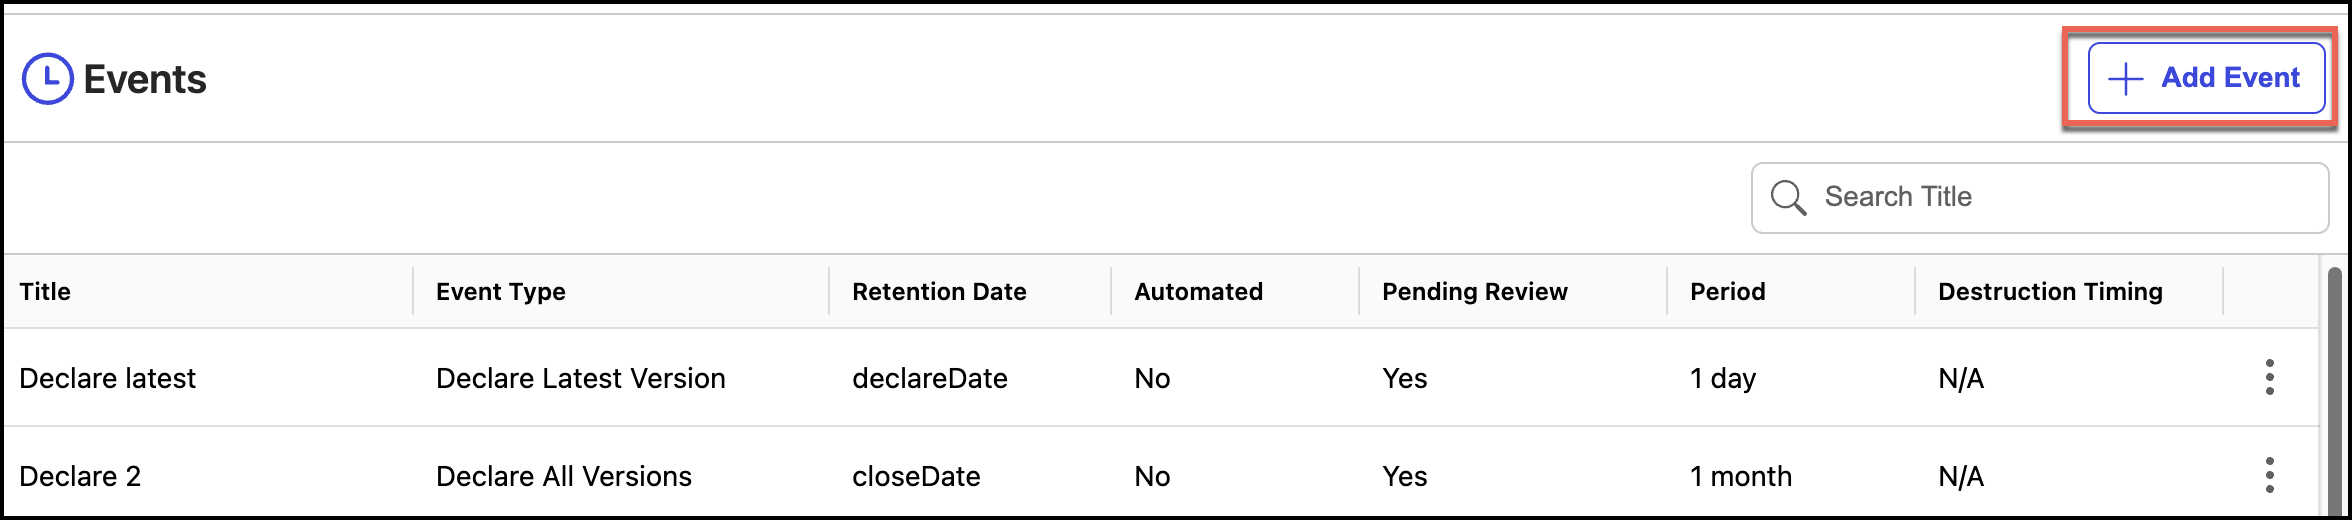
In the Add Event dialog:
Enter the event name in the Title field.
(Optional) Enter the description in the Description field.
Figure: Add title and description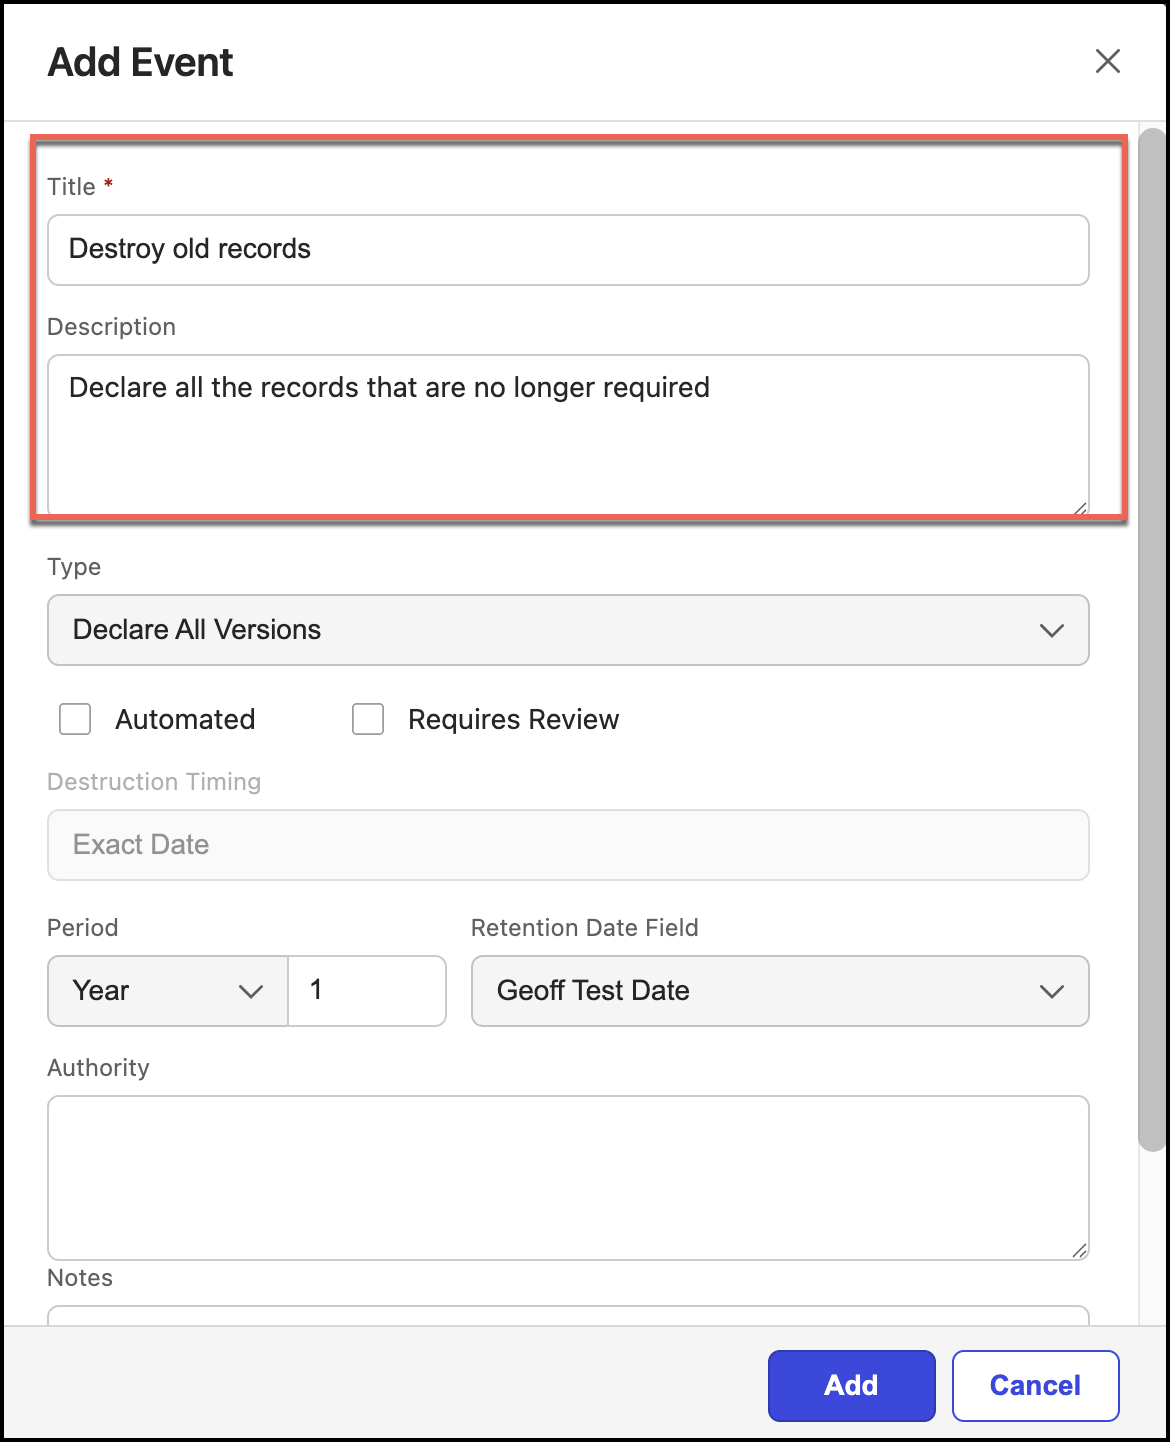
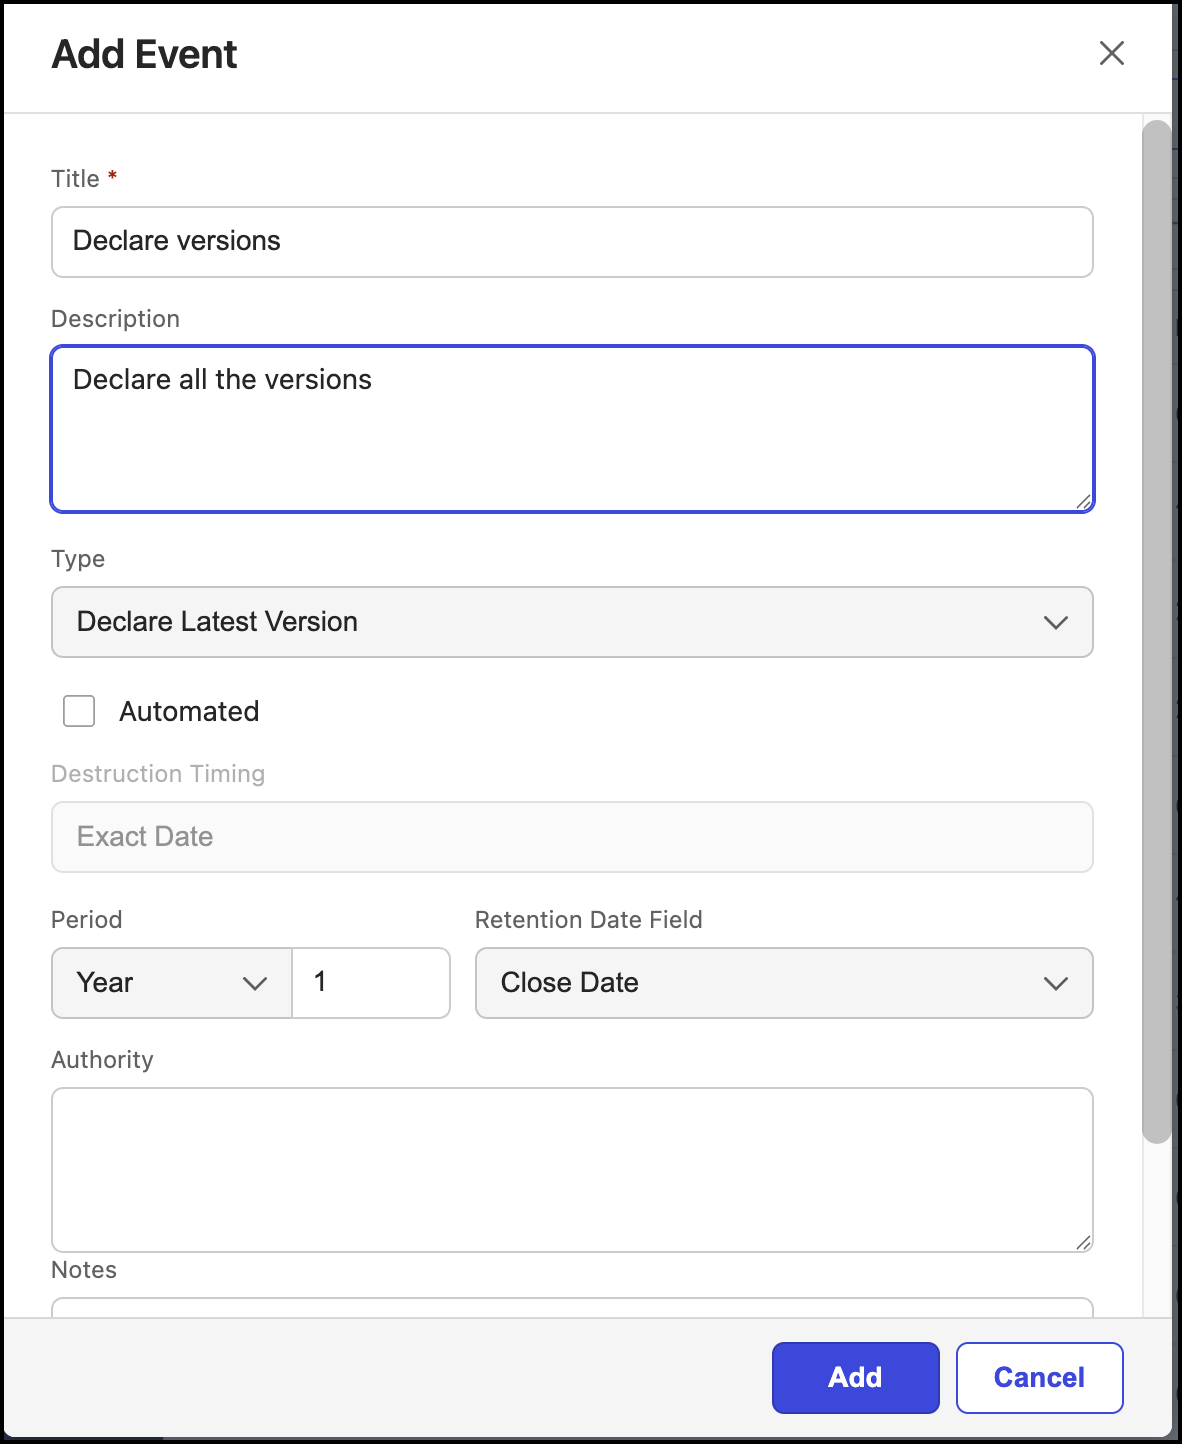
Select type from the Type drop-down. Declare All Versions is selected by default.
Figure: Select event type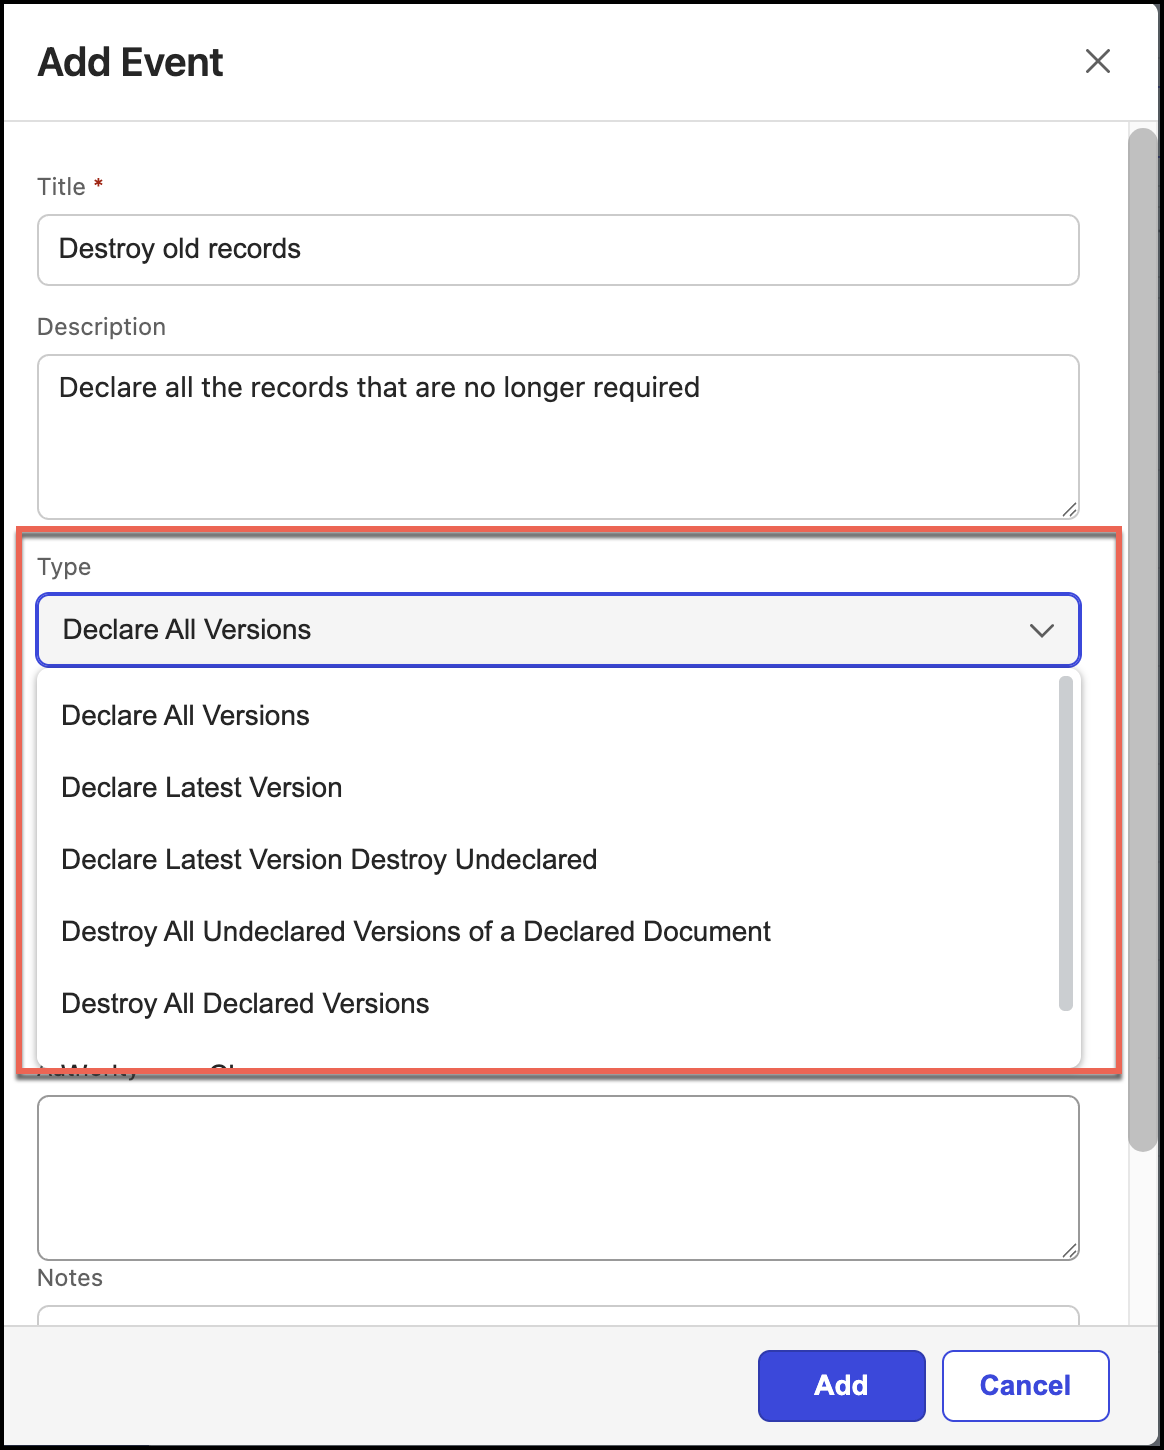
Select Automated if you want to declare or destroy documents (latest or all versions) automatically when the criteria is met.
Figure: Selecting Automated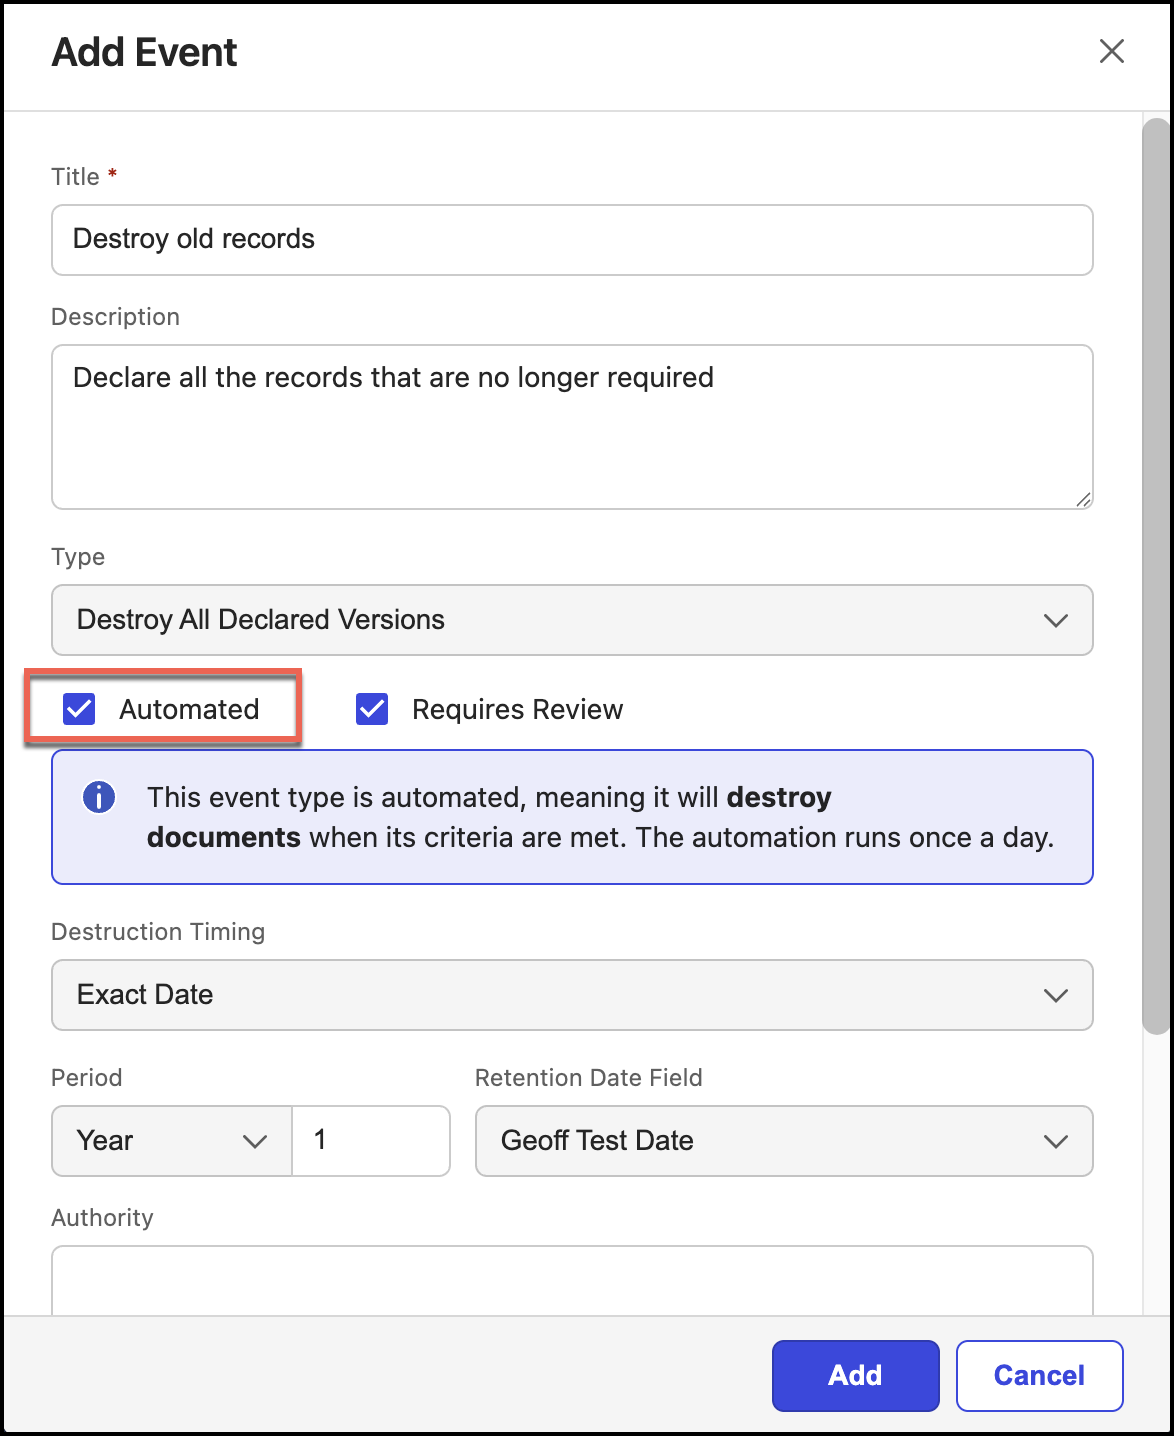
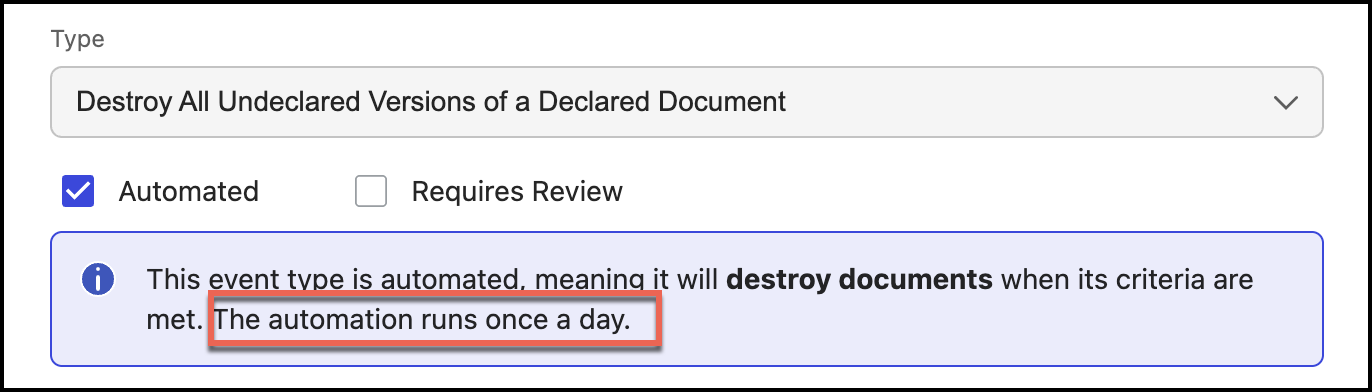
NOTE: When Records Managers select Automated, the note is now updated to indicate that automation is run once a day, as shown in the following figure.
Select Requires Review if the event requires review. If the events require a review, Disposition reviewers can view them on the Disposition Review page.
Figure: Selecting Requires Review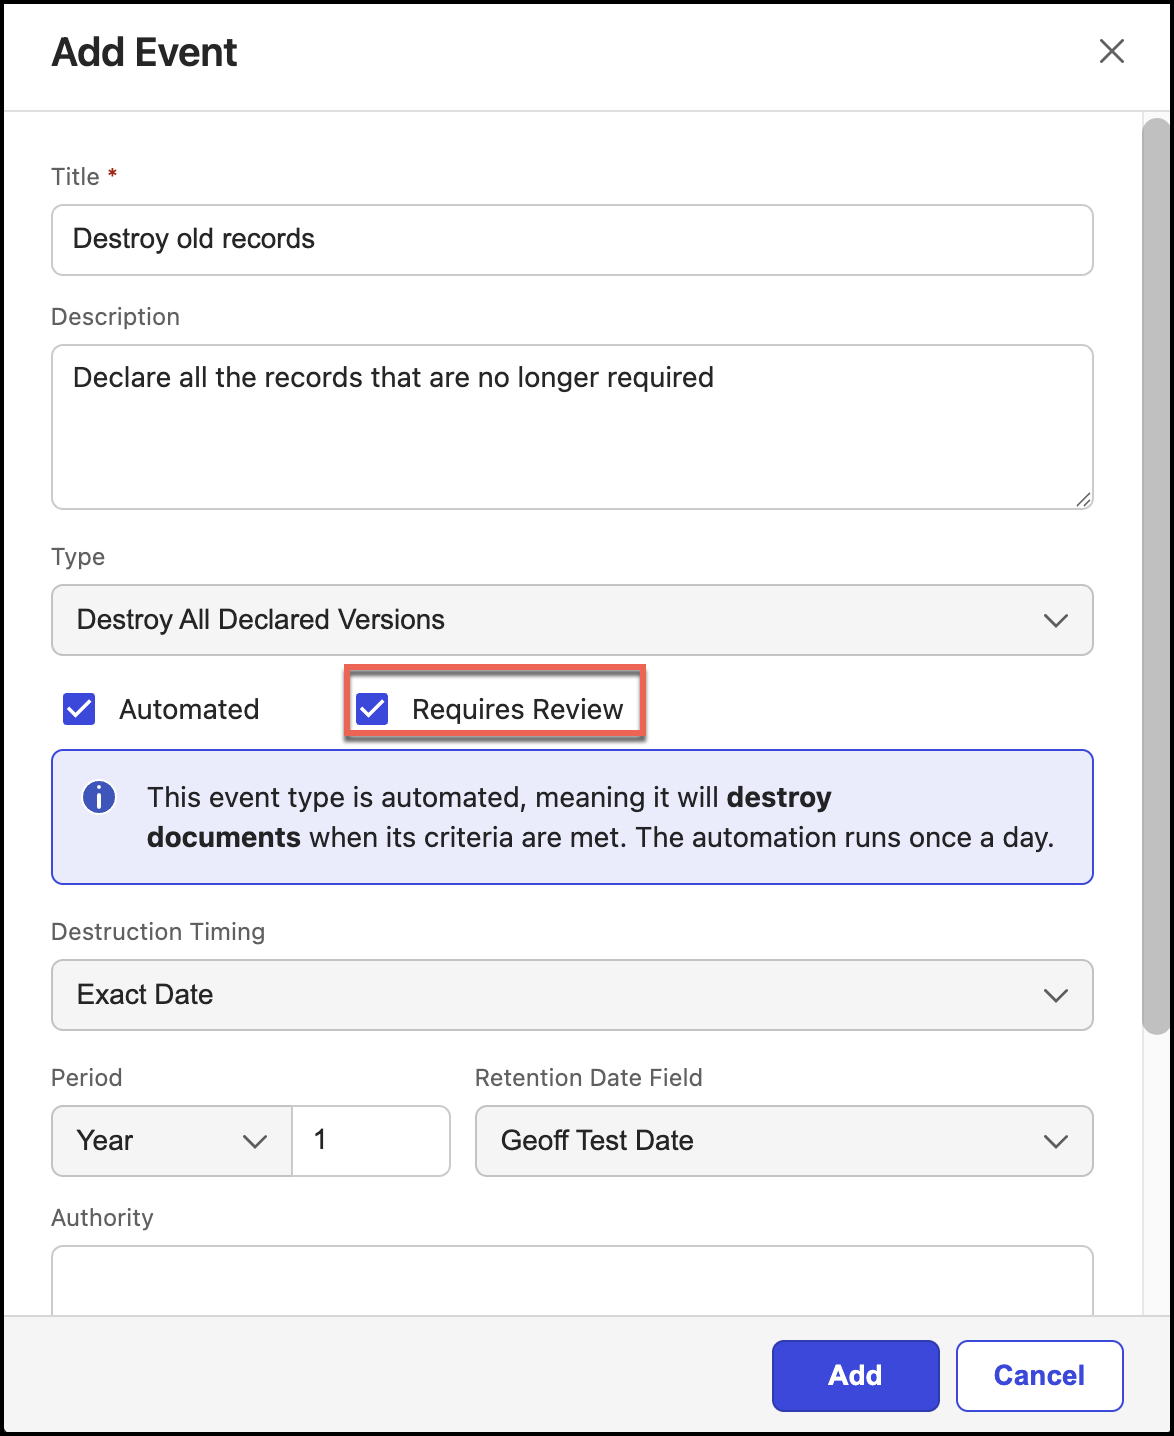
NOTE: In the Type field, if Declare All Versions or Declare Latest Version is selected, the Requires Review option is not displayed.
Select destruction time from Destruction Timing drop-down. There are two values available.
The Destruction Timing drop-down is available only when you select Destroy All Undeclared Versions or Destroy All Declared Versions.Exact Date: Select this option to destroy the records on the date specified by the retention policy.
End of Month: Select this option to destroy the records on the last day of the month.
Figure: Selecting destruction timing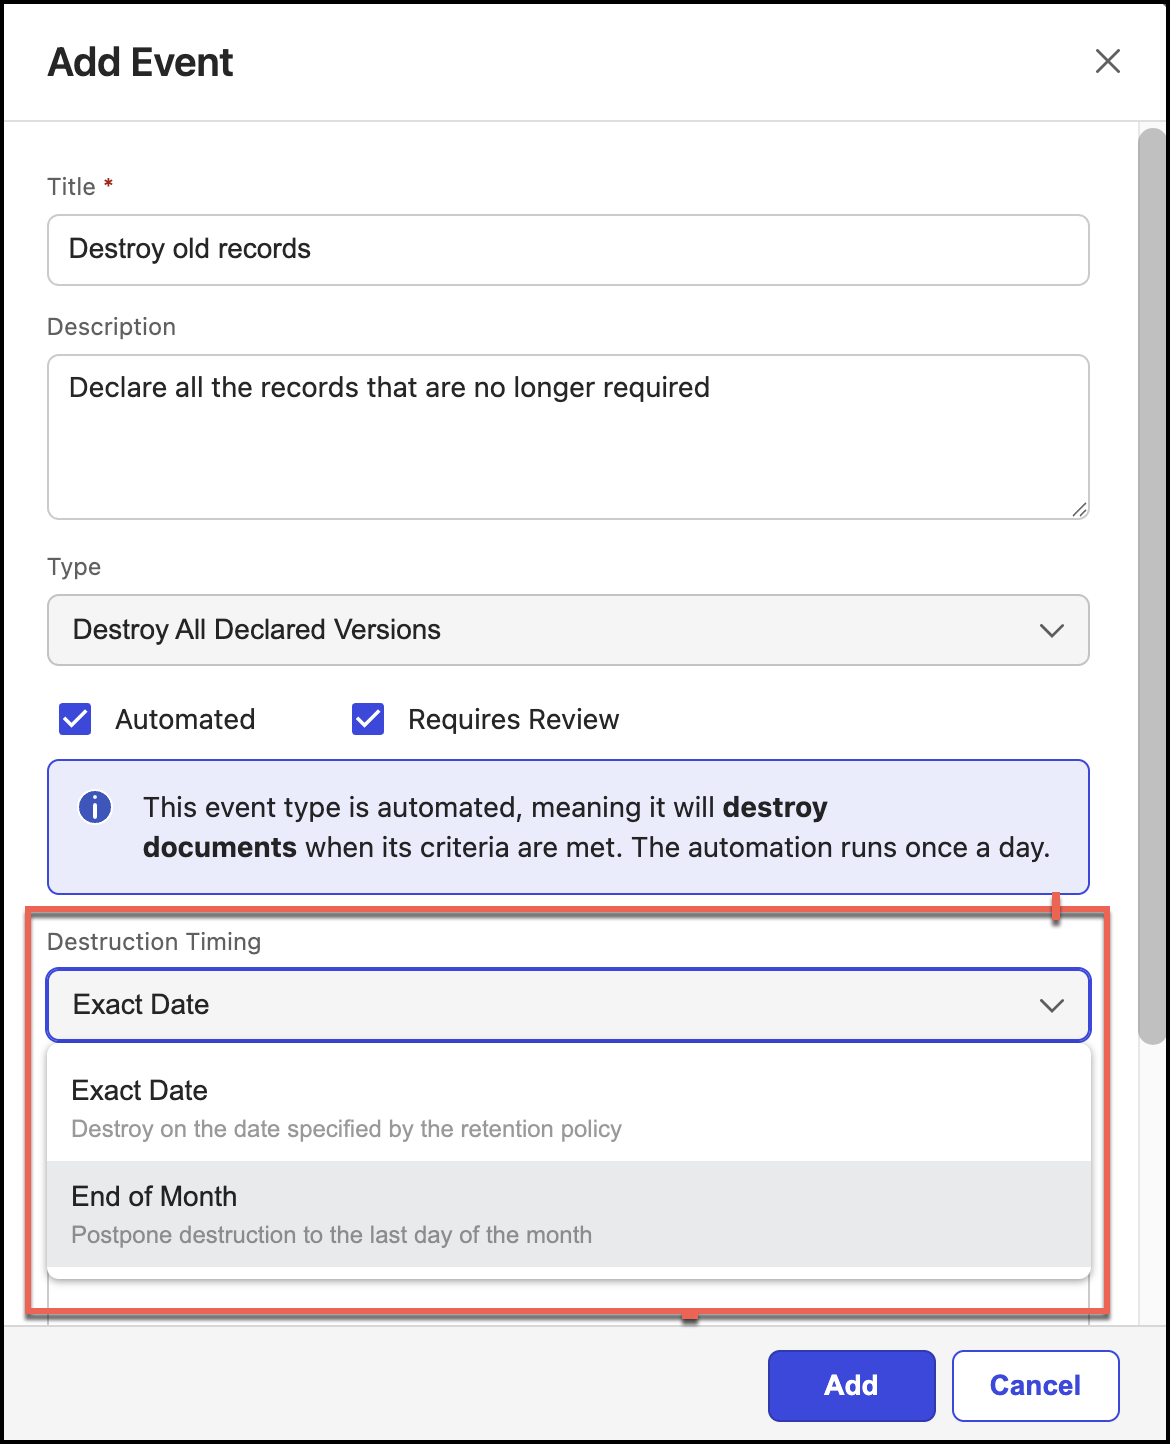
IMPORTANT: Destroy all undeclared revisions destroys all undeclared versions of a declared document.
Select the period. This field determines the amount of time before the event occurs. Enter the appropriate number, and then select the time period (Years, Months, or Days).
Figure: Select retention date and period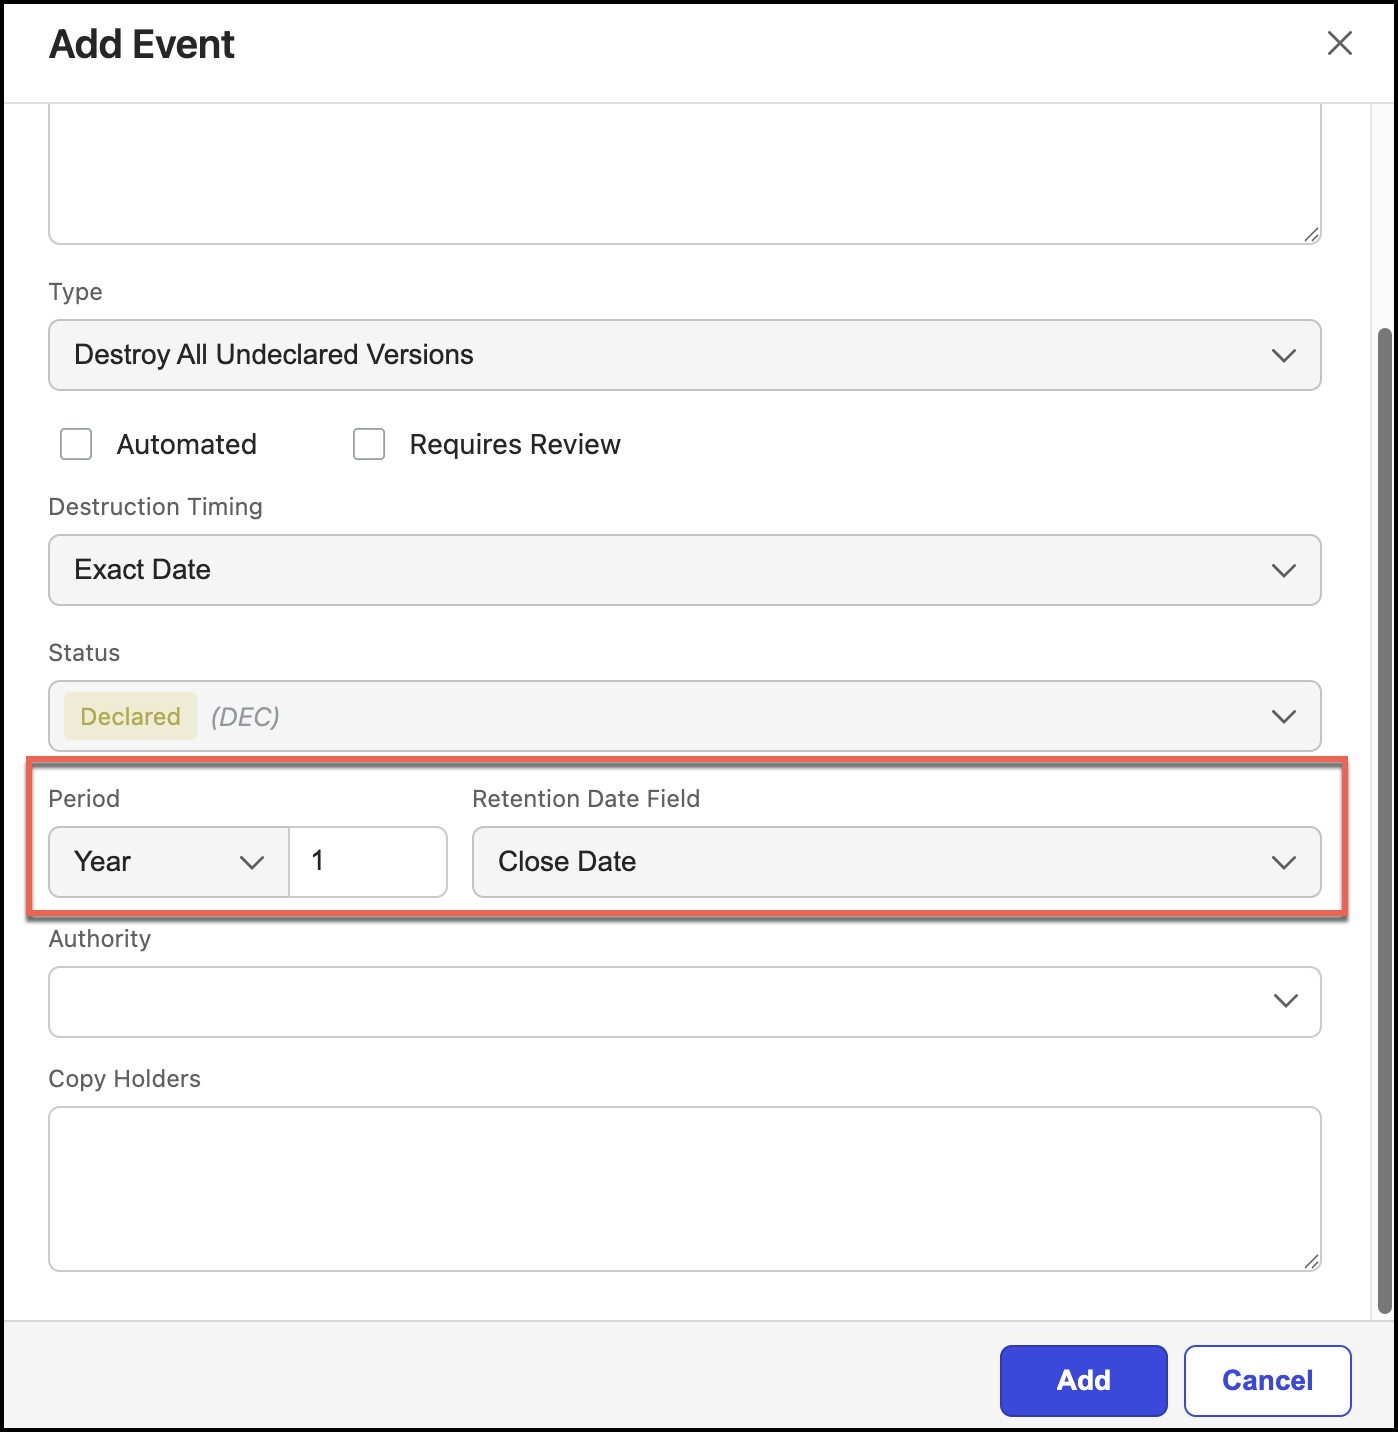
NOTE: If you select 0 (zero), the event will take place immediately when applicable.
(Optional) Enter the legislation or business rule in the Authority field.
(Optional) Enter notes information in the Notes field.
NOTE: You can enter text in the Authority and Notes fields.
Select Add to create the event.