An NRTADMIN user access is required to perform most background activities such as scheduling and running retention policies in iManage Disposition Manager. Hence, one NRTADMIN user must be set up and configured for each iManage Work library. If you haven't configured a NRTADMIN user for a iManage Work library, the iManage Disposition Manager application doesn’t work as desired.
NRTADMIN access is configured by adding a user to the NRTADMIN group within an iManage Work library. An NRTADMIN user automatically has full privileges within the library, and supersedes all other privileges.
IMPORTANT: The NRTADMIN account is mandatory when setting up iManage Disposition Manager. If this account isn't configured or is configured incorrectly, iManage Disposition Manager doesn’t function correctly.
When Records Managers or Administrators set up iManage Disposition Manager under these conditions, a warning is displayed indicating that the NRTADMIN account is either not configured or incorrectly configured.
To add an NRTADMIN:
Sign in to iManage Control Center.
In the left navigation pane, under Access, select Users.
From the drop-down list at the top of the screen, select the appropriate library, which this user is to be enabled or disabled.
Perform one of the following actions:
Select a user in the list, then select Add to Groups in the ribbon bar.
Select the icon next to a user and then select Add to Groups.
Right-click on a user, then select Add to Groups.
Select NRTADMIN, and then select Add. The user is added to the NRTADMIN group.
Additionally, you can update the credentials of an NRTADMIN user in the iManage Disposition Manager application by doing the following:
Browse to Settings > System Authorization.
Figure: Selecting Settings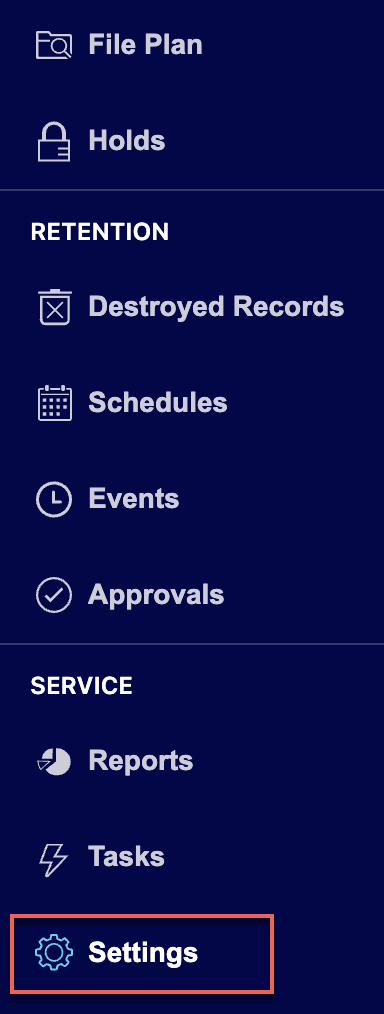 Figure: Select System Authentication
On the System Authorization page, select Update Credentials.
Figure: Select Update Credentials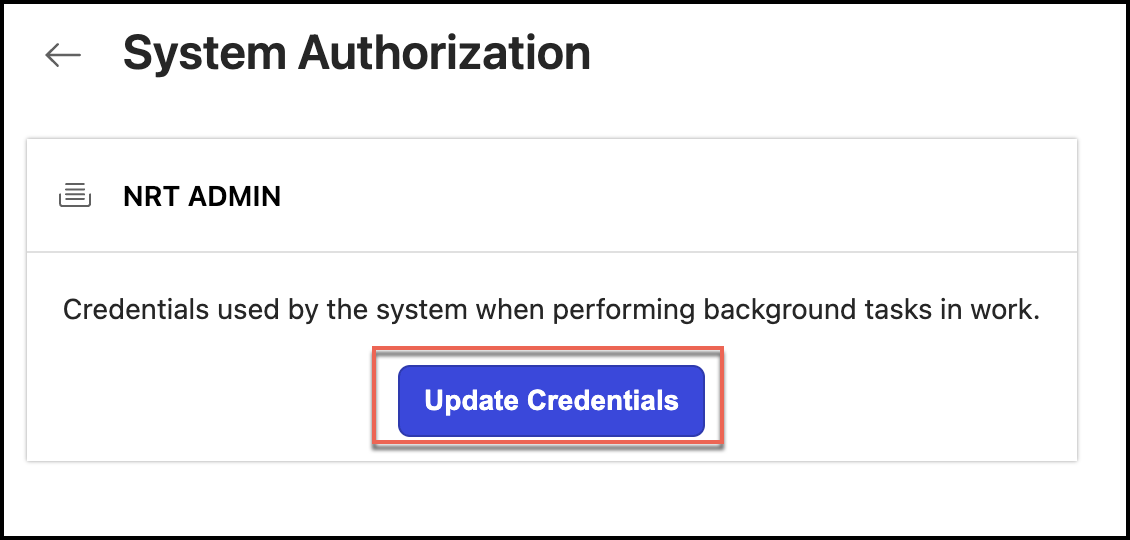
In the Update NRT Admin Credentials dialog that opens, enter the email in the Email field and enter the new password in the Password field.
Figure: Enter NRT Admin details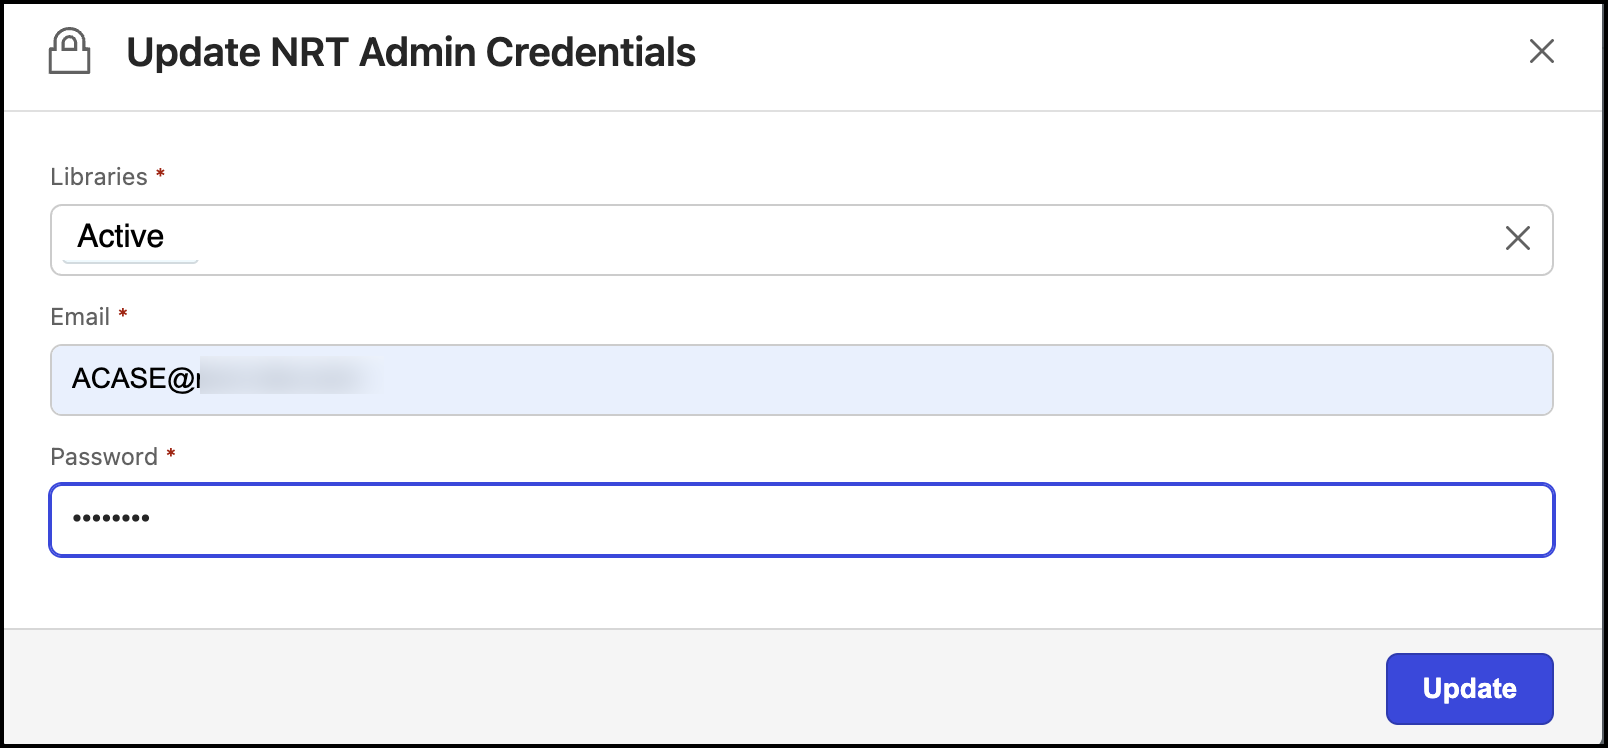
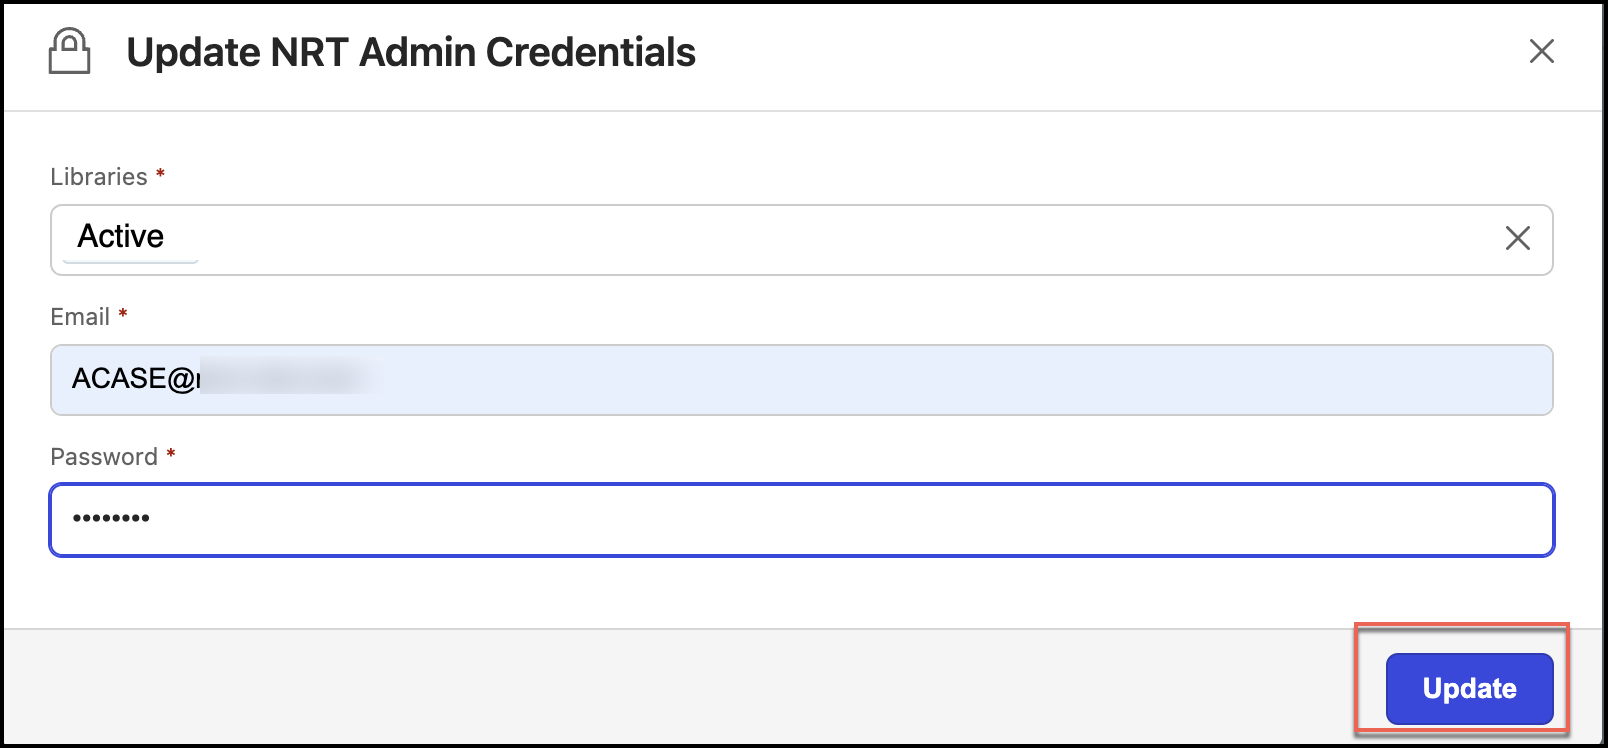
Select Update. The credentials are updated.
Figure: Select Update