During search, filters help narrow down search results based on document attributes.
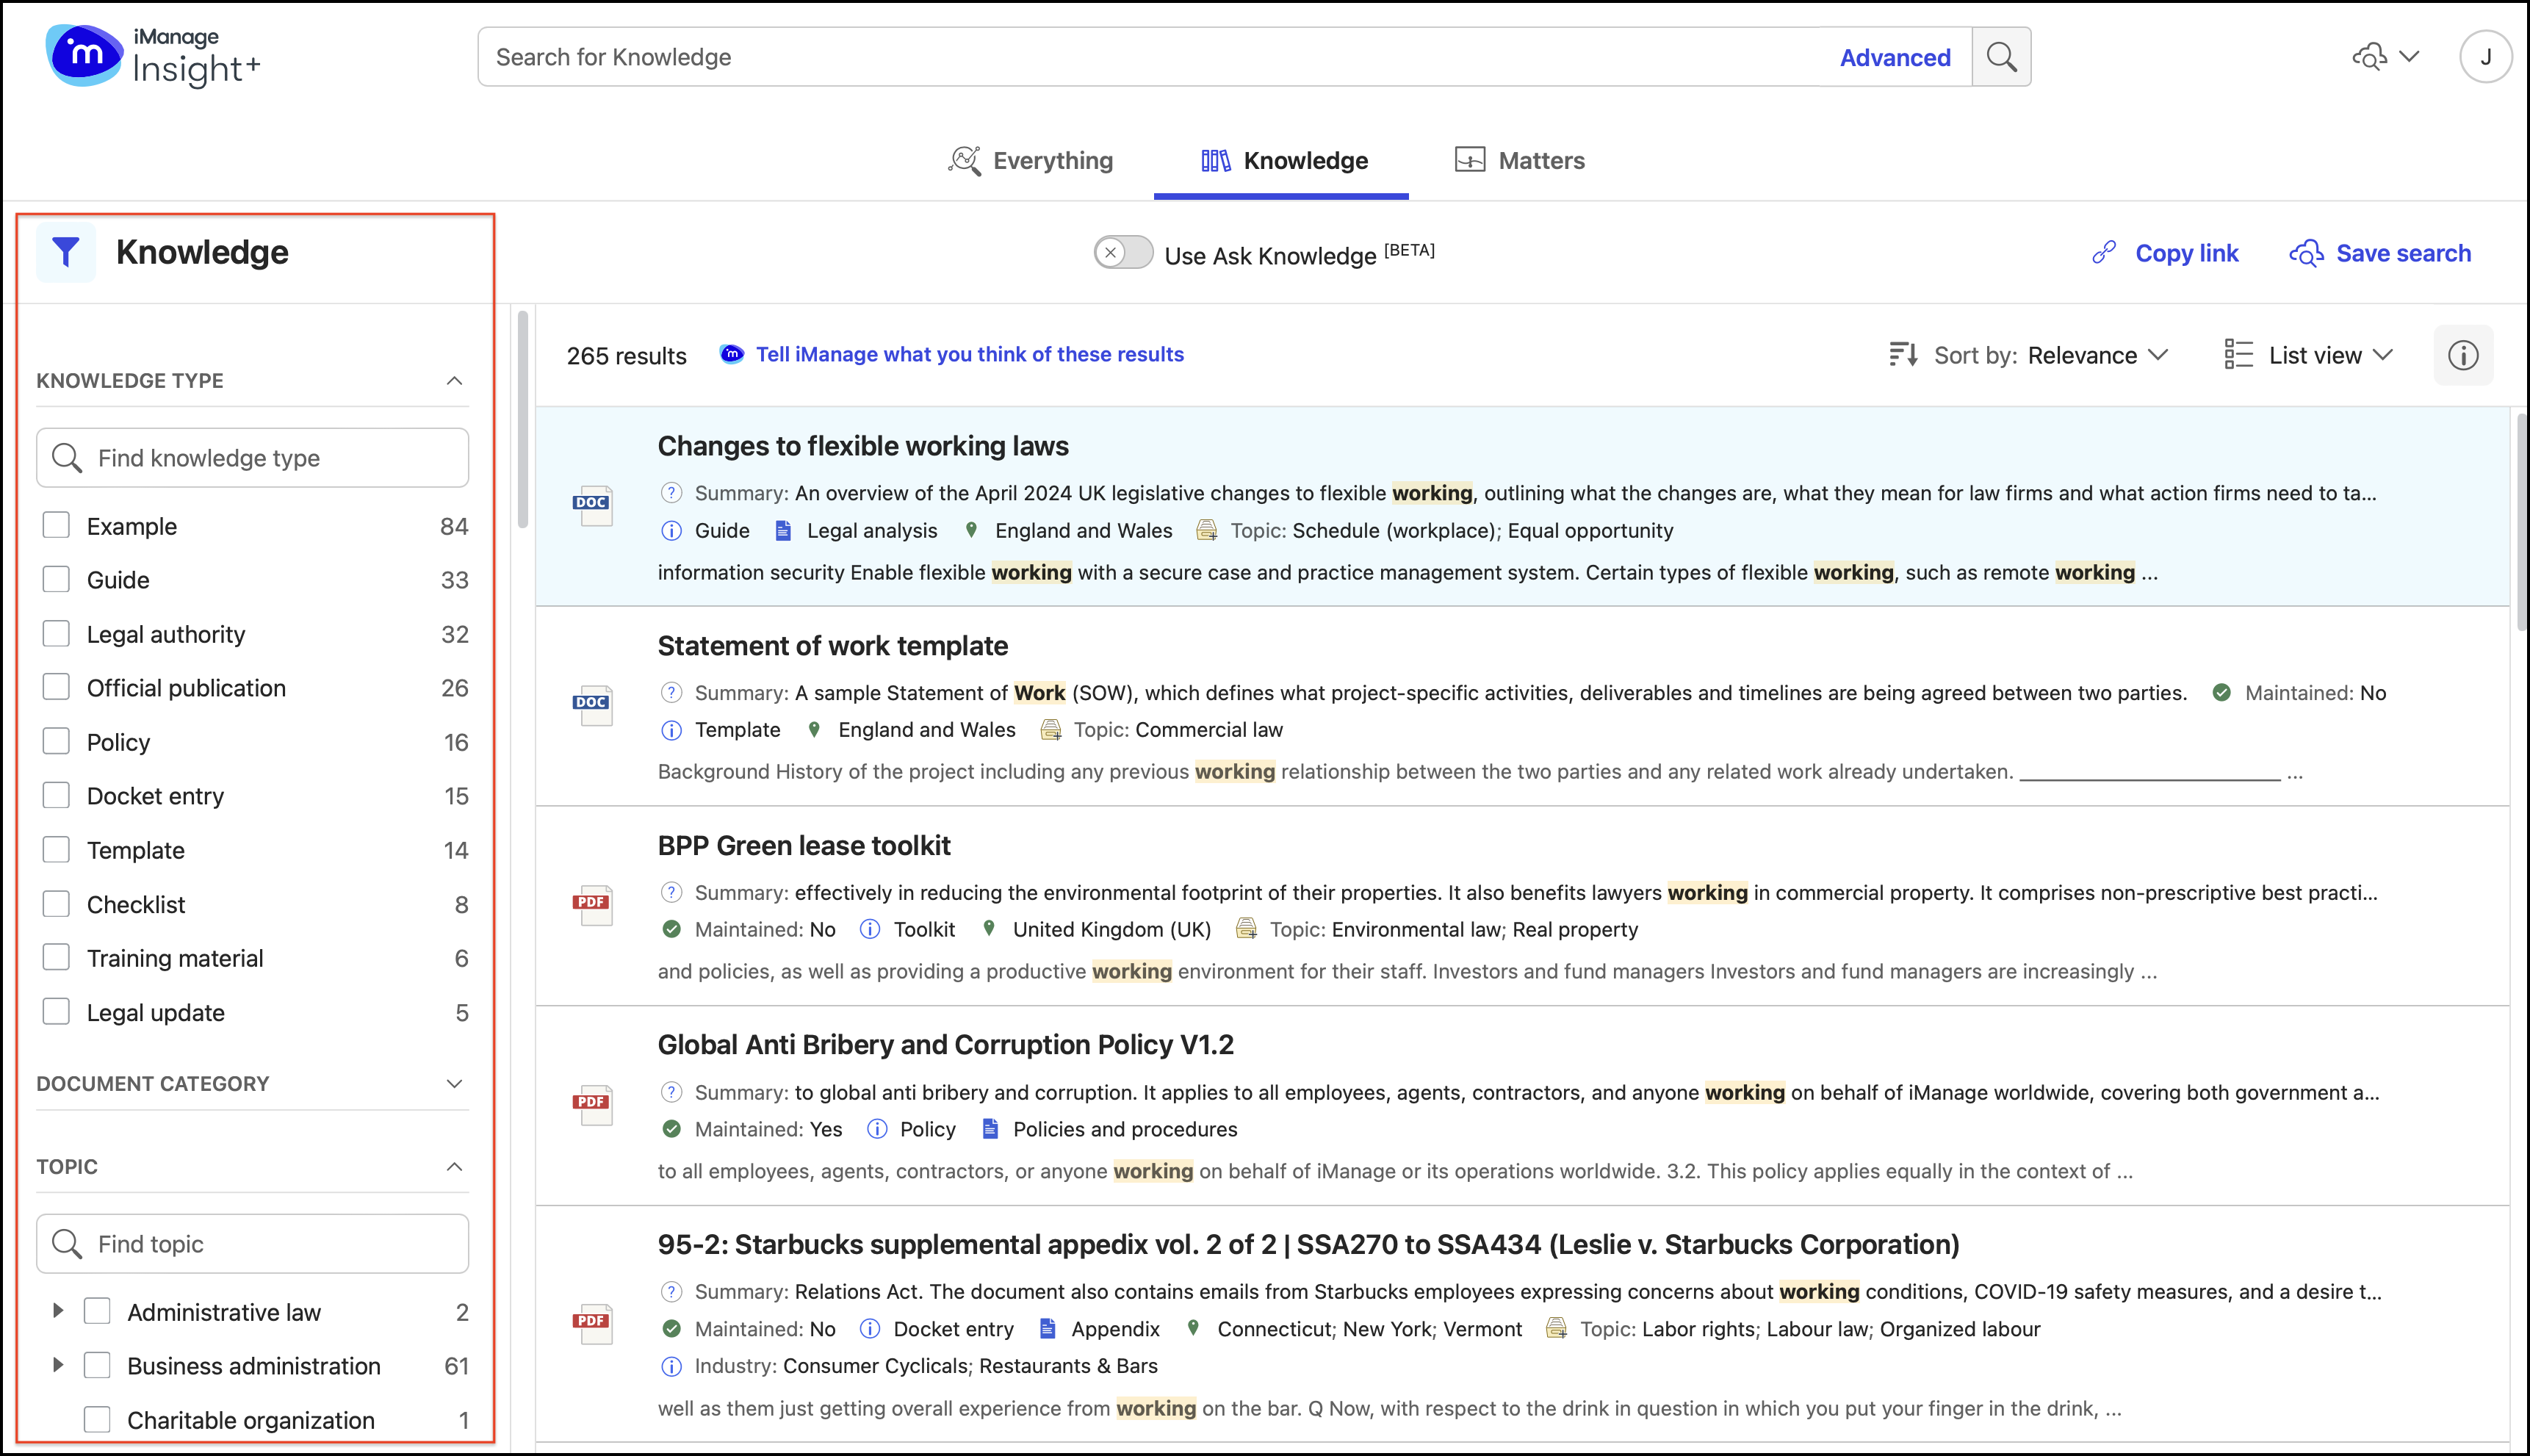
As the iManage Insight+ administrator for your organization, for every tab that’s configured, you can define the filters that will help users refine their search results.
On the Configuration page, select Filters.
Figure: Configuration page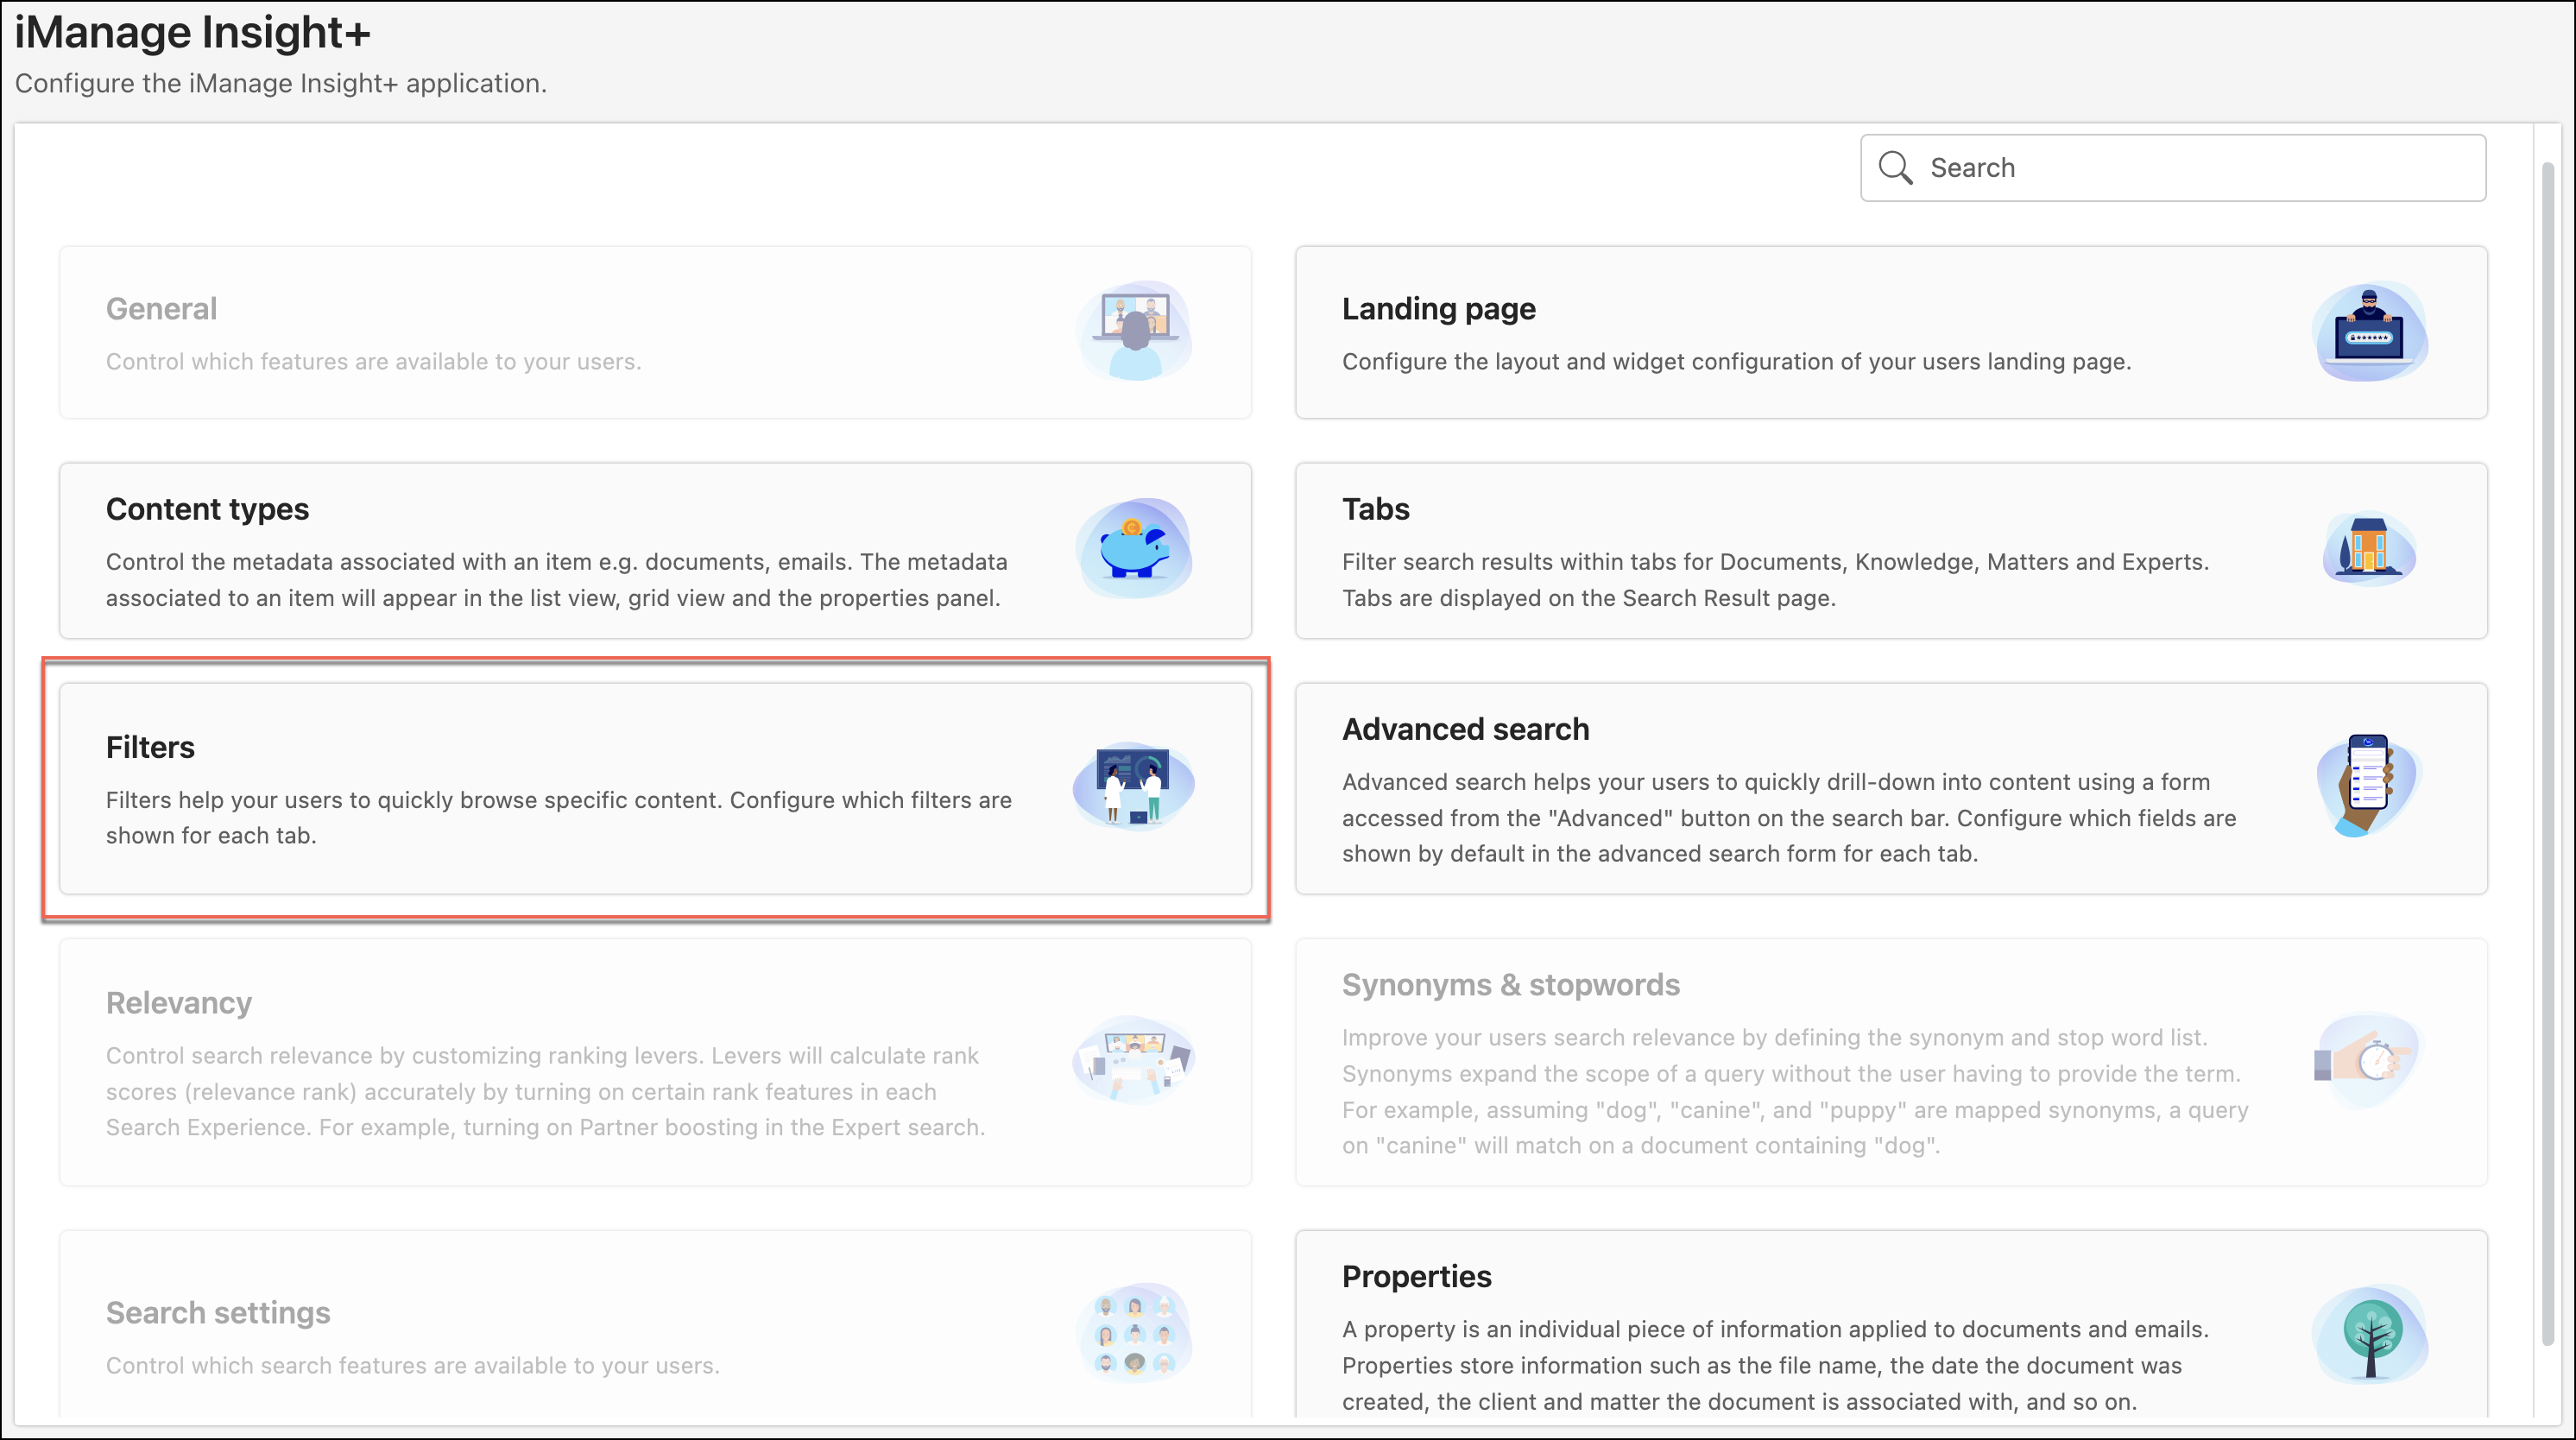
On the Filters page, the list of tabs already defined is displayed.
Figure: Tabs page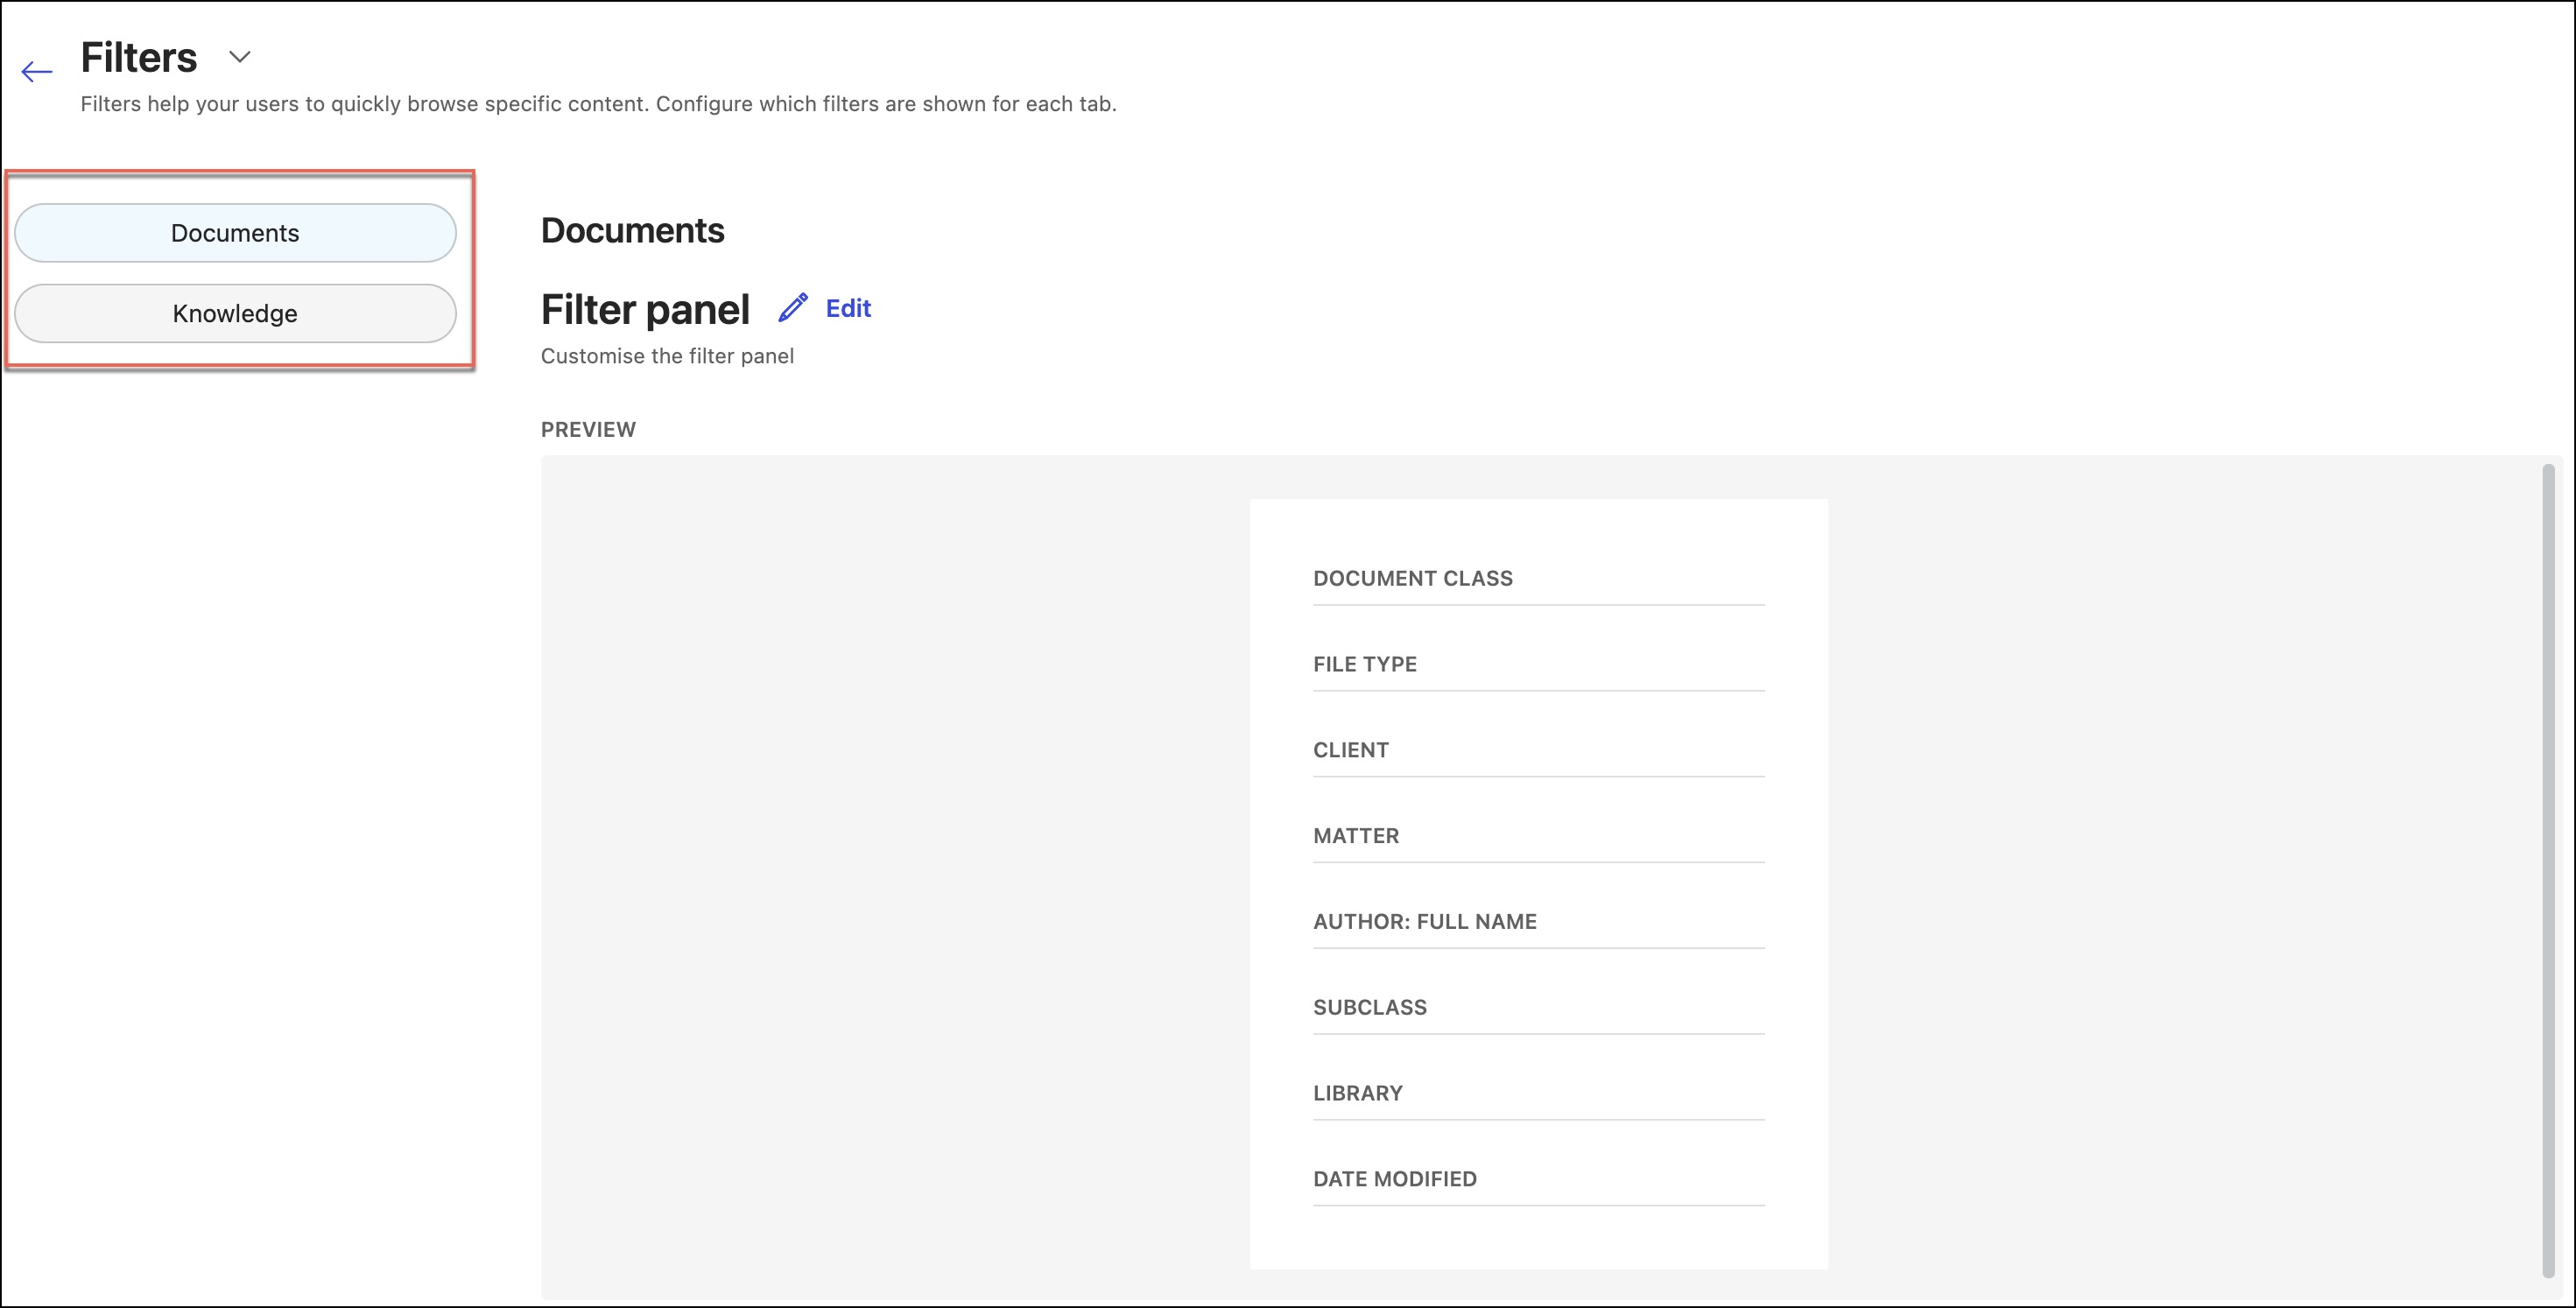
To configure filters for a tab, select the tab.
For the selected tab, you can view the list of configured filters. If you're configuring the filters for the very first time, you won't find any filters listed on the page. To configure filters for this tab, select Edit next to Filter panel.
Figure: Edit option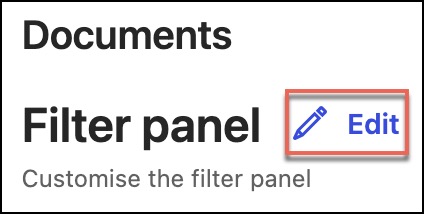
On the Edit: <Tab name> — Filters page, the available properties are displayed, from which you can select the required ones by either dragging them into the filters area or by selecting Add next to the property name. The maximum number of filters that you can add to a tab is 30.
Figure: Edit: <Tab name> — Filters page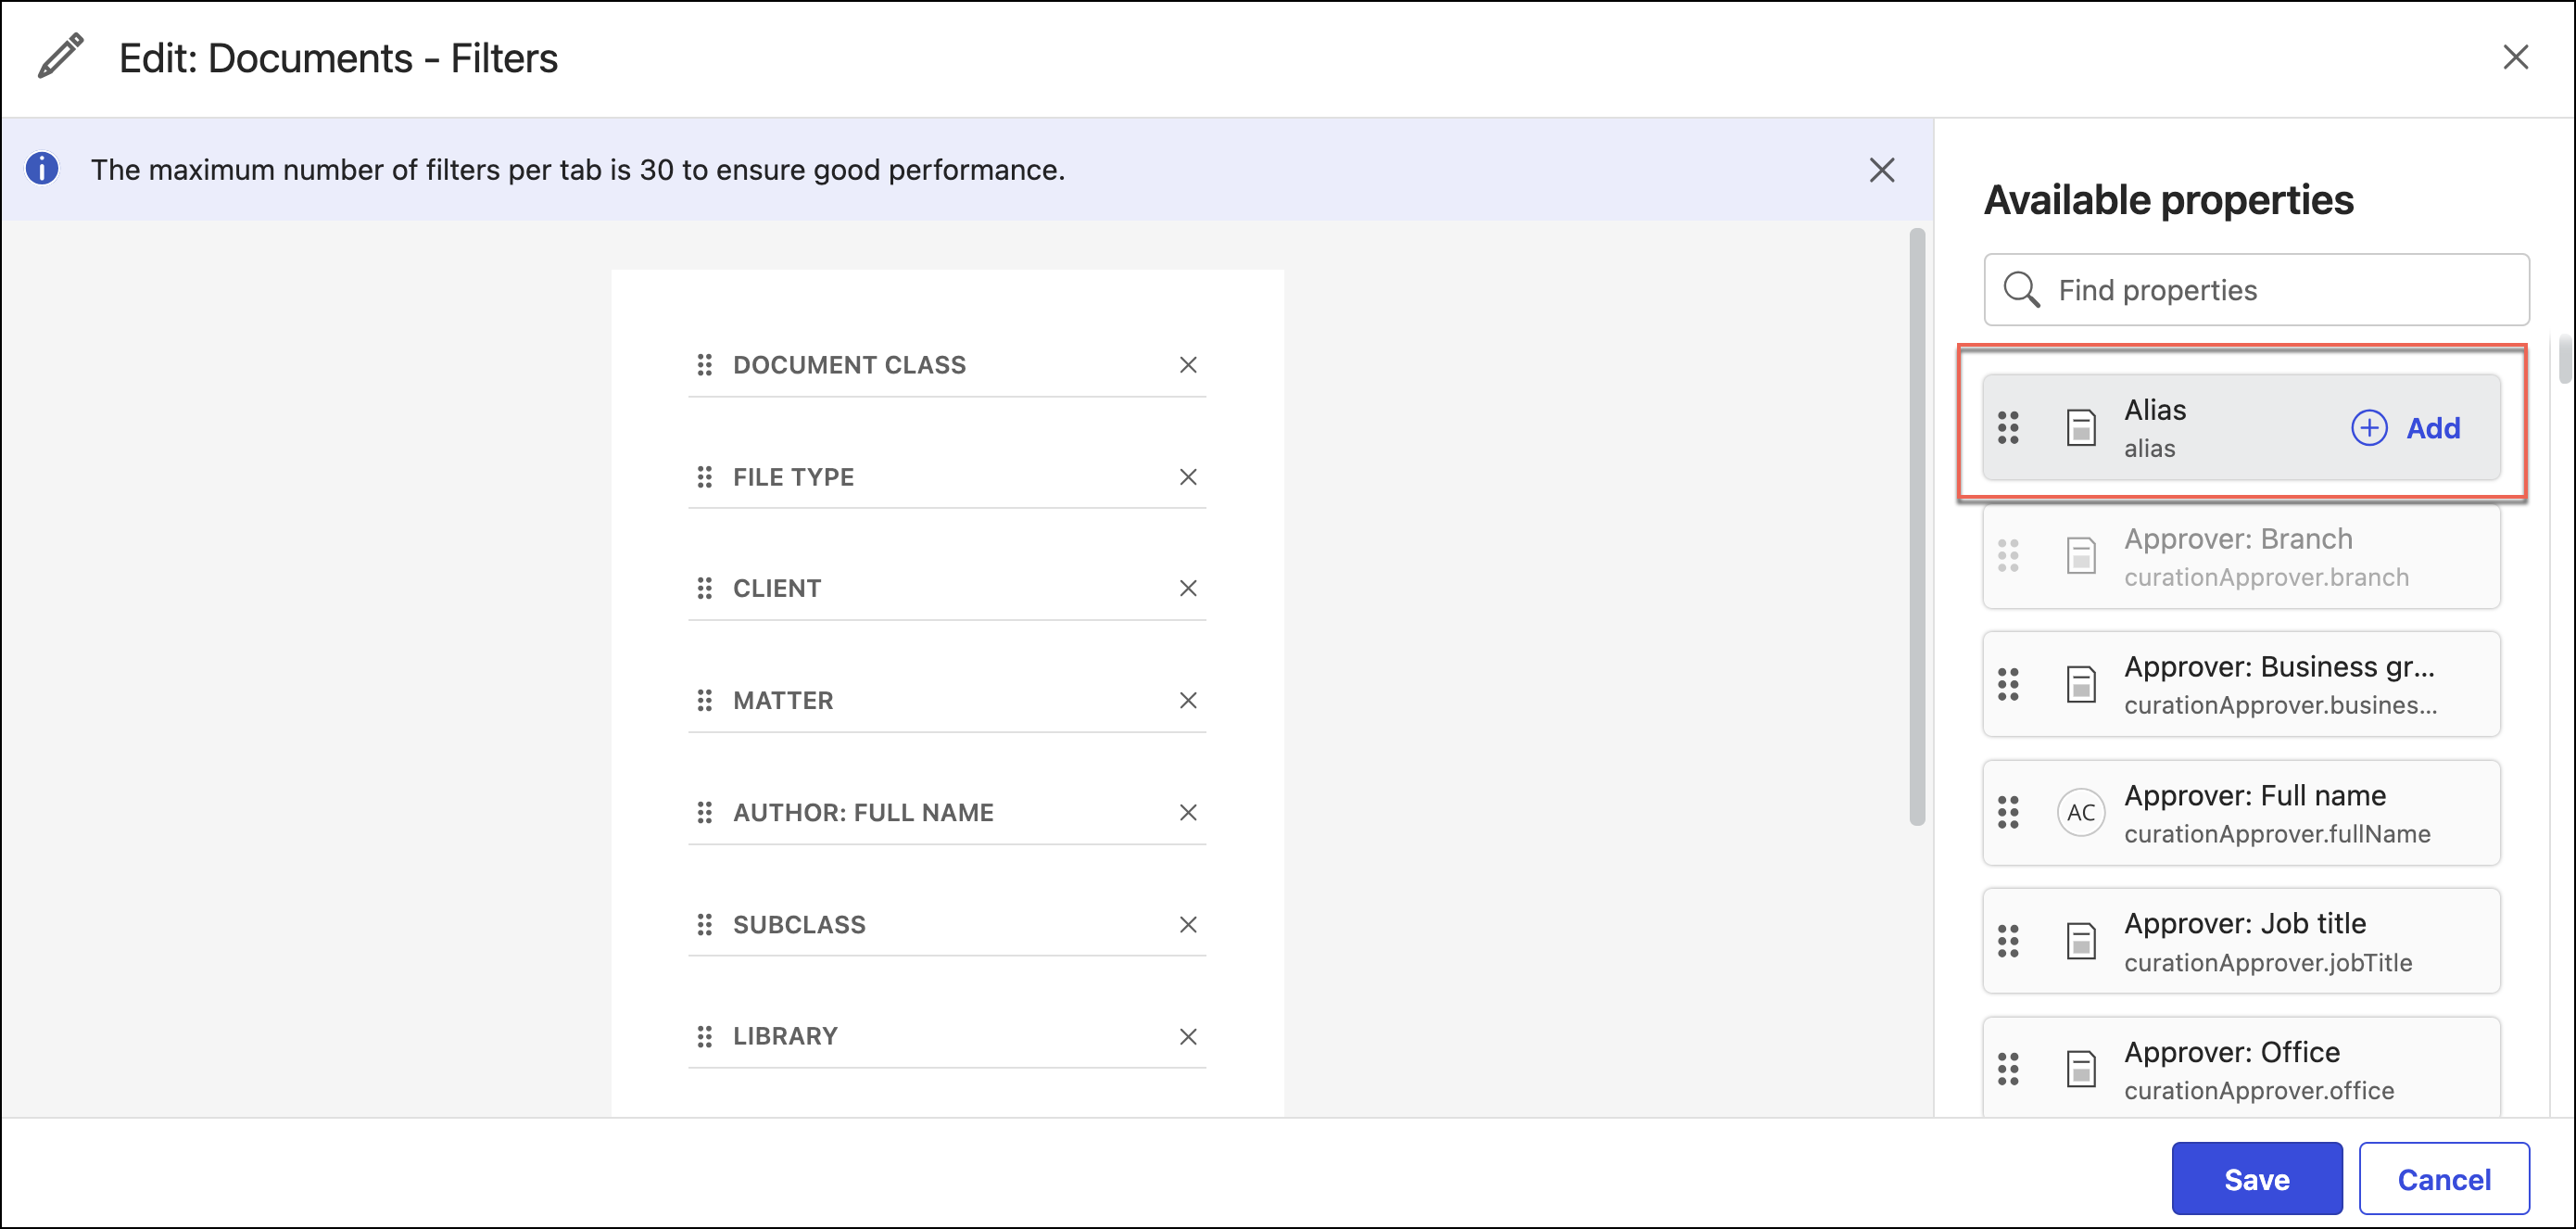
Note that the Approver: Branch property is grayed out. It indicates that the property is already added as a filter for the tab.
You can add matter-specific filters to the Matters tab. You can also choose to add matter-specific filters to the Everything tab and other documents to help your organizations' users refine their search. These Matter metadata are populated from your business systems data through warehouse integration.
NOTE: The Insight+ Matter Locator (Matter Search) feature must be enabled in iManage Control Center for you to add matter-specific filters to all documents and Everything tab. To activate this feature or for more information, contact iManage Support.Figure: Adding Matter search filters to Everything tab
Select Save to confirm the additions.