A mail-enabled security group in Microsoft 365 is a security group with an email address, allowing it to send and receive emails. This feature combines the advantages of a security group, which grants resource access, with the functionality of a distribution list for email communication.
Setting up a mail-enabled security group restricts access to the iManage Work for Outlook app to a specific set of mailboxes. This limitation enhances security by ensuring that only members of the security group can access the application. Additionally, it serves as an effective method for organizing mailboxes for testing before deploying the application organization-wide.
NOTE: After you create a mail-enabled security group, make sure the mailboxes are Active in the Mailbox Management tab in the Control Center for iManage Work for Outlook to file emails. For more information, refer to Manage mailboxes.
Follow these steps to create a mail-enabled security group.
Sign in to Microsoft 365 admin center with a global administrator account.
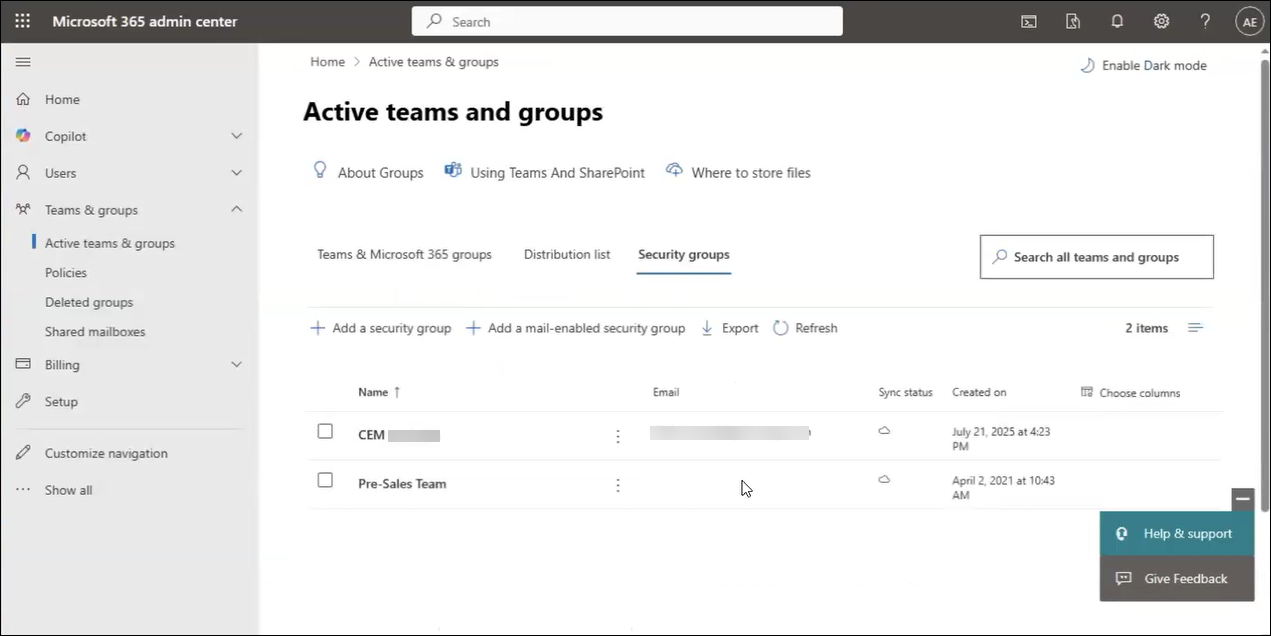
Select Teams & groups > Active teams & groups in the left-hand menu.
On the Active teams & groups page, select the Security groups tab.
Select + Add a mail-enabled security group.
On the Set up the basics page:
Provide the following details:
Name: Enter a meaningful name for the security group.
NOTE: We recommend naming the security group "Mailboxes accessible to iManage Work for Outlook".Description: Enter a meaningful description for the security group.
Select Next.
On the Assign owners page:
Select + Assign owners.
In the Assign owners dialog, use the search field to locate and select a user.
Select Add.
Select Next.
On the Add members page:
Select +Add members
In the Add members dialog, use the search field to locate and select a user. Repeat this process until all members are added.
Select Add.
Select Next.
On the Edit settings page:
Provide the following details:
Group email address: Enter the email address of the security group.
Domains: Enter the email server or organization that manages email for the security group.
Communication: Leave the Allow people outside of my organization to send email to this Mail-enabled security group option unchecked.
Select Next.
On the Review and finish adding group page:
Review the group details to ensure they're accurate and complete.
Select Create group.
On the page that confirms the group was successfully created, select Close.
An example of the Active teams and groups page after creating a mail-enabled security group is shown in the figure below.
NOTES:
After creating the mail-enabled security group, the Active teams and groups page displays the group email address assigned to the security group. Be sure to record the group email address, because it’s required when running a PowerShell command to apply mail-enabled security group membership to the iManage Work for Outlook app. For more information about running the PowerShell command, refer to the Apply mail-enabled security group membership section.
Changes to mail-enabled security group membership can take several hours to take effect.