Before you begin, make sure that you are connected to Azure.
Follow these steps to register the iManage Cloud email management application in Microsoft Azure.
Sign in to Microsoft Azure with a global administrator account.
In the Azure services section of the Microsoft Azure home page, select App registrations.
Figure: Microsoft Azure home page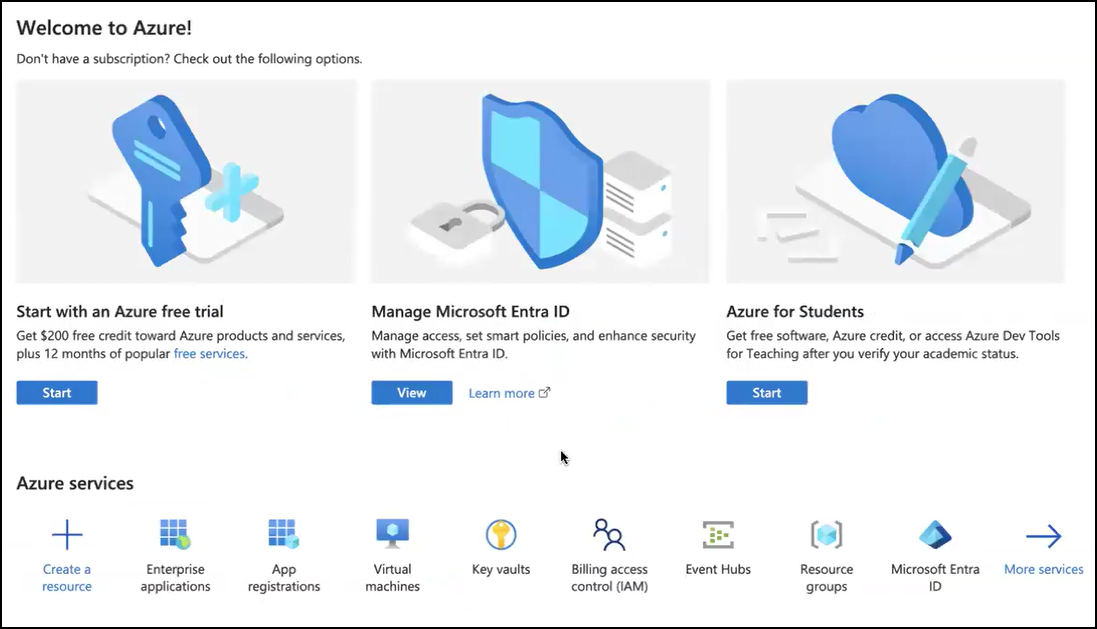
Select + New registration.
On the Register an application page, provide the following details:
Name: Enter a meaningful name for your application. This name is visible to users and can be changed later.
NOTE: We recommend naming the application “iManage E-Mail Management”.Supported account types: Choose who can use or access the application.
For iManage Cloud email management, select Accounts in this organizational directory only (<YourTenant> only - Single tenant).Redirect URI (optional): This is used to specify the location where the Microsoft identity platform should send security tokens after authentication.
For iManage Cloud email management, don’t provide a location.
Select Register.
An example of the Overview page following app registration is shown in the figure below.
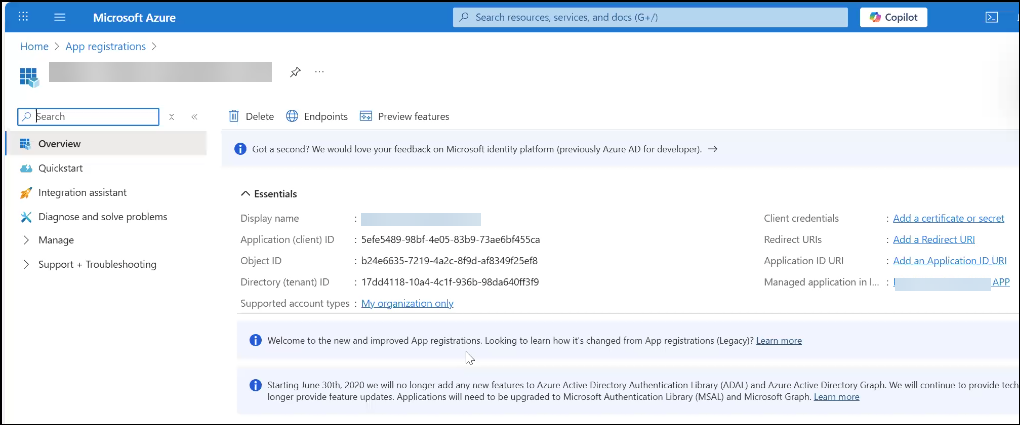
NOTE: After registration, the Overview page for the iManage Cloud email management application displays the Application (client) ID and Directory (tenant) ID. Be sure to record these IDs, because they're essential for cloudimanage.com authentication and interaction with Microsoft Azure and are needed when enrolling the application in iManage Control Center.
For more information about enrolling the application in Control Center, refer to the Enroll the iManage Cloud email management application section.