Filing emails while sending them
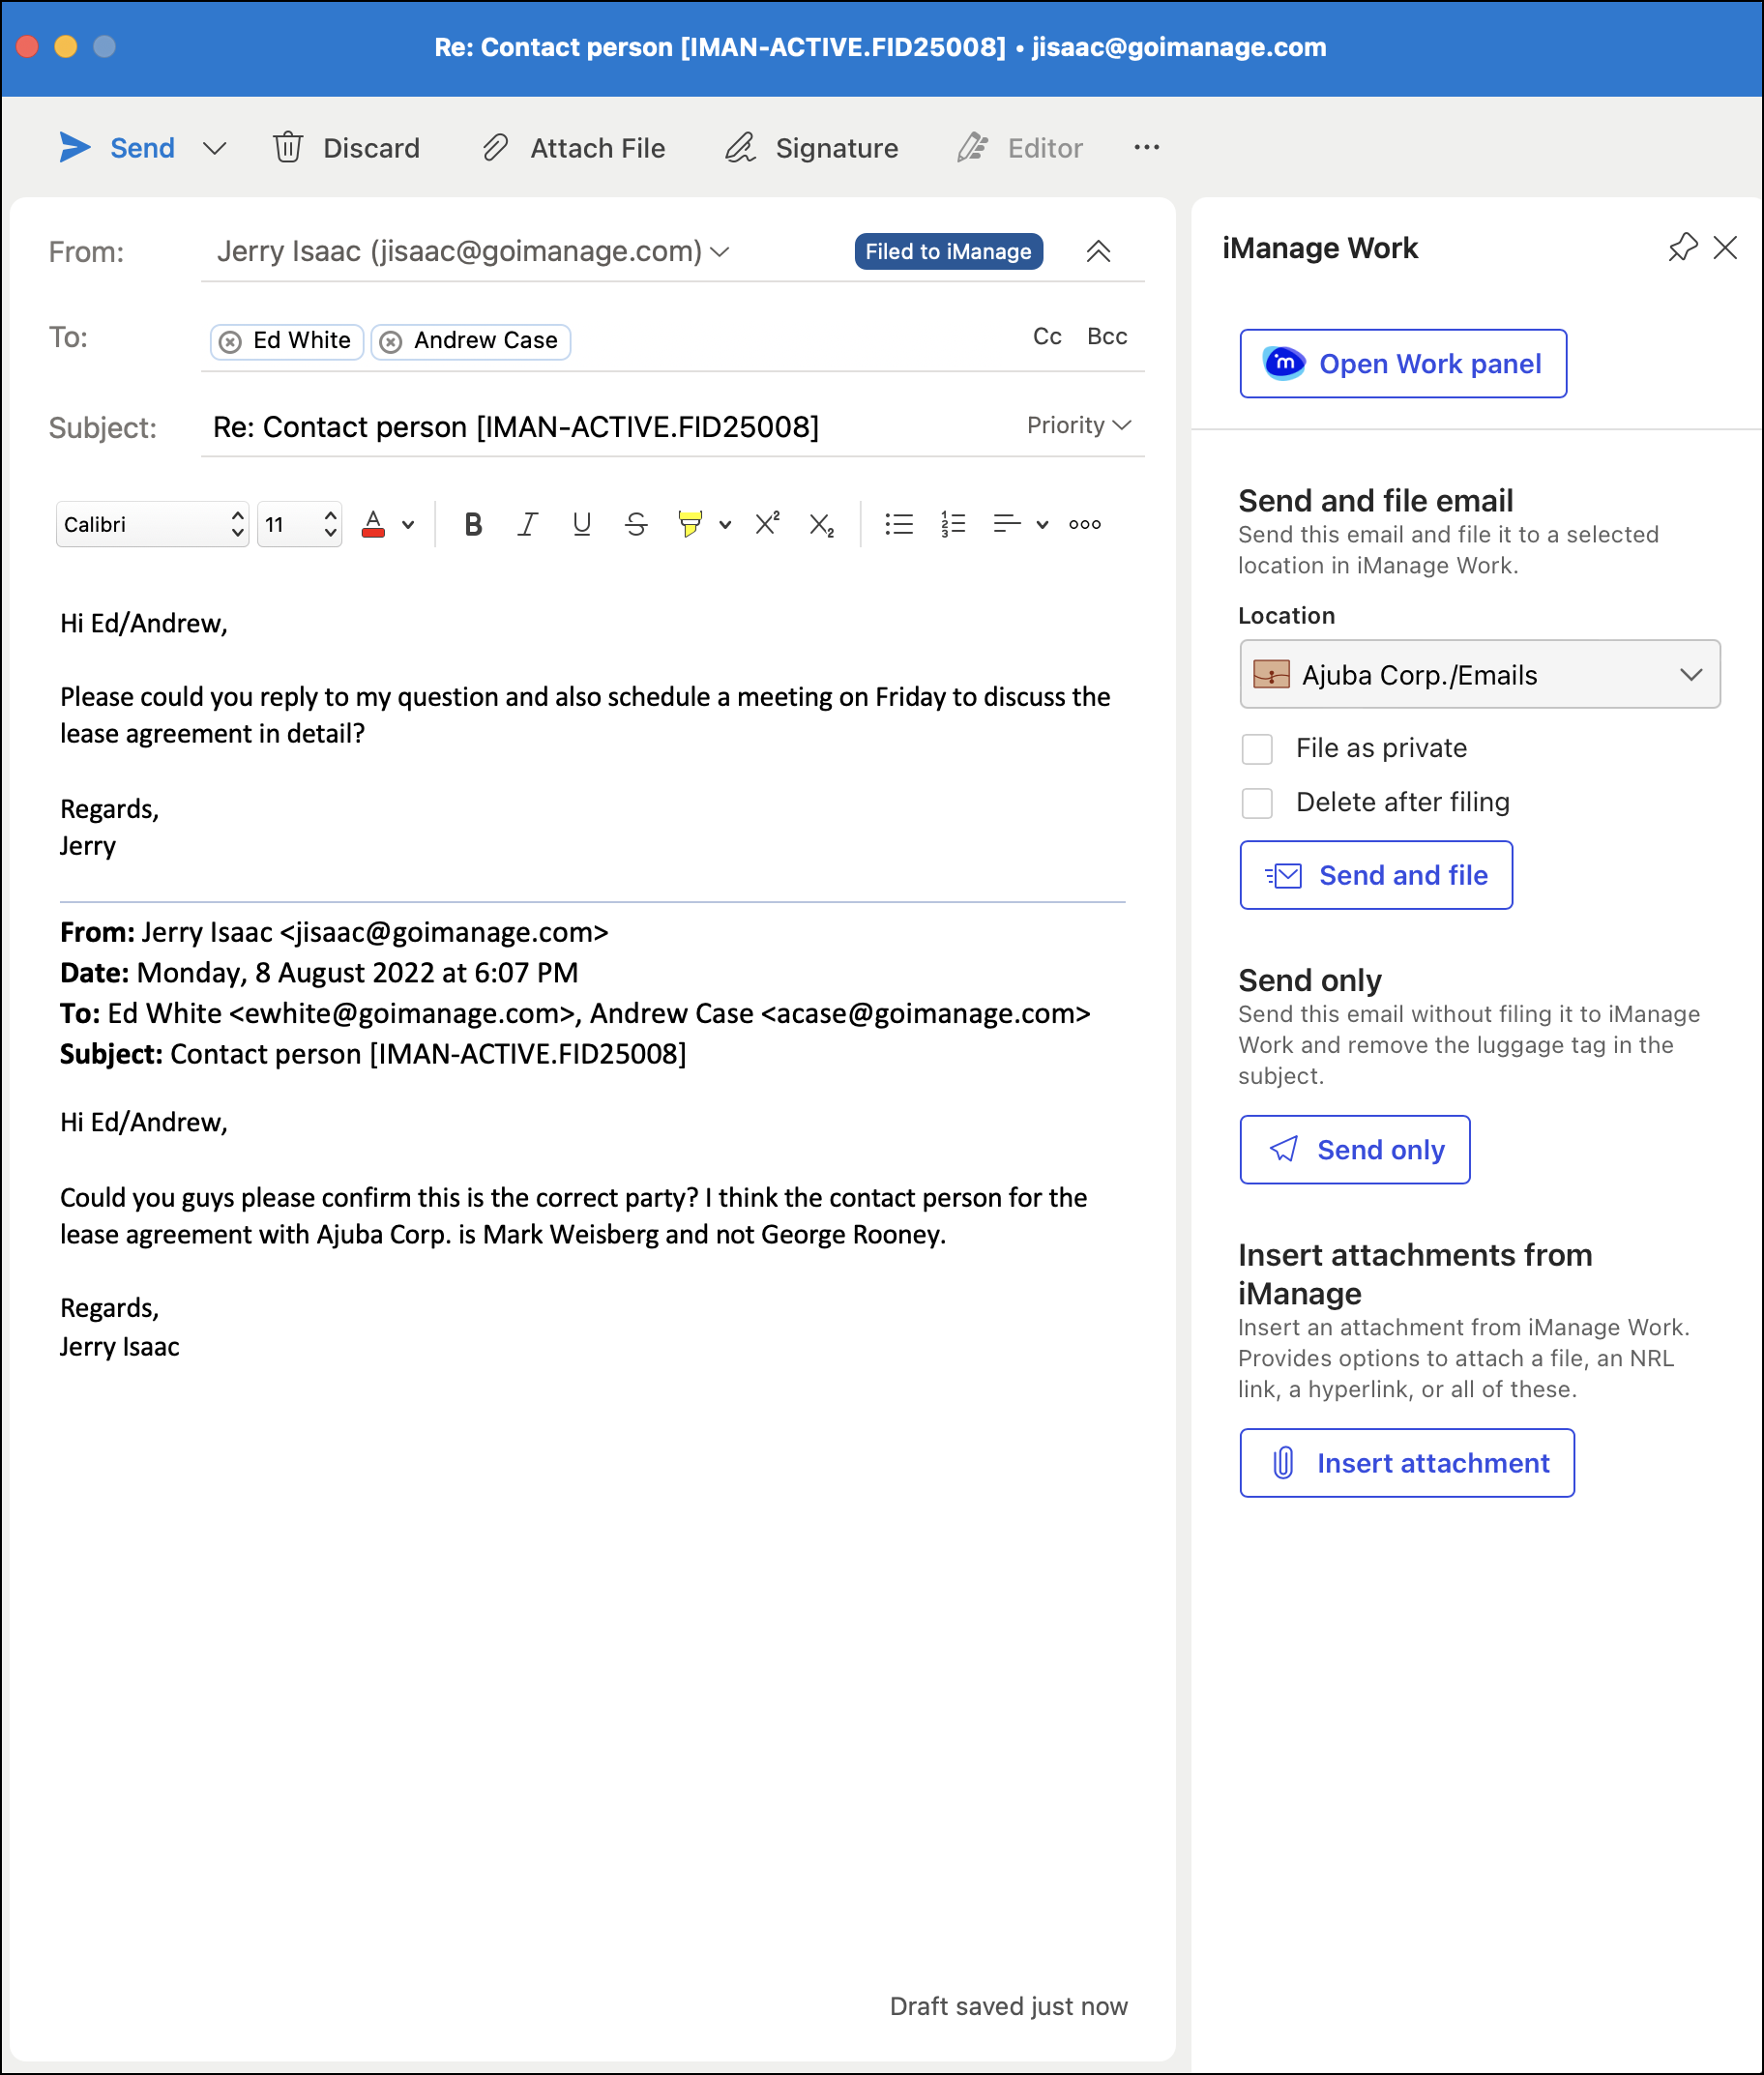
The iManage Work panel, which is also available in the email compose view in Microsoft Outlook, helps you to file emails to iManage Work while they are being sent. You can select the required filing folder or just the workspace if it has the default email filing folder and file the emails. Attachments, if any, also get filed along with the email.
While filing, you can choose one or both of the following options:
- Deleting emails that are filed
- Filing emails as private so that no other users can view the emails even when they have all rights to the workspace and the filing folder.
To file an email while sending it, perform the following steps:
- In the email you are composing, select iManage Work from the toolbar. To add the option to the toolbar, refer to Adding the iManage Work option to the Outlook toolbar.
- From the Location drop-down list in the iManage Work panel that opens, select one of the following:
- Select a Suggested or Recent location.
Select Browse and file to browse to and select a location on the server you're connected to. Select a workspace for filing only if it has the default email filing folder. For more information, refer to Filing to the default email filing folder in a workspace.
NOTE:
Errors messages are displayed when you select a workspace and the default filing folder is unavailable, or when you don't have permission for a location that you have selected. Browse to another location and then select Send and file.
- (Optional) Select one or both the following check boxes:
- File as private: File the email as private so that no other users can view the emails even when they have all rights to the workspace and the filing folder.
- Delete after filing: Delete the email after it is filed to iManage Work.
- Select Send and file.
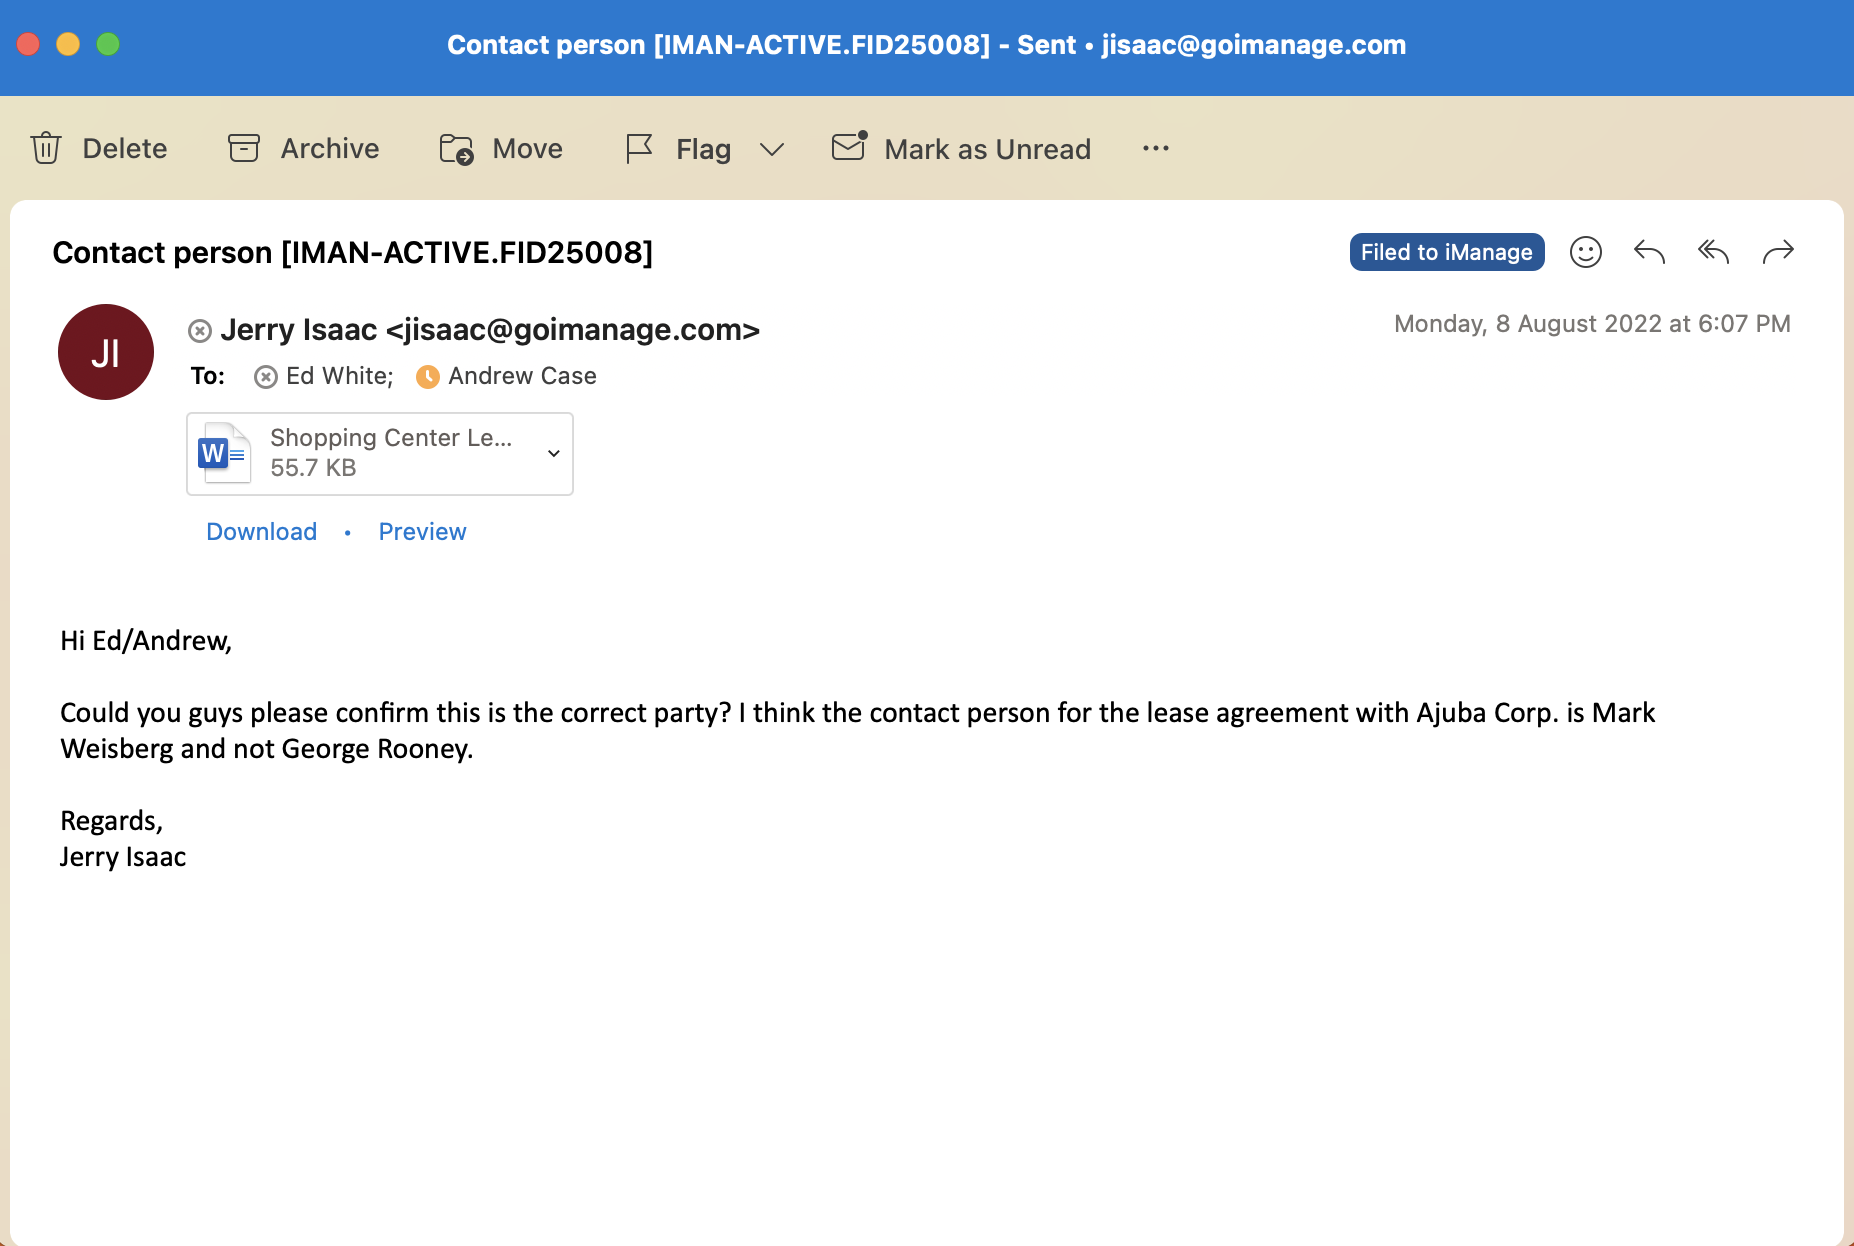
The luggage tag is added at the end of the email subject line, to identify emails saved to iManage Work using the Send and File option and the tag displays the following details by default:
- Your organization's identity
- Name of the database where the email is filed
- ID of the folder where the email is filed
For more information, refer to the Customizing the luggage tag for Send and File emails section in iManage Work Desktop for Mac Administration Guide.
The emails also have the  label.
CAUTION:
To ensure that filing details for highly confidential emails remain hidden, you can turn off luggage tags when using the Send and File feature by adding the Include Luggage Tag option in the com.imanage.configuration.plist file and setting it to false. The emails get filed as usual and the Filed to iManage label is displayed in Microsoft Outlook, but the luggage tag isn't added. For more information, refer to the Turning off luggage tags for outgoing emails section in iManage Work Desktop for Mac Installation Guide.
Figure: Send and File

When you forward, reply, or reply all to emails with the luggage tag, even these replies and forwards get filed and a record of the entire conversation is saved in iManage Work for future reference. To Send and File the replies and forwards to another location, repeat the aforementioned procedure.
Send emails without filing and removing the luggage tag
By default, when using the Send or Send and File options to forward, reply, or reply all to emails that already have a luggage tag, the tag is retained in the email subject and the emails are filed. Use the Send only option to remove the luggage tag and send the emails without filing.
Figure: Send only

If you want the luggage lag to be retained when using the Send only option, add the Remove Luggage Tag For Send Only option in the com.imanage.configuration.plist file and set it to false. For more information, refer to the Retaining luggage tag when using the Send only option section in iManage Work Desktop for Mac Installation Guide.