Creating a BlackBerry Dynamics Connectivity Profile
- In the BlackBerry UEM console, select Policies and profiles.
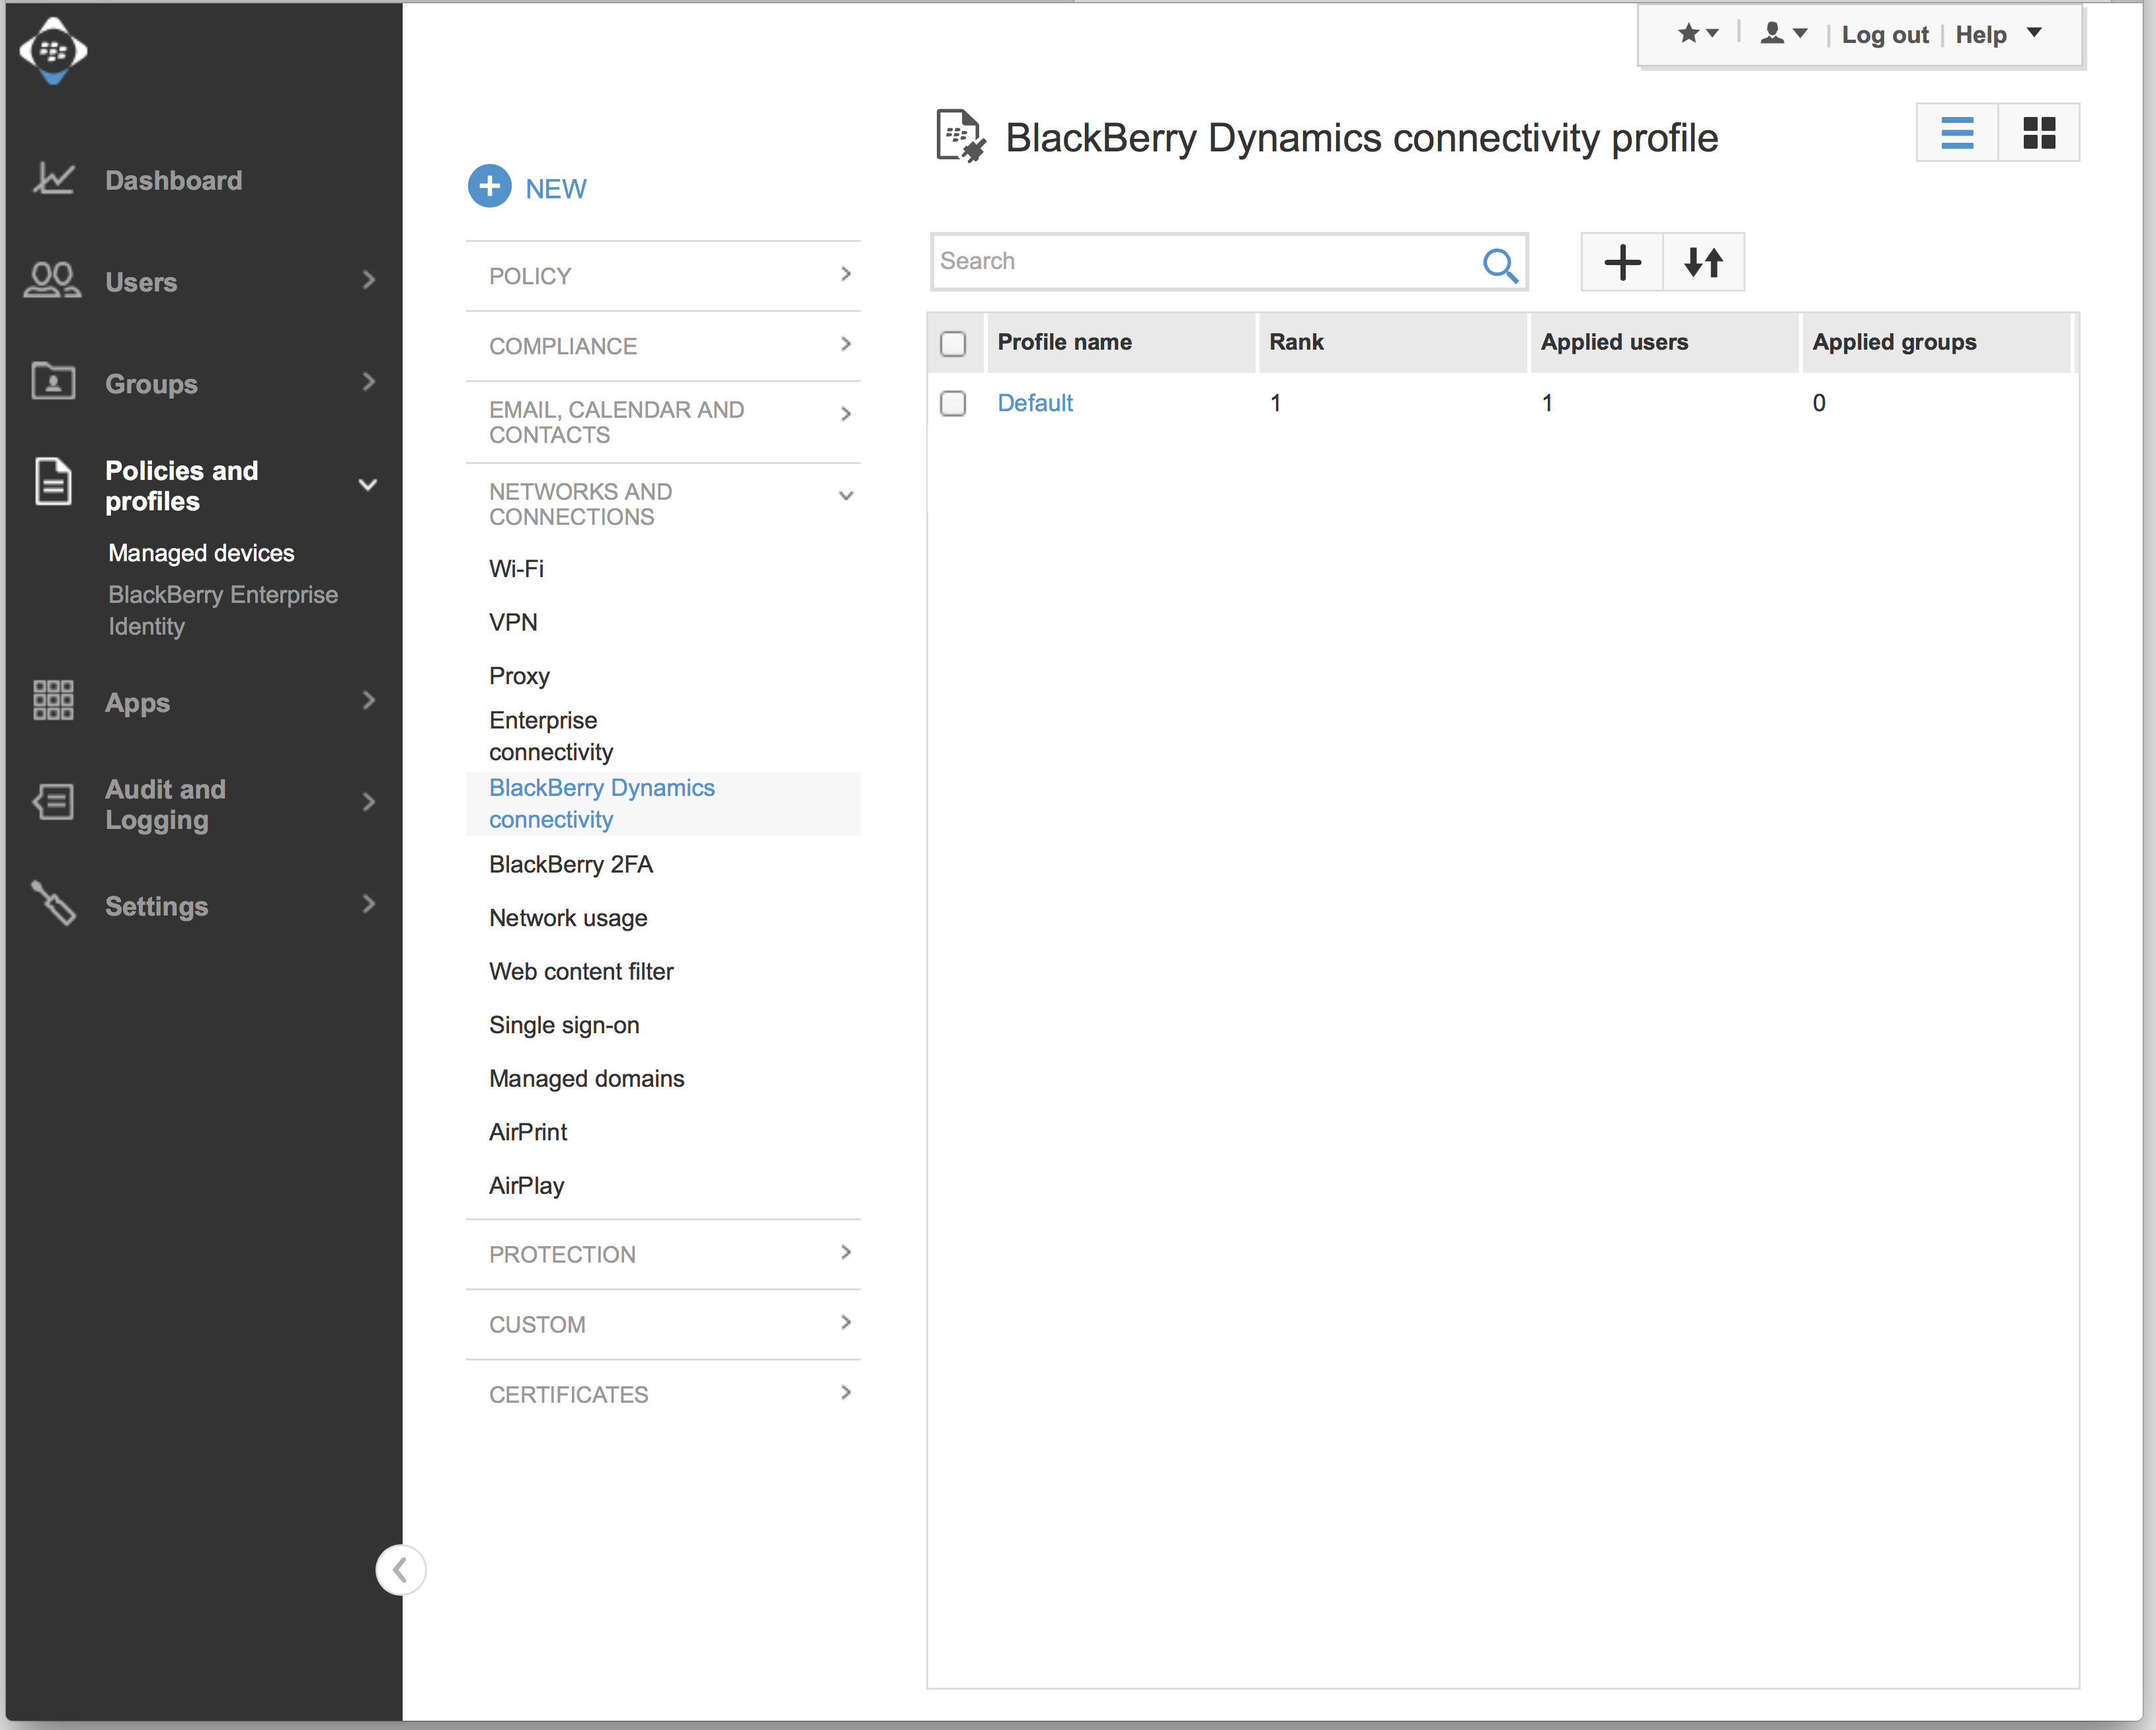
- Navigate to Managed devices > Networks And Connections > BlackBerry Dynamics Connectivity.
BlackBerry Dynamics connectivity profile appears.
Figure: BlackBerry Dynamics connectivity profile
- Select
 to add a profile.
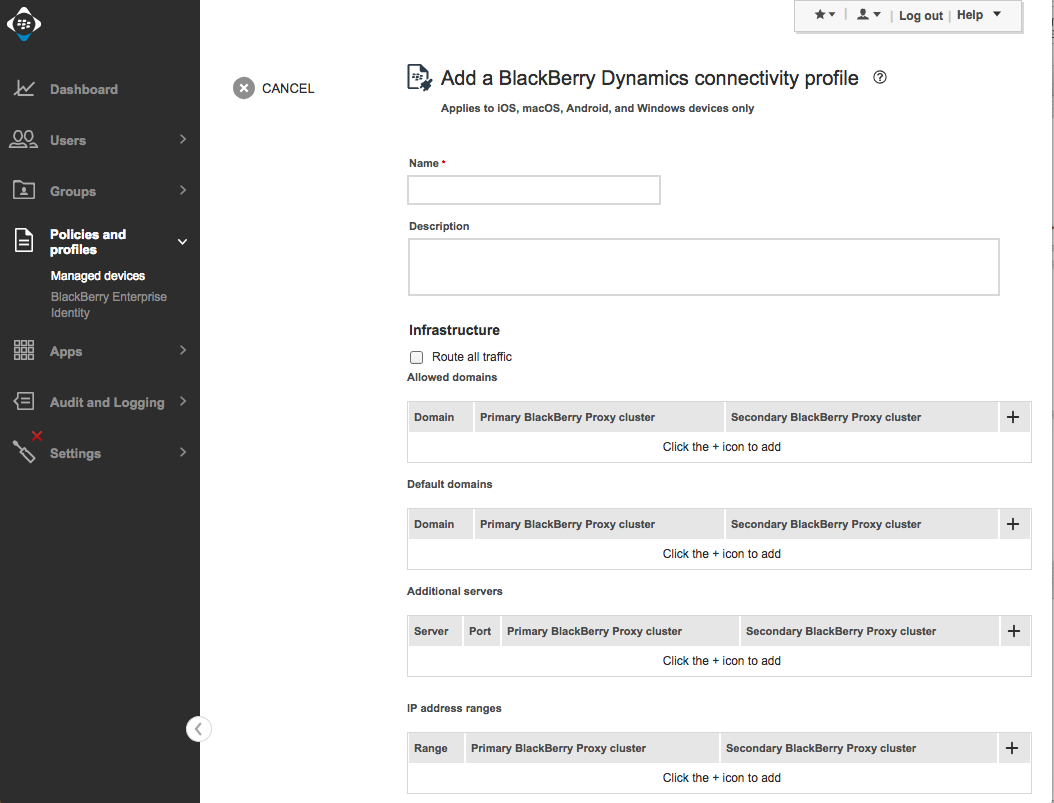
Add a BlackBerry Dynamics Connectivity profile screen appears.
Figure: Add a BlackBerry Dynamics Connectivity profile
Enter the profile name and description.
If you have multiple iManage Work Servers, select Route all traffic under Infrastructure, so that you do not have to allow each server individually.
This feature routes all traffic from the application into a network that the on-prem BlackBerry UEM server is on.NOTE:
If you are using AD FS or SSO, all the servers in the chain of redirects must be allowed.
- Add the iManage Work Server details for iManage Work Mobility for BlackBerry Dynamics.
- Under App servers, select Add.
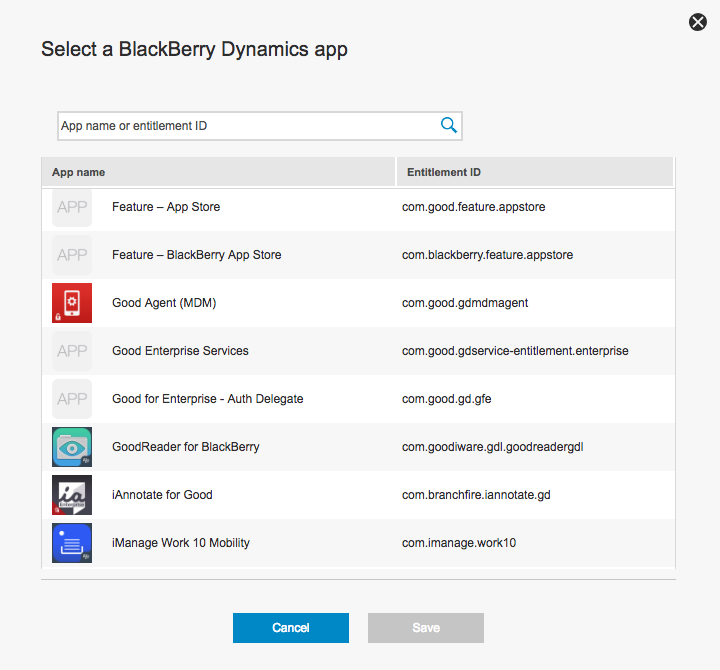
Select a BlackBerry Dynamics app screen appears.
Figure: Select a BlackBerry Dynamics app
- Select iManage Work Mobility, and select Save.
For adding the iManage Work Server details, a section is added to the bottom of the screen.
Figure: App servers for
- Select
 to add the Work Server details.
Add an app server screen appears.
Figure: Add an app server
- Enter the details in the following fields:
- Server: iManage Work Server FQDN host name.
Port: Default Port (443) of the Work Server that is used to access the server.
NOTE:
You can retain default values for other fields. For more information on these fields, refer to BlackBerry documentation.
- Select Save.
The server details are populated in the app server table for iManage Work Mobility for BlackBerry Dynamics. - Select Add.
The newly created profile is added to the list of BlackBerry Dynamics connectivity profiles.
Ensure that you assign this BlackBerry Dynamics connectivity profile to the group created earlier (see Deploying iManage Work Mobility for BlackBerry Dynamics).