Managing Documents and Workspaces
In this application, the documents or workspaces are displayed that are found as the result of a search activity. The search is based on the filter parameters. Other features include unlocking checked-out document, reviewing the check-out information, document history, and users' access on documents and workspaces.
Searching for Documents
Select Content > Documents application.
Enter the field parameters in the search bar to retrieve the documents. All the filtered documents are displayed.
Figure: Documents Application

Actions that can be performed on all the documents:
Check Effective Access (1) - Click this icon and enter the user ID to display the access rights of the user for the selected document. Effective access calculates the user's access rights on the document. This takes into account the security model in effect (pessimistic, optimistic, or hybrid) and the access rights based on the groups the user is assigned to in the Access Control List (ACL).
History(2) - Click this icon to see the history of the document such as User, Application, Activity, Date-Time, and so on.
Export as CSV - Click
 and select Export as CSV to generate DocumentReport.csv which contains the details of searched documents such as Document Number, Version, Author, Last Modified Date, and so on.
Additional actions which can be performed only on the checked-out documents:
Checkedout Information (3) - Click this icon to display the information such as Checked out by, Checkout Path, Date-Time and so on. This option appears on the UI only for the checked-out documents.
Unlock (4) - Click the Unlock icon to unlock the document. By unlocking a document, user's local changes are lost and the document is restored to its previous state. This option appears on the UI only for the checked-out documents.
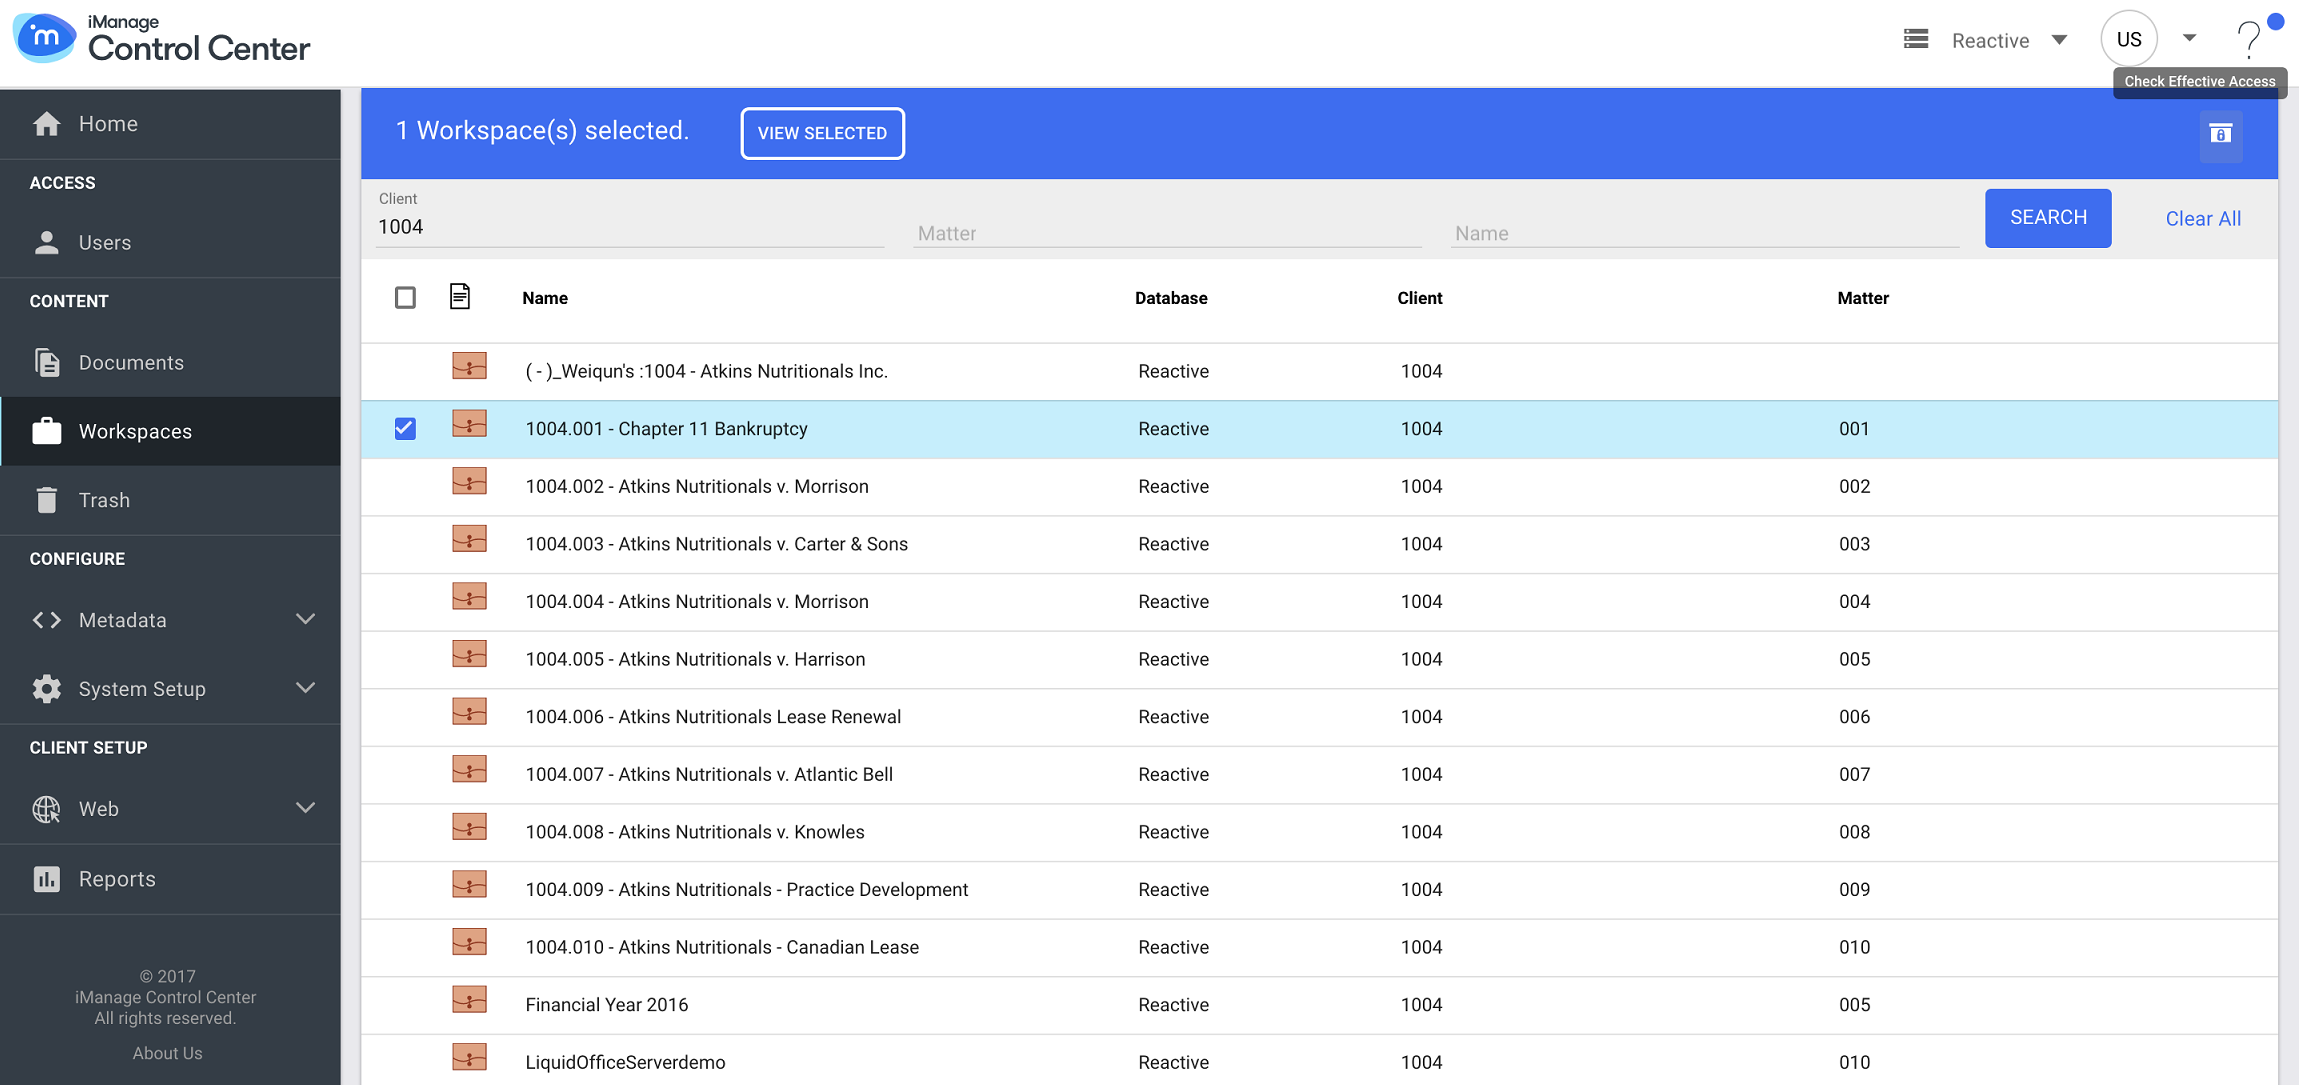
Searching for Workspaces
Select Content > Workspaces application.
Enter the filter parameters in the search bar to retrieve the workspaces.
All the filtered workspaces are displayed.
Figure: Workspaces Application
Perform the following actions on workspaces:
Check the access rights of a user
Select a workspace in the search result set, and click Check Effective Access.
Enter User ID in Check Effective Access dialog box. The access right information of the user on the selected workspace is displayed.
Exporting as CSV - Click
and select Export as CSV to generate WorkspaceReport.csv which contains the details of searched workspaces such as Name, Database, Custom1 and Custom2.