Managing Metadata
Metadata defines additional information about the container or document. It can be considered data about the data. For example, a user may want to know which matter the file is associated with, which billing code to use, the document status, the responsible lawyer, and other information. In addition, this information may change periodically and have to be updated, such as if the responsible lawyer changes, or, in the case of email, to automatically record the receive date. These fields provide a container to store information related to the item but not directly in the item. Custom fields names can changed, or customized, to match your business' terms. A company name, matter, or other relevant label can be used to make the use of the field more obvious.
The following features are available for metadata:
Ability to search metadata: Allows you to enter the metadata value to be searched.
Ability to filter metadata: Allows you to filter metadata. Select
 to filter by HIPAA Compliant and Enable. You also see Clear All option. This helps you to clear filter inputs.
Toggle filter fields: Allows you to hide or show filter inputs.
Ability to view selected metadata: You see VIEW SELECTED option on the ribbon bar. This allows you to view the list of documents you selected to restore or delete . When you click this button, i n the header section, on the ribbon bar, you now see SHOW ALL button, select this to see the previous list .
Adding Metadata
Select Configure > Metadata, and choose a custom value to which you want to add an entry.
Select
 to add a new entry. The respective add page appears. For example, if Custom1 table is selected, the Add Custom1 page appears.
Figure: Add Custom Metadata Information
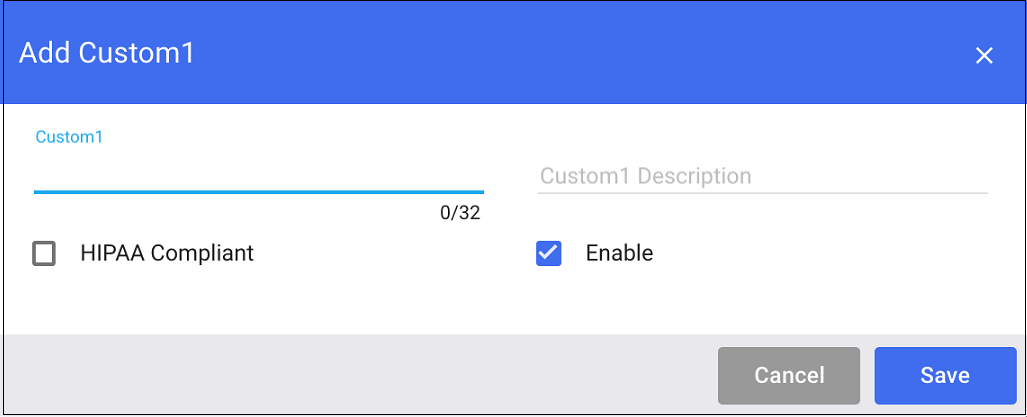
Enter the information and click Save. A new custom entry is added.
Field
Description
Custom1
Name of the custom1 field.
Custom1 Description
Additional information about the custom1 field.
HIPAA Compliant
Select to enable the encryption of documents that are compliant with the Health Insurance Portability and Accountability Act of 1996 (HIPAA), the Health Information Technology for Economic and Clinical Health Act of 2009 (HITECH), and other Privacy Acts requiring encryption of sensitive or privileged data.
For more information, refer to Encryption of Sensitive Content in iManage Work Server Administration Guide.
Enable
Select to enable the custom1 field.
Editing Metadata
Select Configure > Metadata, and choose a custom value to which you want to add an entry.
Select custom entry.
If this for either custom1 or custom30, select directly on the item name. Its screen displays.
For any other profile field, on ribbon bar, select
 to edit. Its edit dialog displays.
Edit the fields as needed.
Description
HIPPA Compliant
Enable/Disable (depending on the status of the custom value)
To edit Custom2 or Custom30:
Navigate into Custom1 (for Custom2) and Custom 29 (for Custom30) entries. There is an additional tab.
Enter the entry.
Select
to edit.Make the edits.
Select Save.
Deleting Metadata
Select the custom entry you want to delete and select
 . You are prompted to confirm the deletion. Alternately, on the ribbon bar, you can select
to perform deletion.
. You are prompted to confirm the deletion. Alternately, on the ribbon bar, you can select
to perform deletion.
Select Yes. The custom metadata entry is deleted.