Create holds
In the list view, select Holds.
Figure: Browsing to holds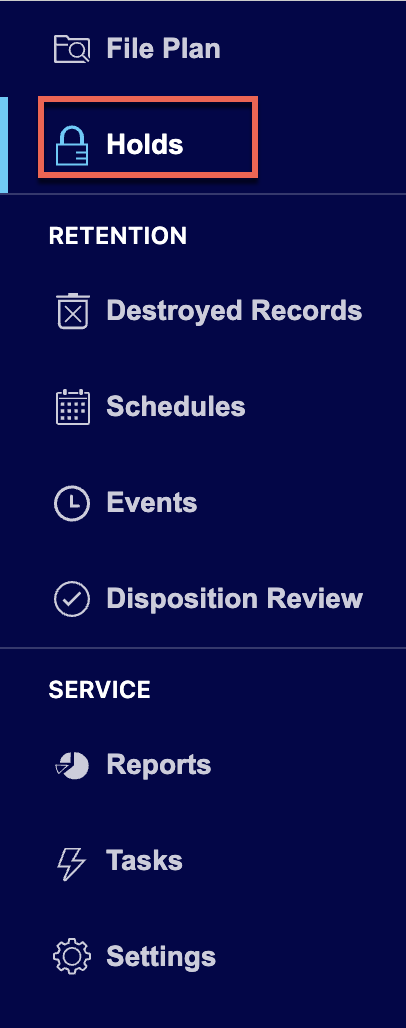
Select Add Hold.
Figure: Select Add Hold
In the Add Holds dialog, enter the hold name in the Title field.
(Optional) Enter a description in the Description field.
(Optional) Enter expiration date in the Expiry Date field. When you enter this value, the hold expires after the selected date. If the hold is applied to any retention schedule, the schedule is processed after the hold expires. If no date is defined, the hold never expires.
Figure: Create a hold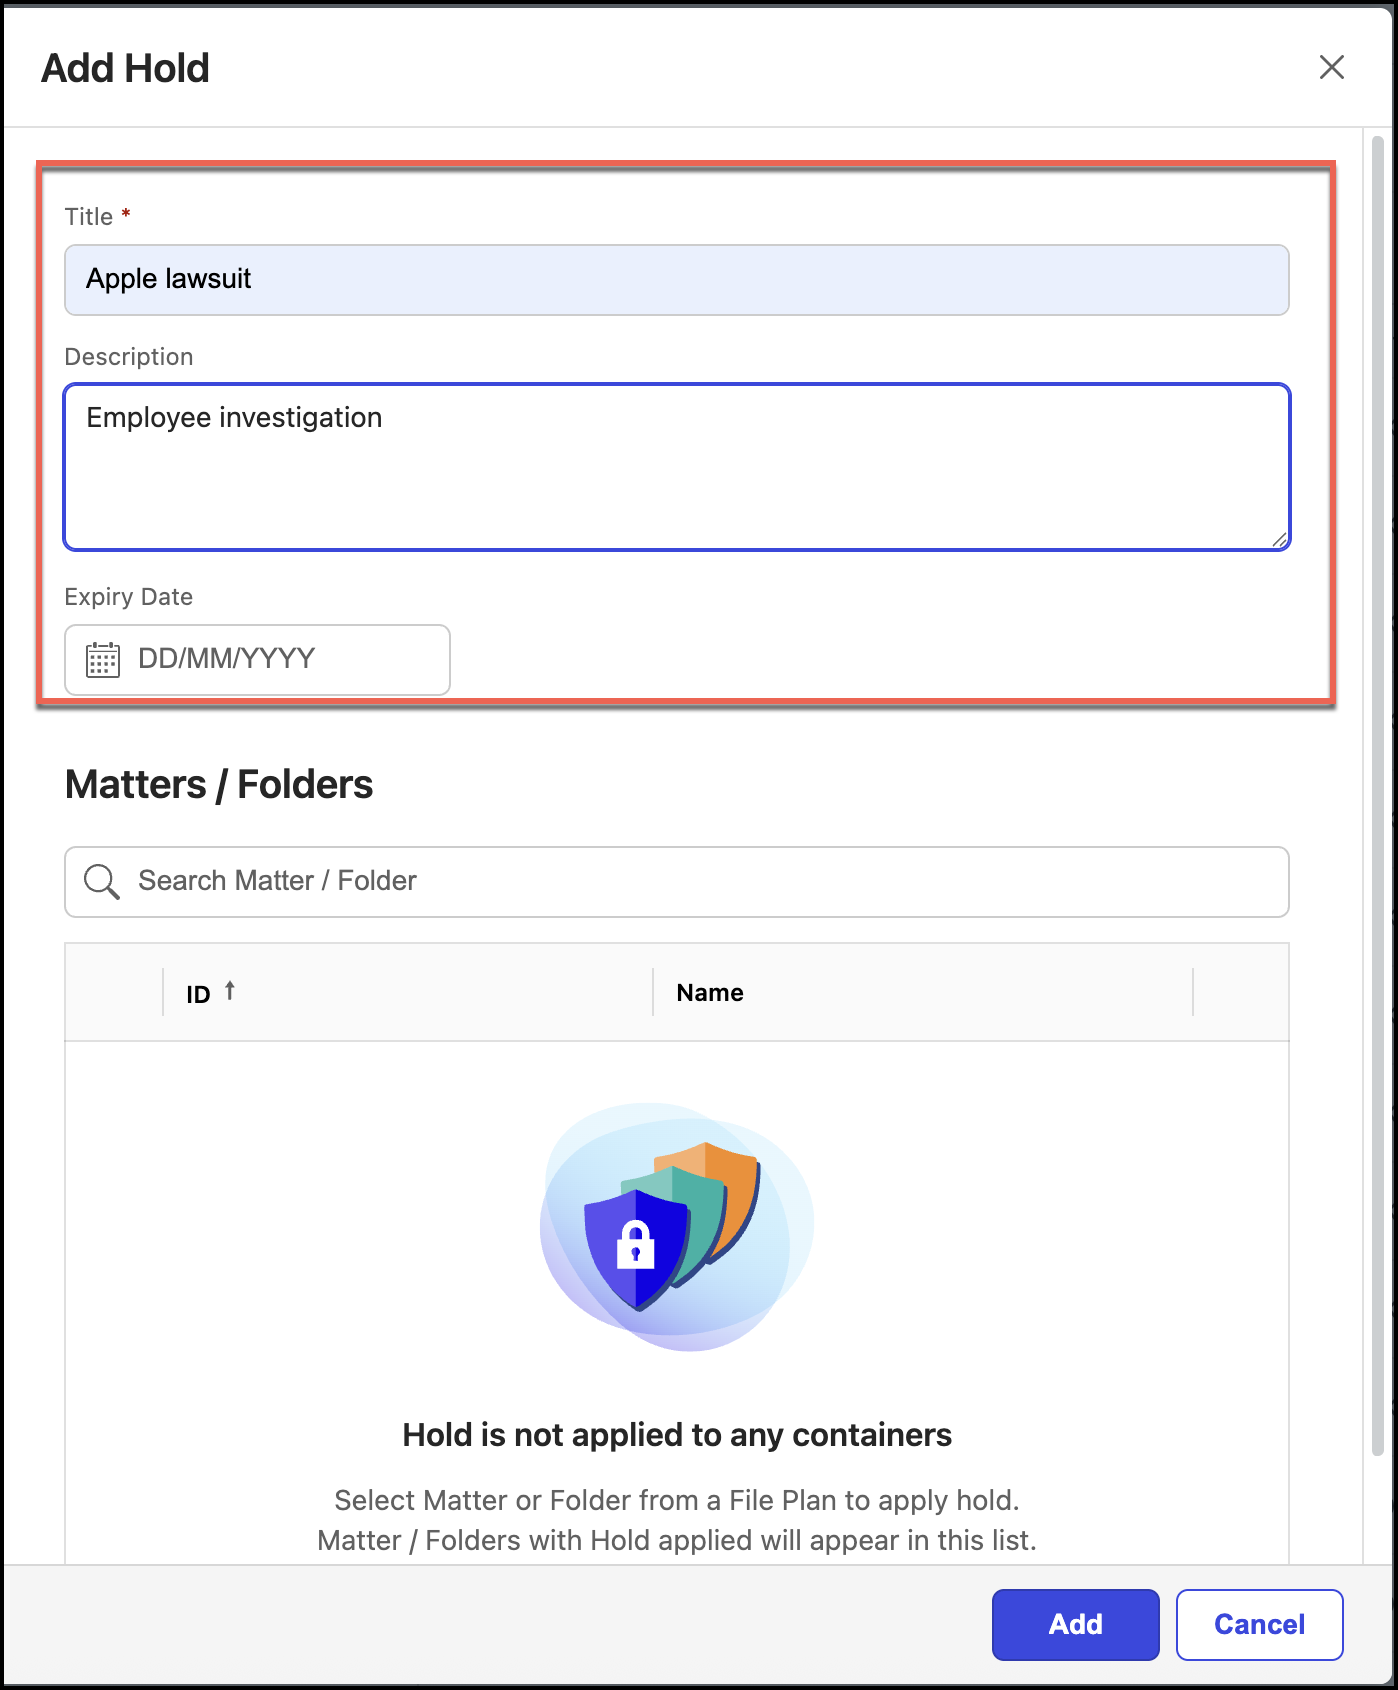
NOTE: You can't add workspaces or folders using Matters/Folder option. The search option provided in this field is used to search workspaces or folders that are already added to the hold.
Select Add. The hold is created and can be viewed on the Holds page.
Figure: Holds added to Hold page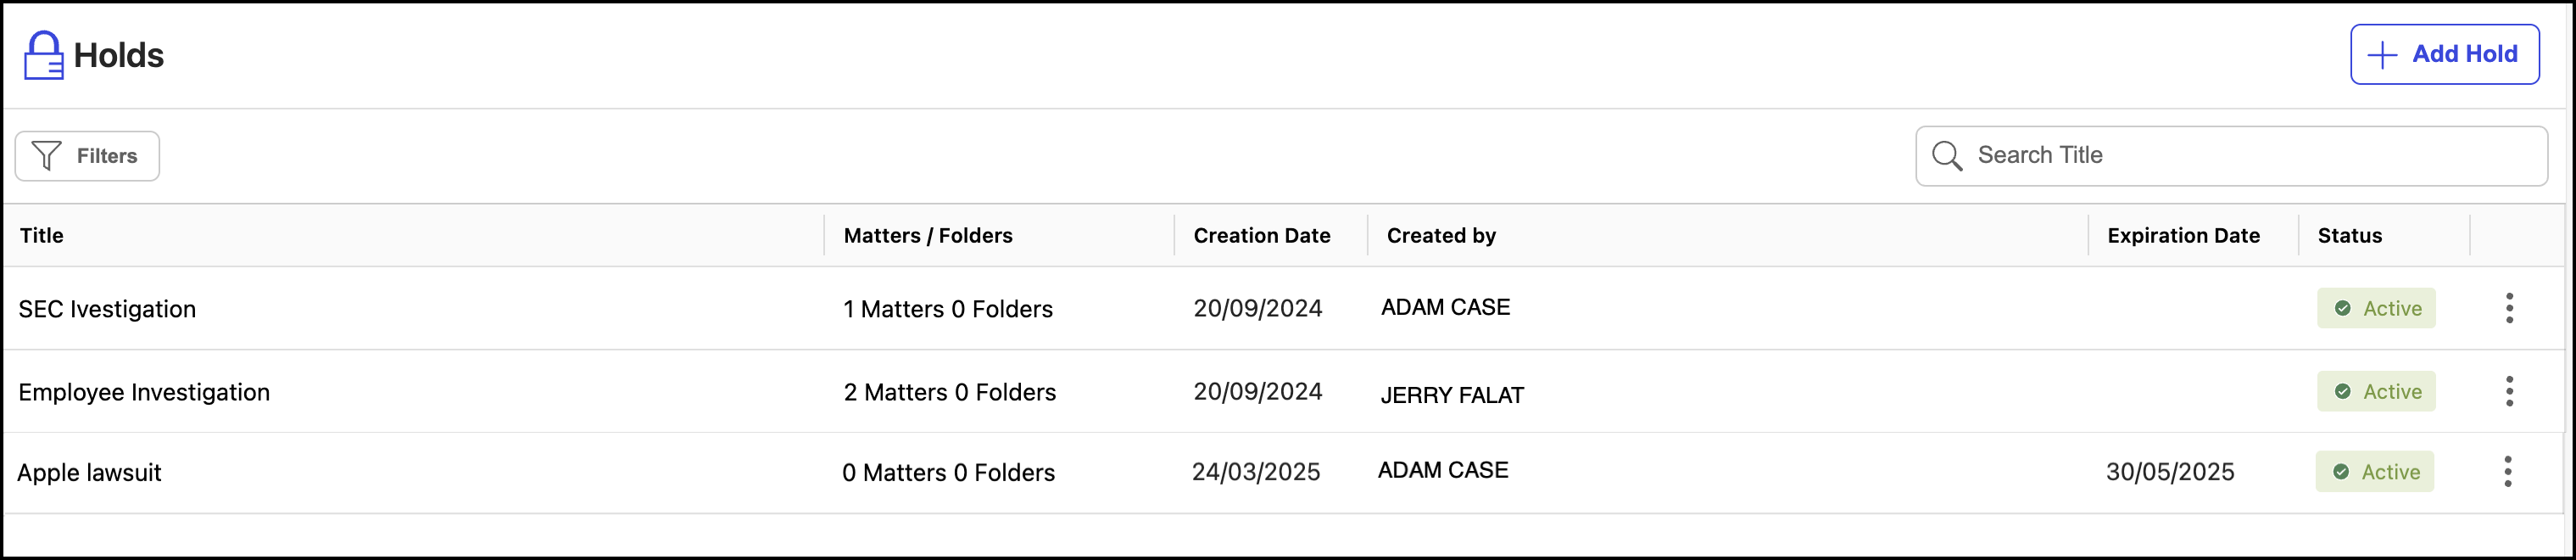
Applying holds
You can assign a legal hold or multiple holds to workspaces, folders, or sub-folders using any of the following methods:
You can apply legal holds to a workspace, folder, or sub-folder from File Plan page using one of the following methods:
NOTE:
When a legal hold is applied to a workspace, the hold is applied to all folders and sub-folders in the workspace. However, any hold applied at sub-folder level won't impact the parent folder or the workspace. If you remove hold from parent folder or workspace, the hold is also removed from the sub-folder or folders belonging to the parent folder or workspace.
When you apply holds, only the destruction schedules applied aren't processed. However, this doesn't prevent documents from being declared as records.
Method 1: Applying holds using the kebab menu
On the File Plan page, browse to the workspaces, folders, or sub-folders to which you want to apply a hold.
Select the
 kebab menu next to the workspace, folder, or sub-folders and select Apply Hold. Figure: Applying holds from File Plan
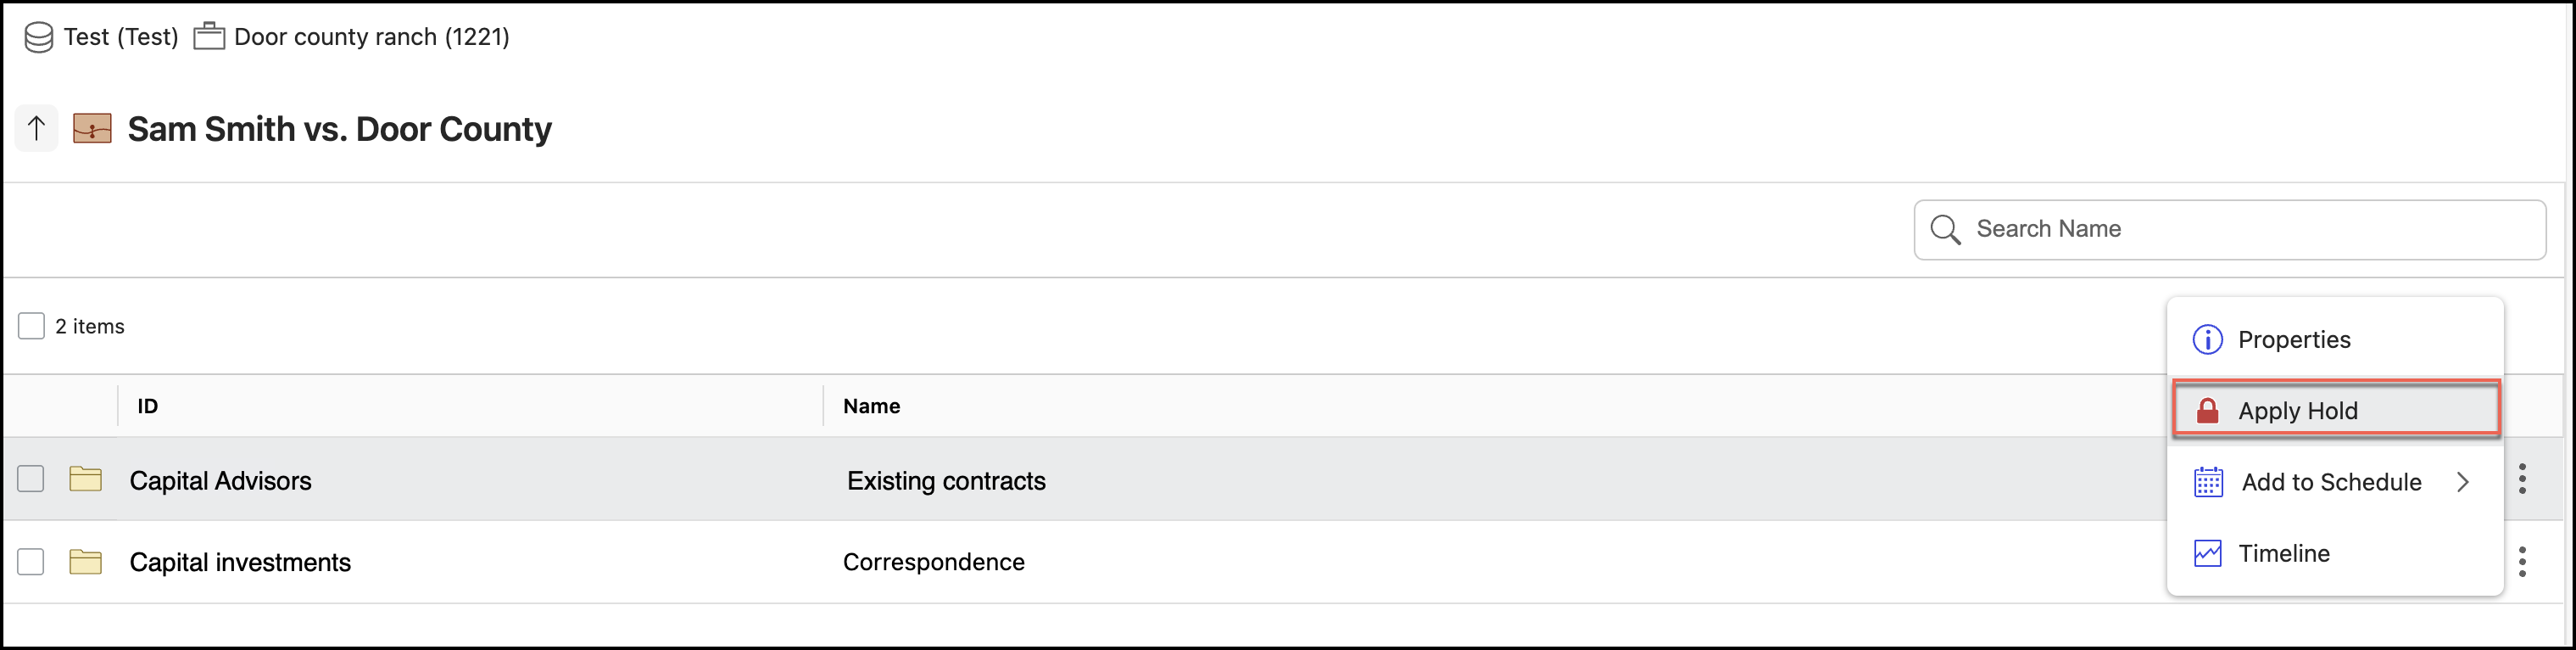
In the Apply Hold dialog, select the hold you want to apply and then select Apply. The selected hold is applied, and the Holds panel is displayed with the list of holds applied to the workspaces, folders, or sub-folders.
Figure: Selecting a hold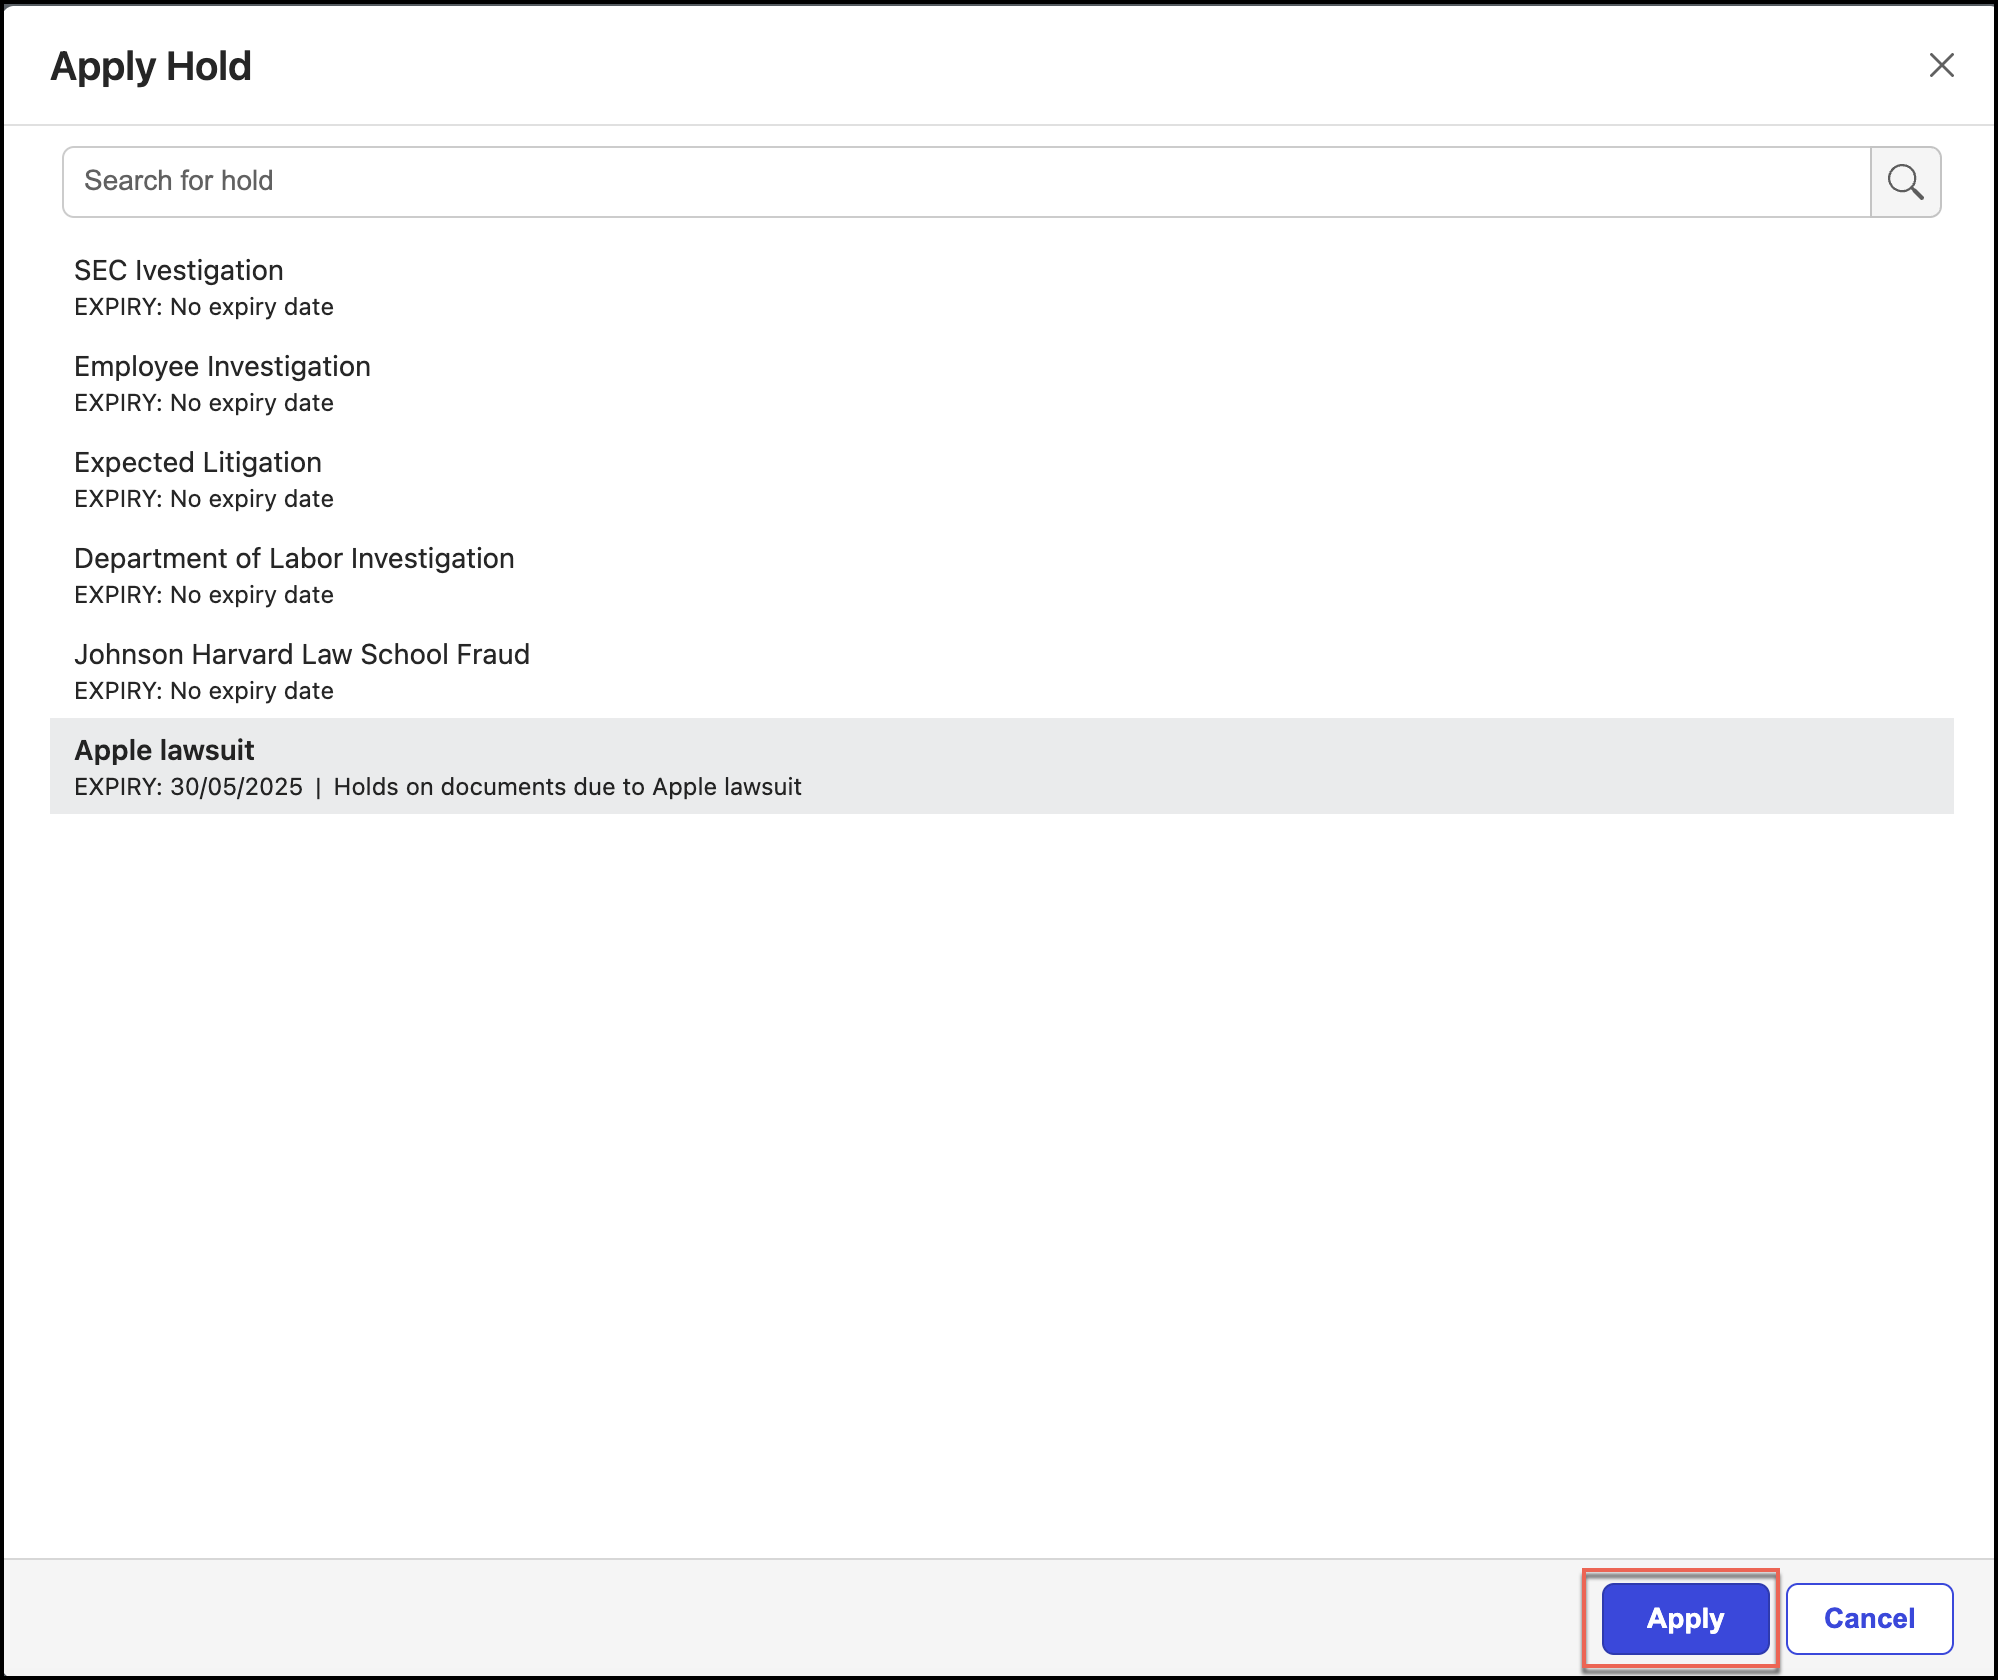
Repeat Steps 2–3 to apply another hold to the same workspace, folder, or sub-folder.
Method 2: Applying holds from Holds panel
On the File Plan page, browse to the workspaces, folders, or sub-folders to which you want to apply a hold.
Select the
kebab menu next to the workspace, folder, or sub-folders and select Properties.Figure: Selecting Properties
In the Properties panel that opens, select the Holds tab.
Figure: Selecting Holds tab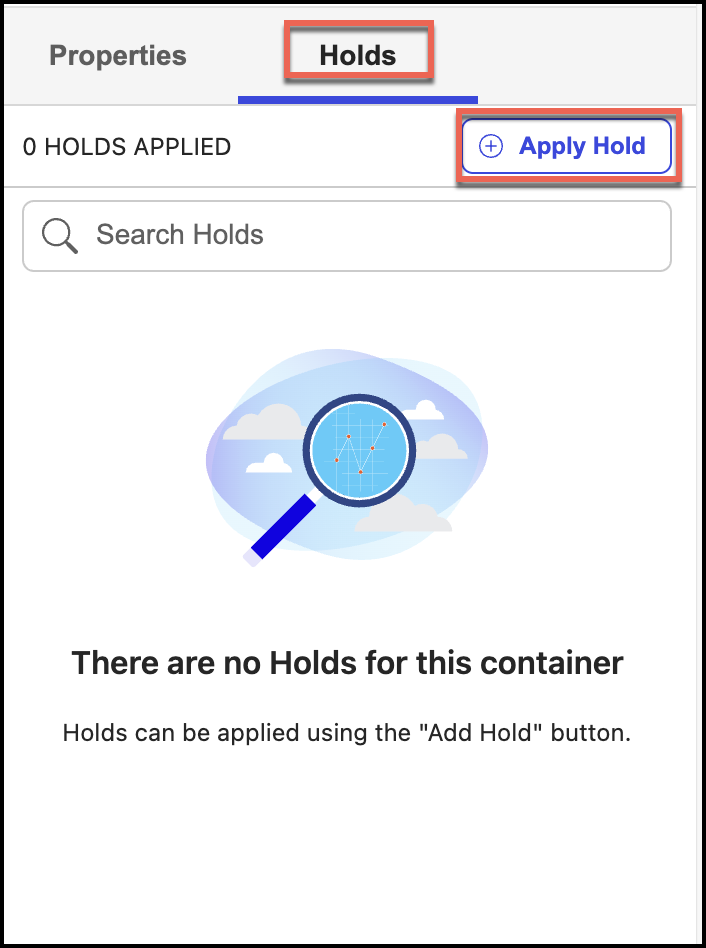
Select Apply Hold.
In the Apply Hold dialog, select the hold you want to apply and then select Apply. The selected hold is applied, and the Holds panel is displayed with the list of holds applied to the workspaces, folders, or sub-folders.
Figure: Applying holds
The hold is applied as shown in the following figure:
Figure: Holds applied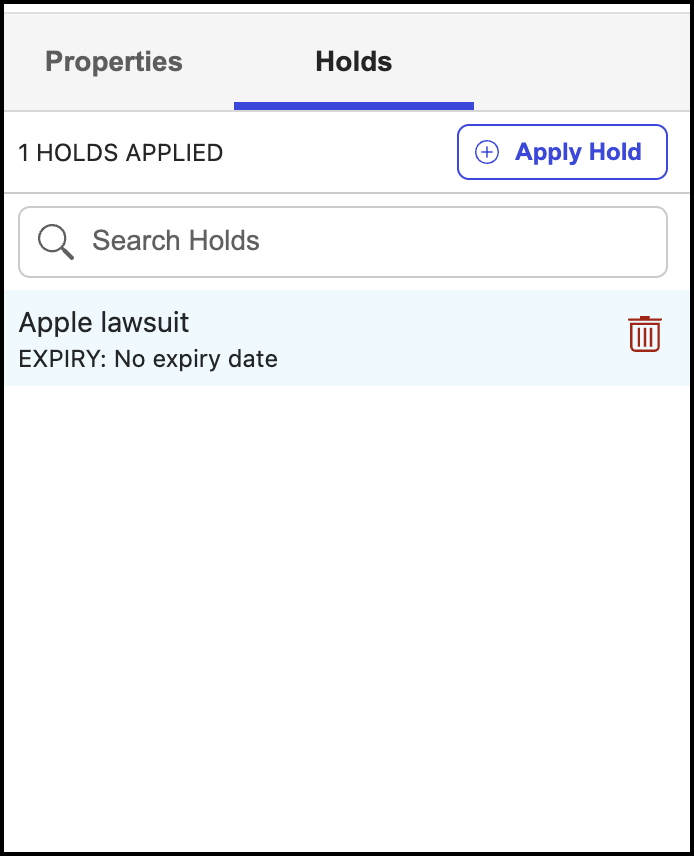
Method 3: Applying holds in bulk
You can apply a legal hold or legal holds to multiple workspaces or folders by doing the following:
On the File Plan page, browse to the workspaces, folders, or sub-folders to which you want to apply a hold.
Select the check box available before the workspace, folder, or sub-folders.
Figure: Applying holds to multiple workspaces or folders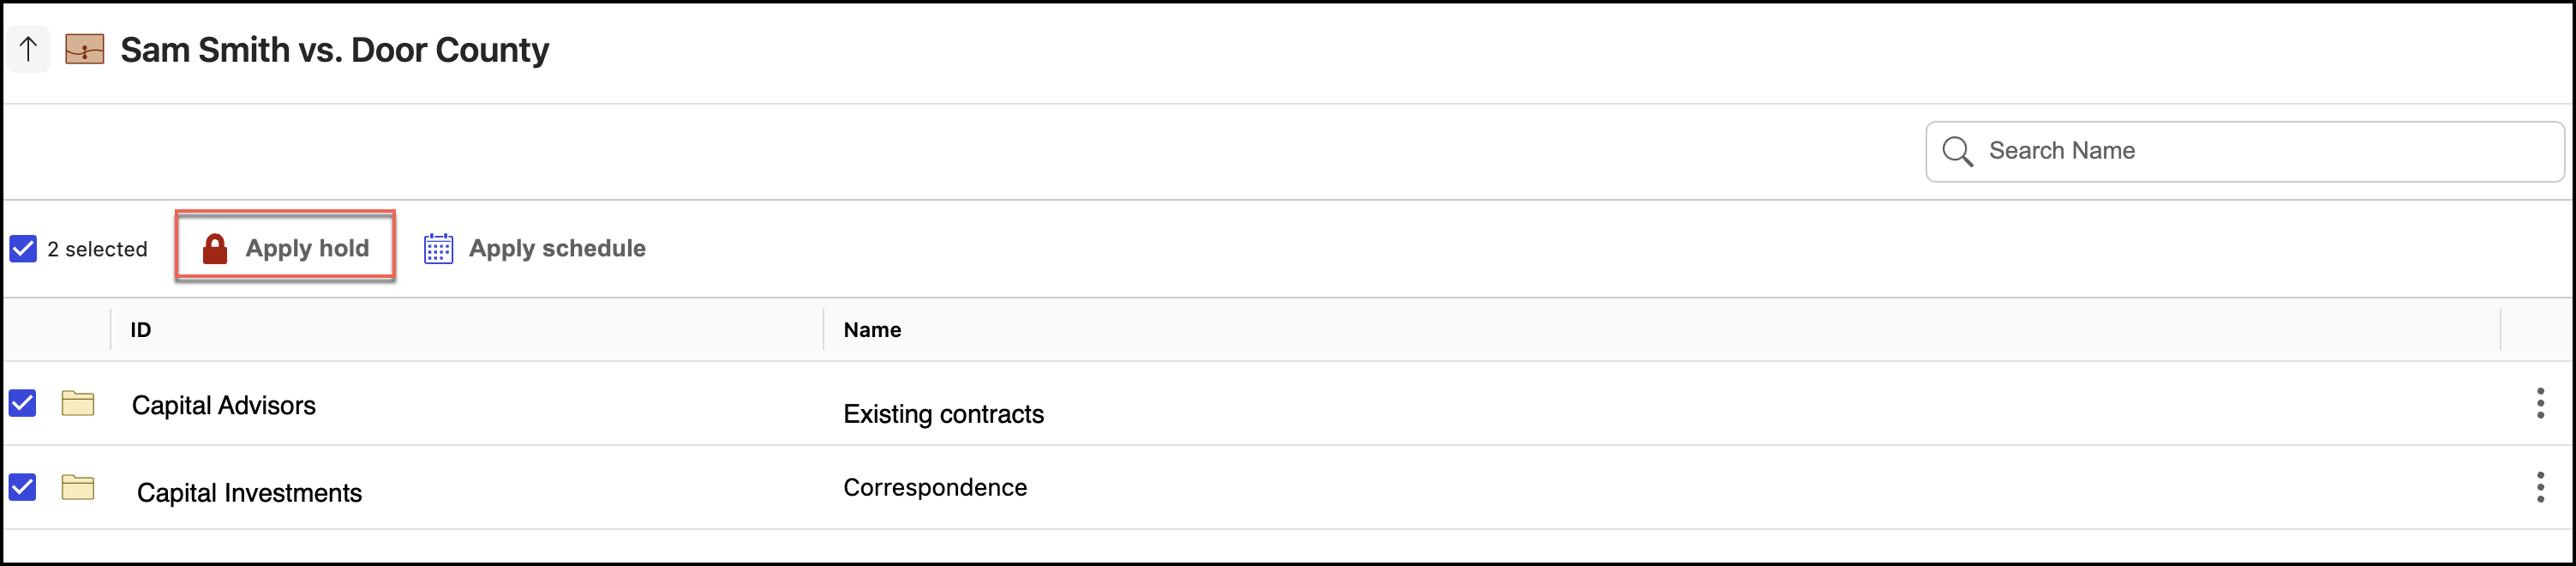
Alternatively, you can also select the check box at the toolbar. All workspaces, folders, or sub-folders are selected.
Figure: Selecting all workspaces at once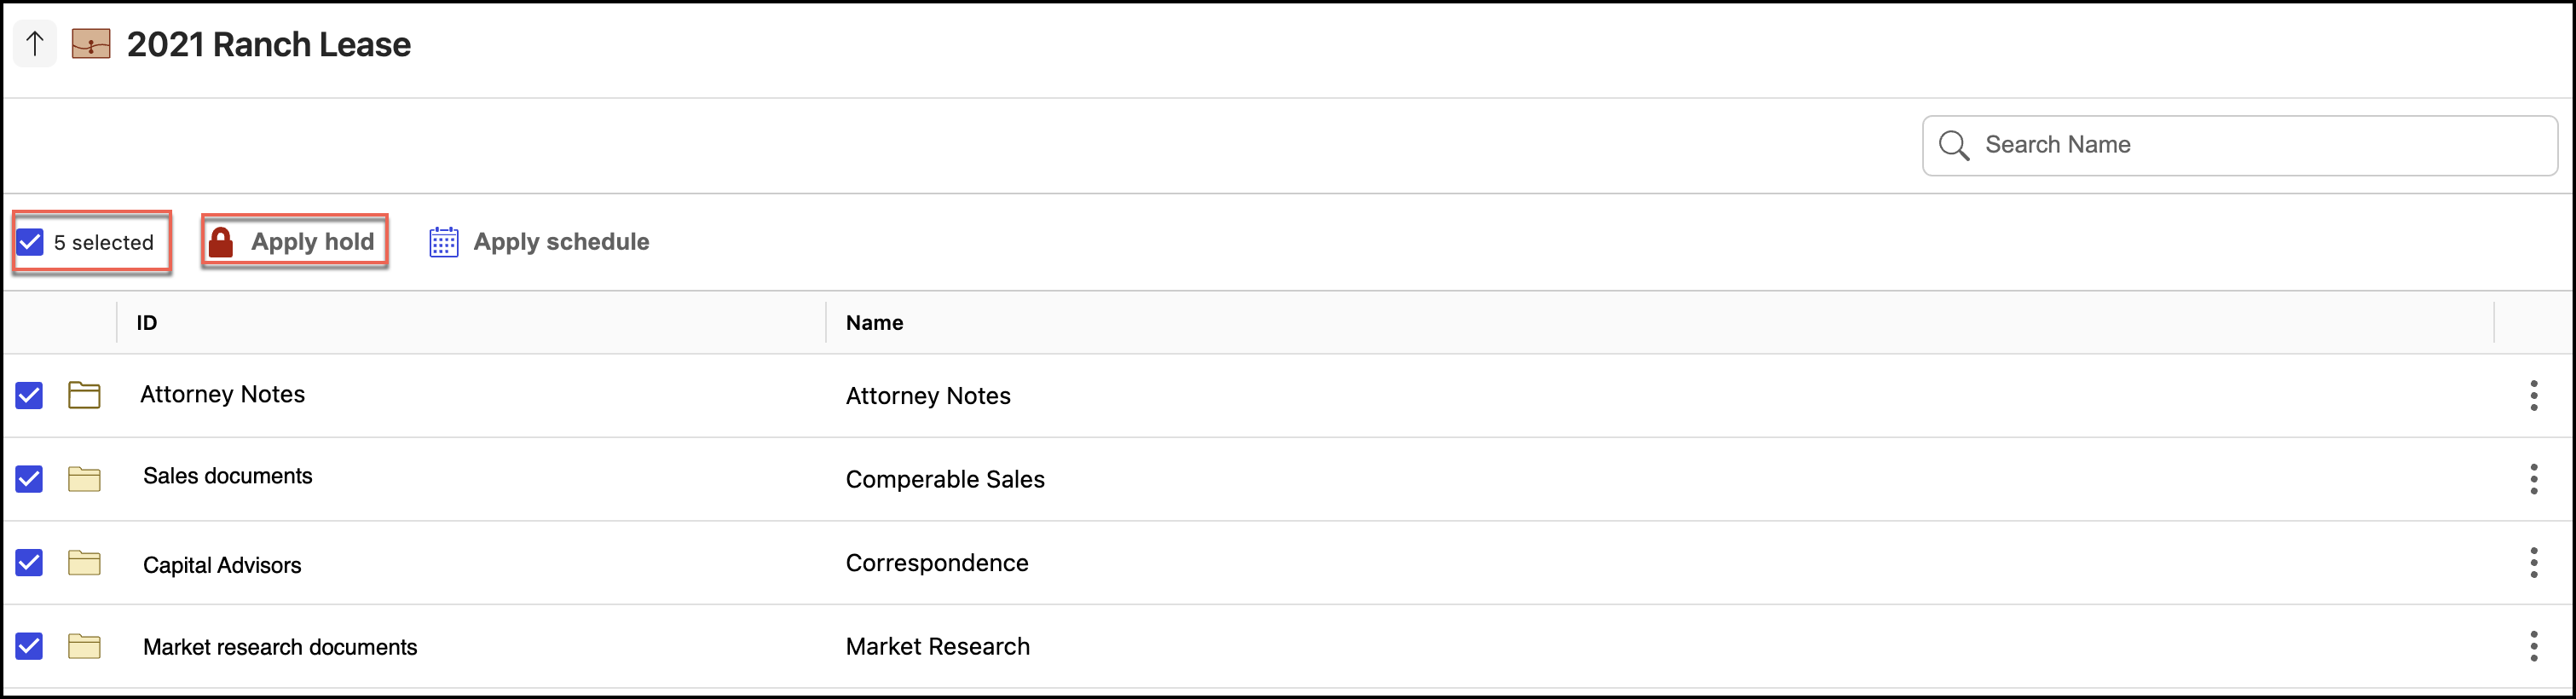
The Apply hold option is displayed.
Select Apply hold.
In the Apply Hold dialog, select the hold you want to apply and then select Apply. The selected hold is applied to all the selected workspaces, folders, or sub-folders.
Figure: Applying a holdRepeat Steps 3–4 to apply another hold to the selected workspaces, folders, or sub-folders.