To map an iManage Work property with a iManage Disposition Manager property (text, date, Retention ID, and approver).
IMPORTANT:
Make sure the you that you've mapped a mandatory field from iManage Work property to an iManage Disposition Manager property before you add retention schedules.
If the Retention ID from iManage Work at cloudimanage.com is mapped to a Retention Schedule in iManage Disposition Manager by browsing through Settings > Metadata Mapping, the corresponding Retention Schedule is automatically and immediately applied to the workspace in iManage Disposition Manager.
This retention schedule can be overwritten in iManage Disposition Manager by manually assigning a different schedule directly in File Plan. Any retention schedule applied directly in iManage Disposition Manager takes precedence over the one applied through iManage Work at cloudimanage.com, and subsequent updates in iManage Work doesn’t overwrite it.
If the retention schedule is later removed in iManage Disposition Manager and a valid Retention ID still exists on the workspace in iManage Work, the mapped retention schedule is reapplied in iManage Disposition Manager.
On the list view, browse to Settings > Metadata Mapping.
Figure: Select Metadata mapping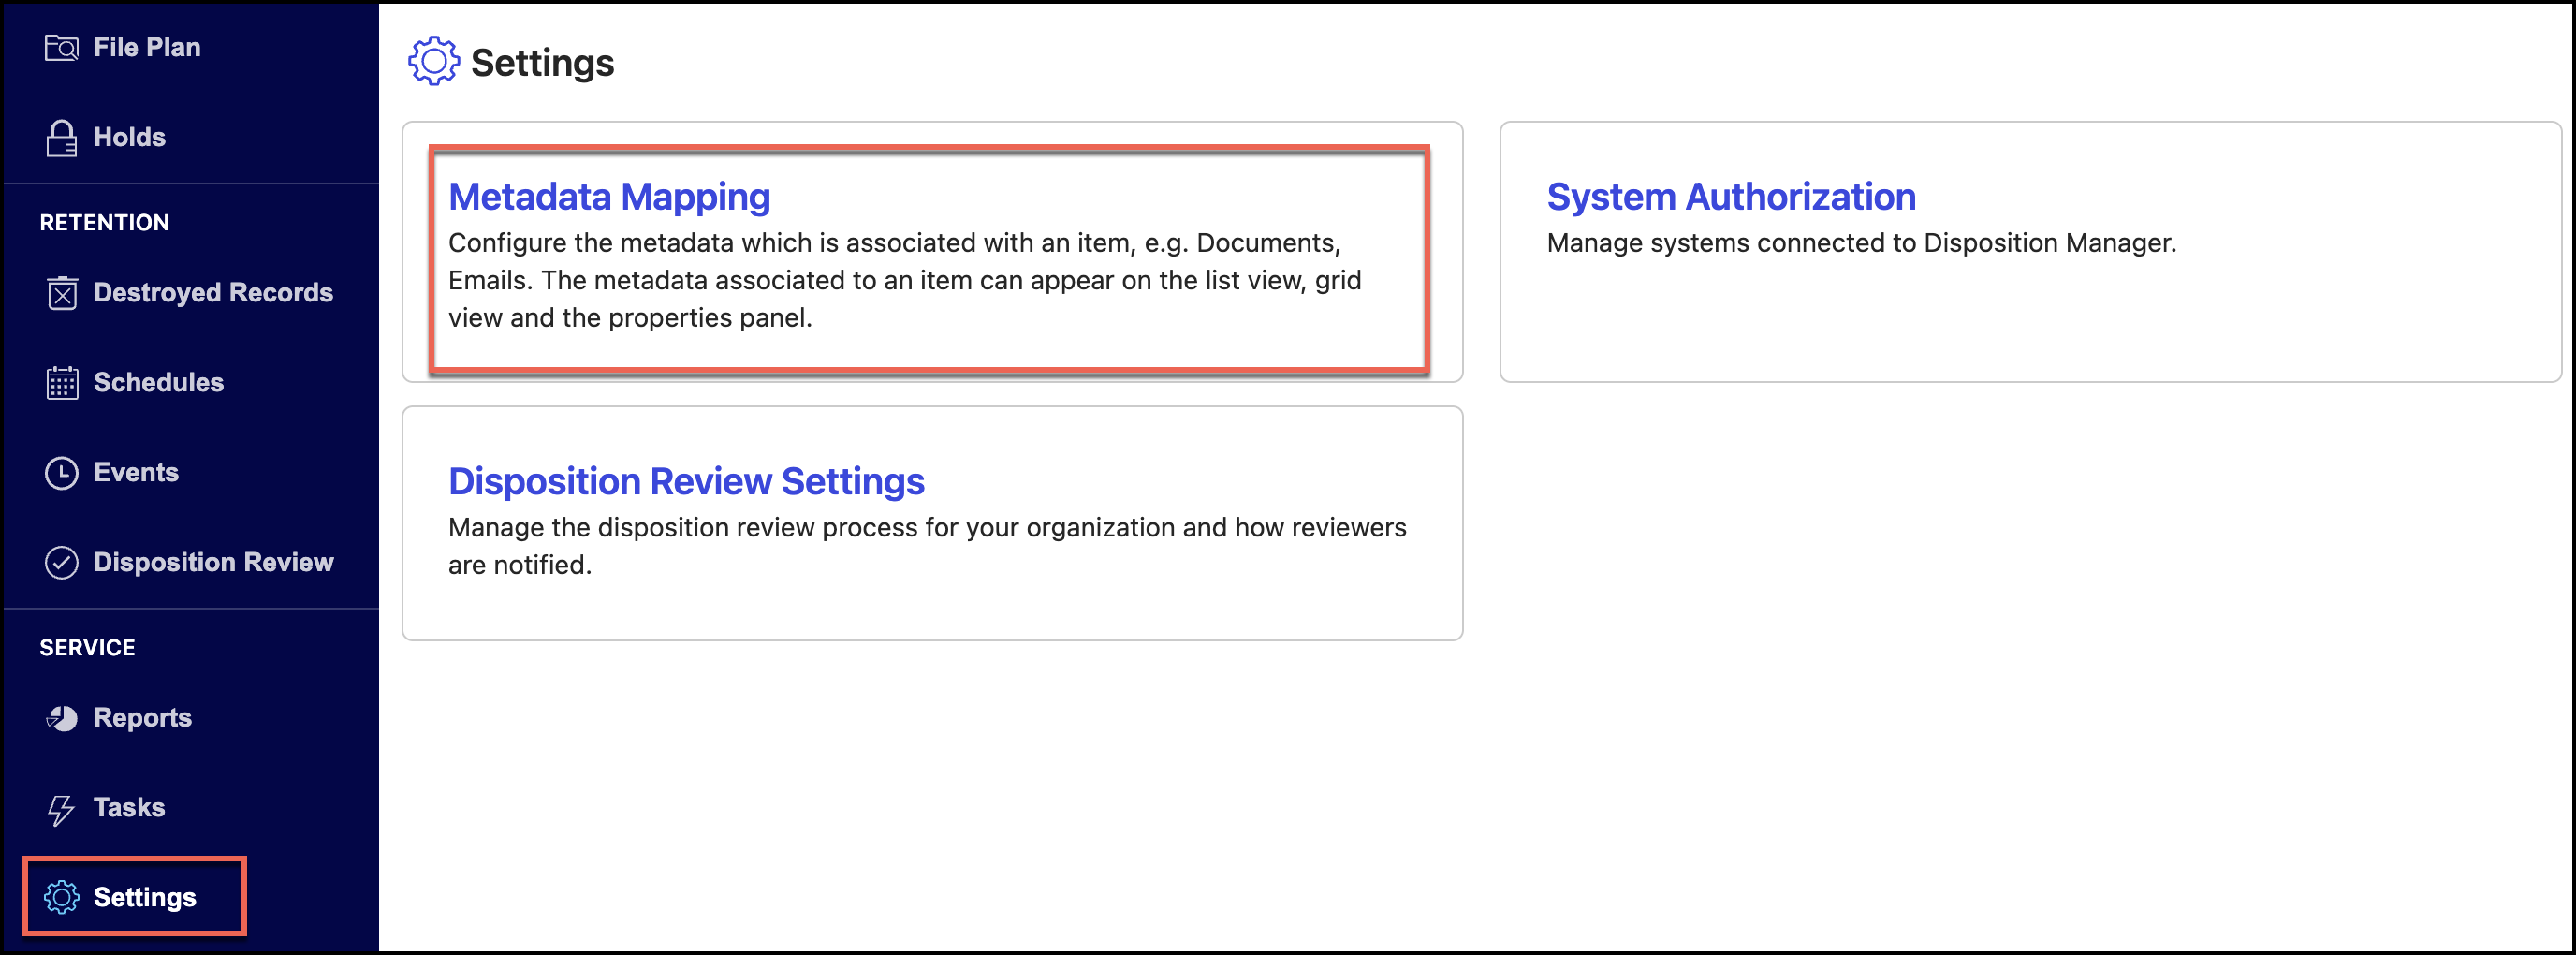
Select a library.
Figure: Select a library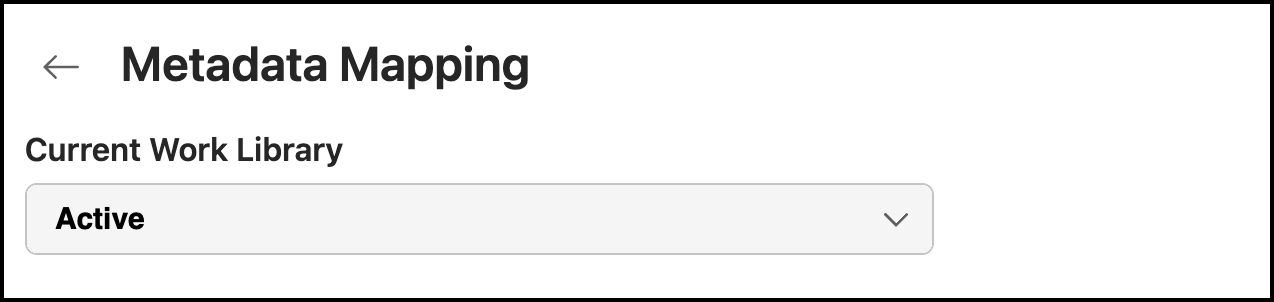
Select one of the following tabs:
Matter
Folder
Record
Figure: Select the tab to which mapping has to be applied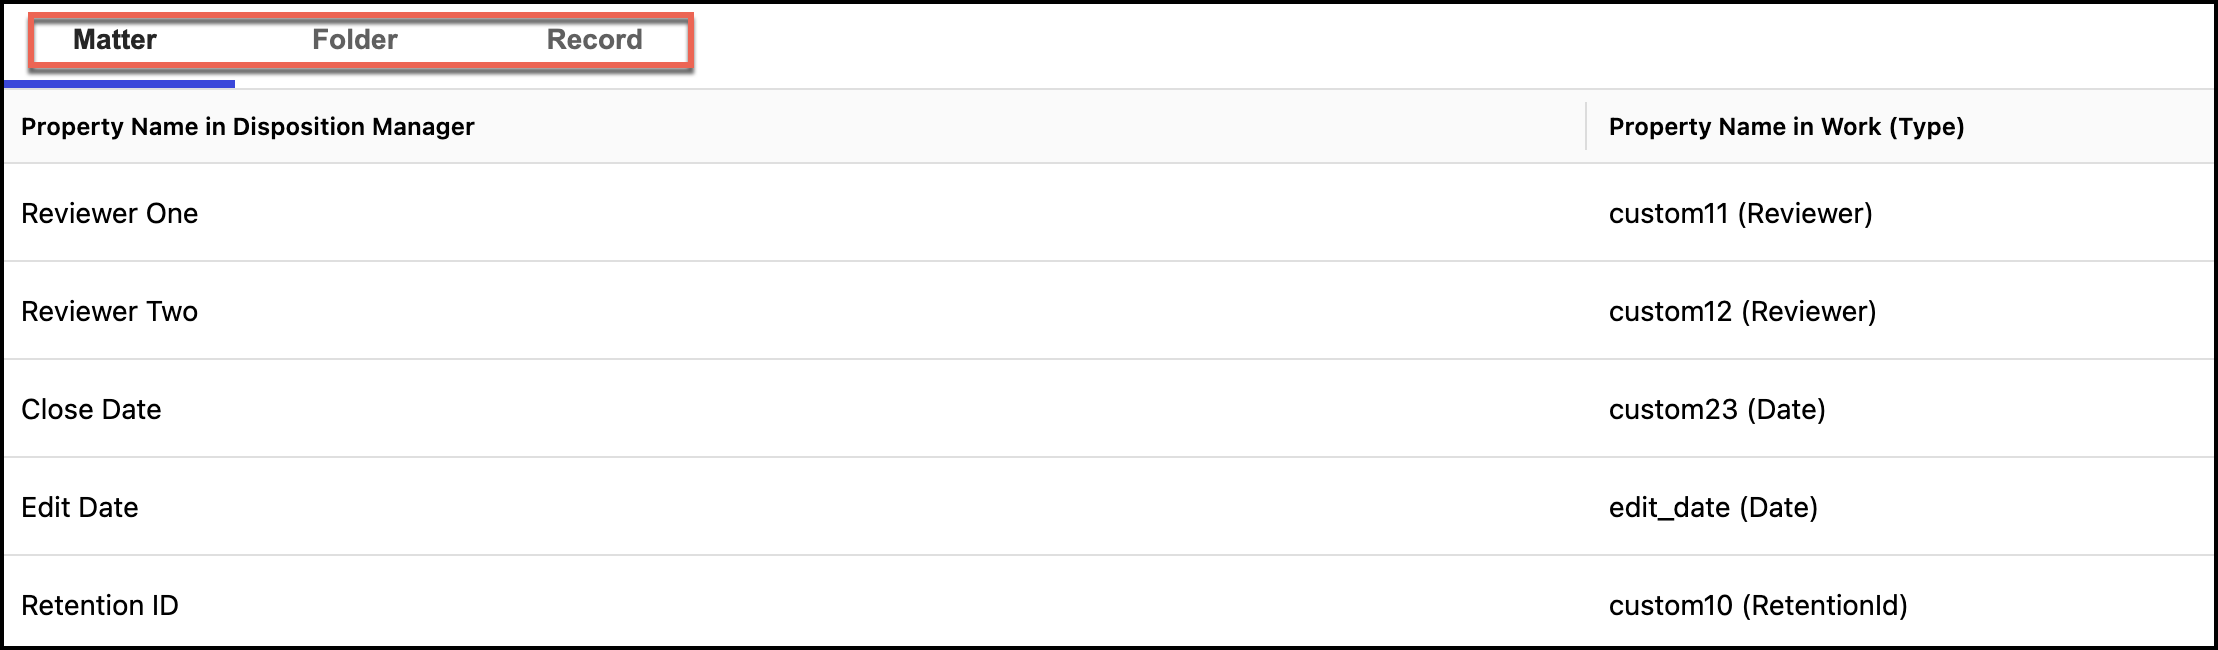
Select Add Property Mapping.
Figure: Select Add Property Mapping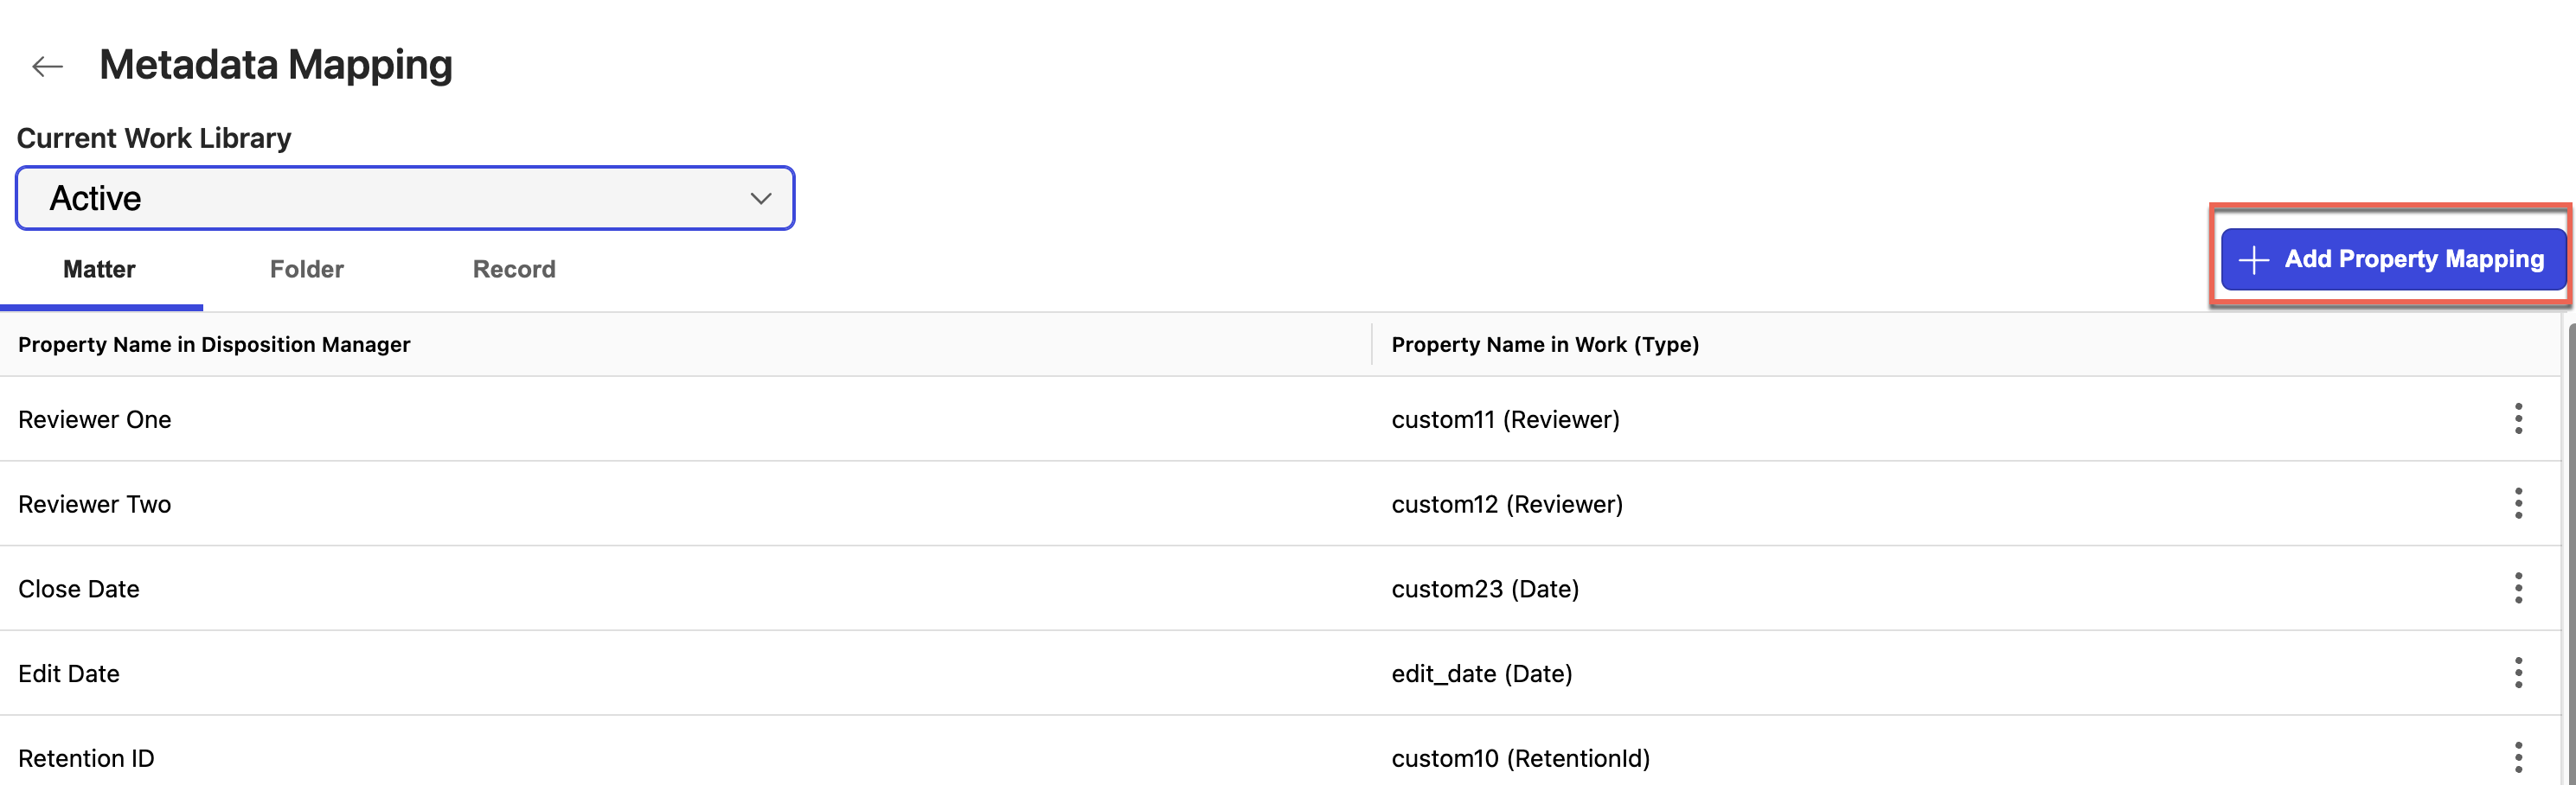
In the Add Property Mapping dialog, enter the property name in the Property Name in Records Manager field. The property name can be anything of your choice.
(Optional) Enter the description in the Property Description field.
Figure: Enter name and other details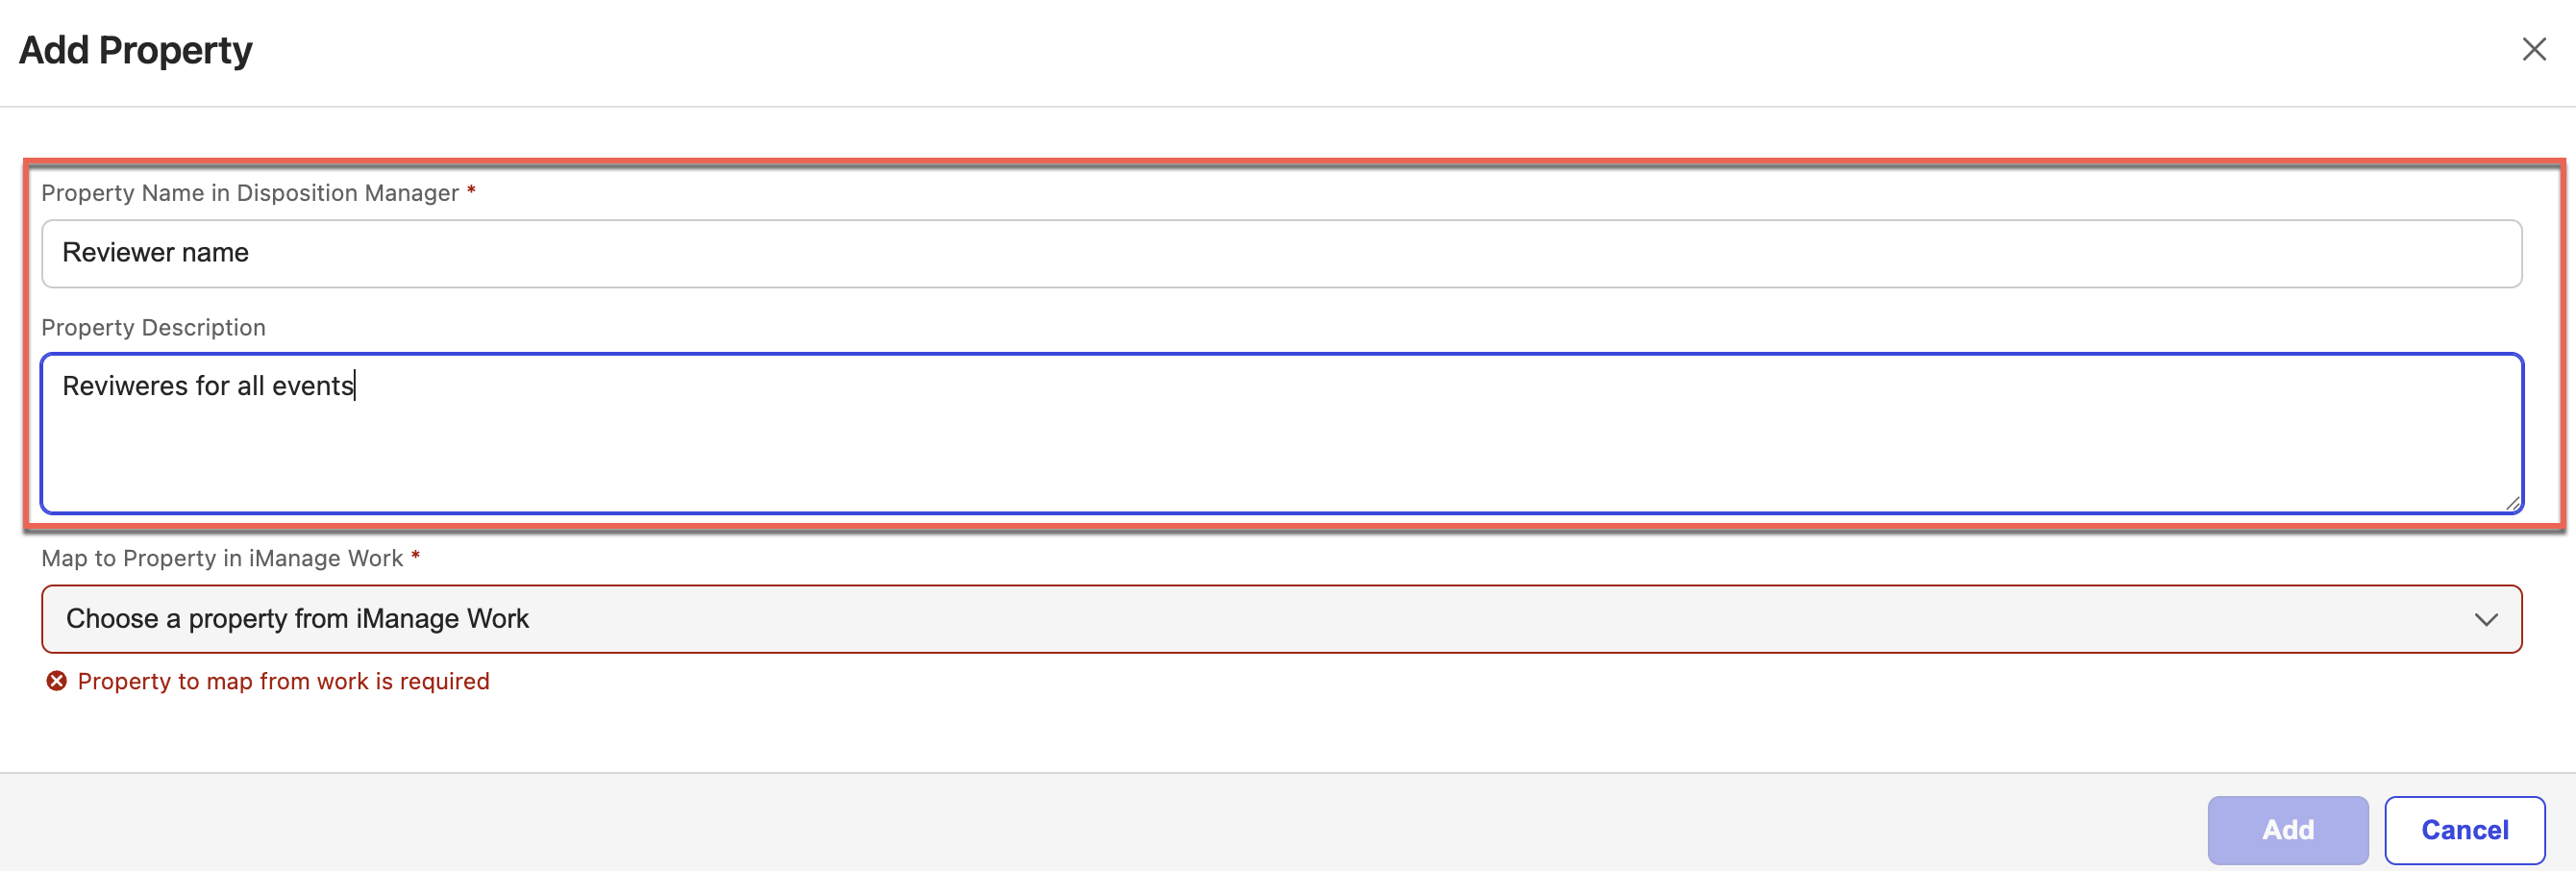
Select a property to map with iManage Work from Map to Property in iManage Work drop-down list. For more information about which property needs to be mapped, refer to Understanding the iManage Work properties to be mapped.
Figure: Map property to iManage Work drop-down list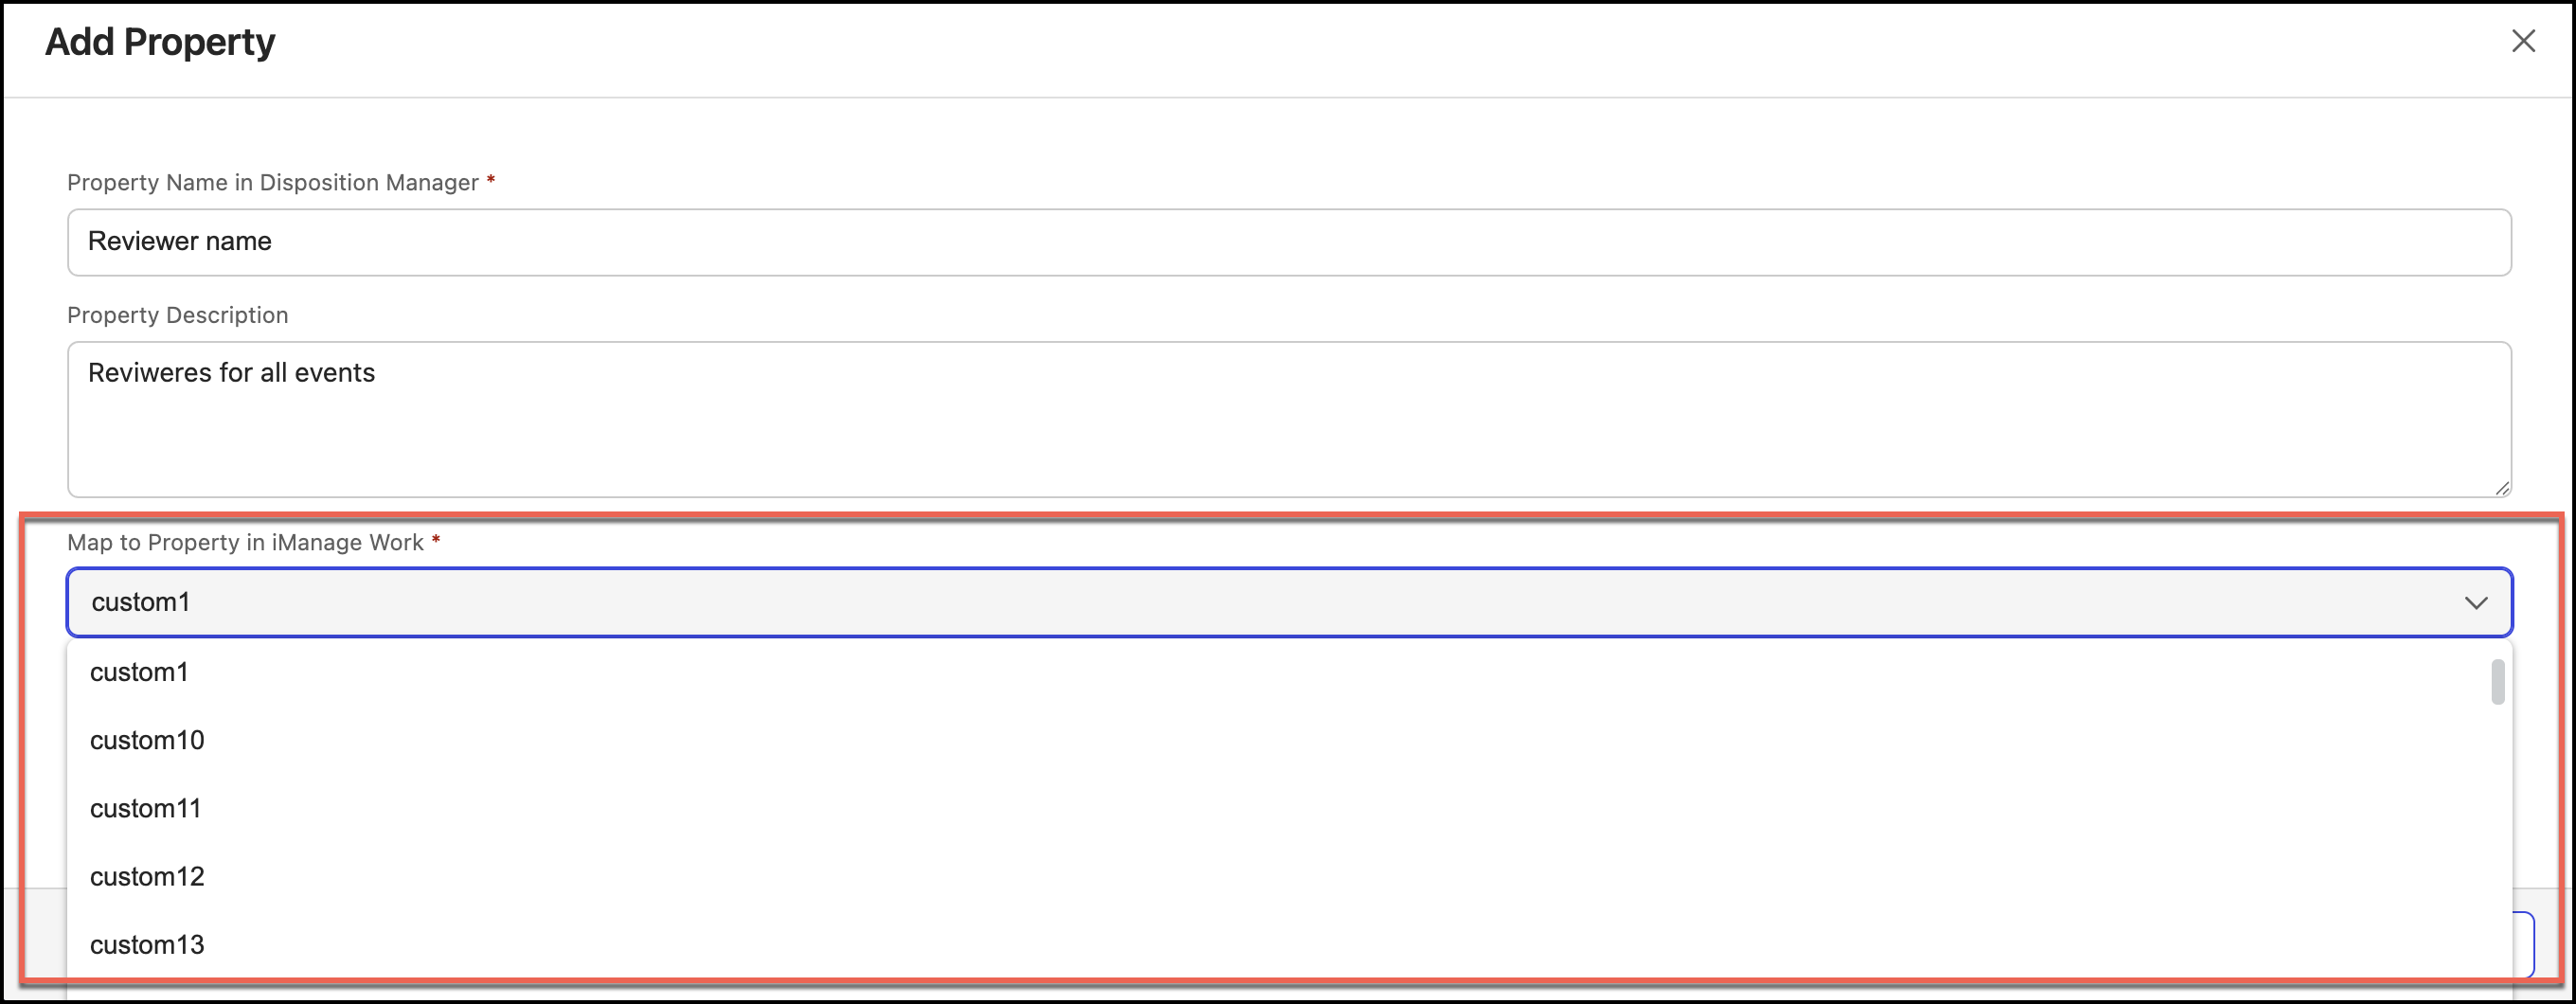
If displayed, select the property type from the Property Type field.
Figure: Map property type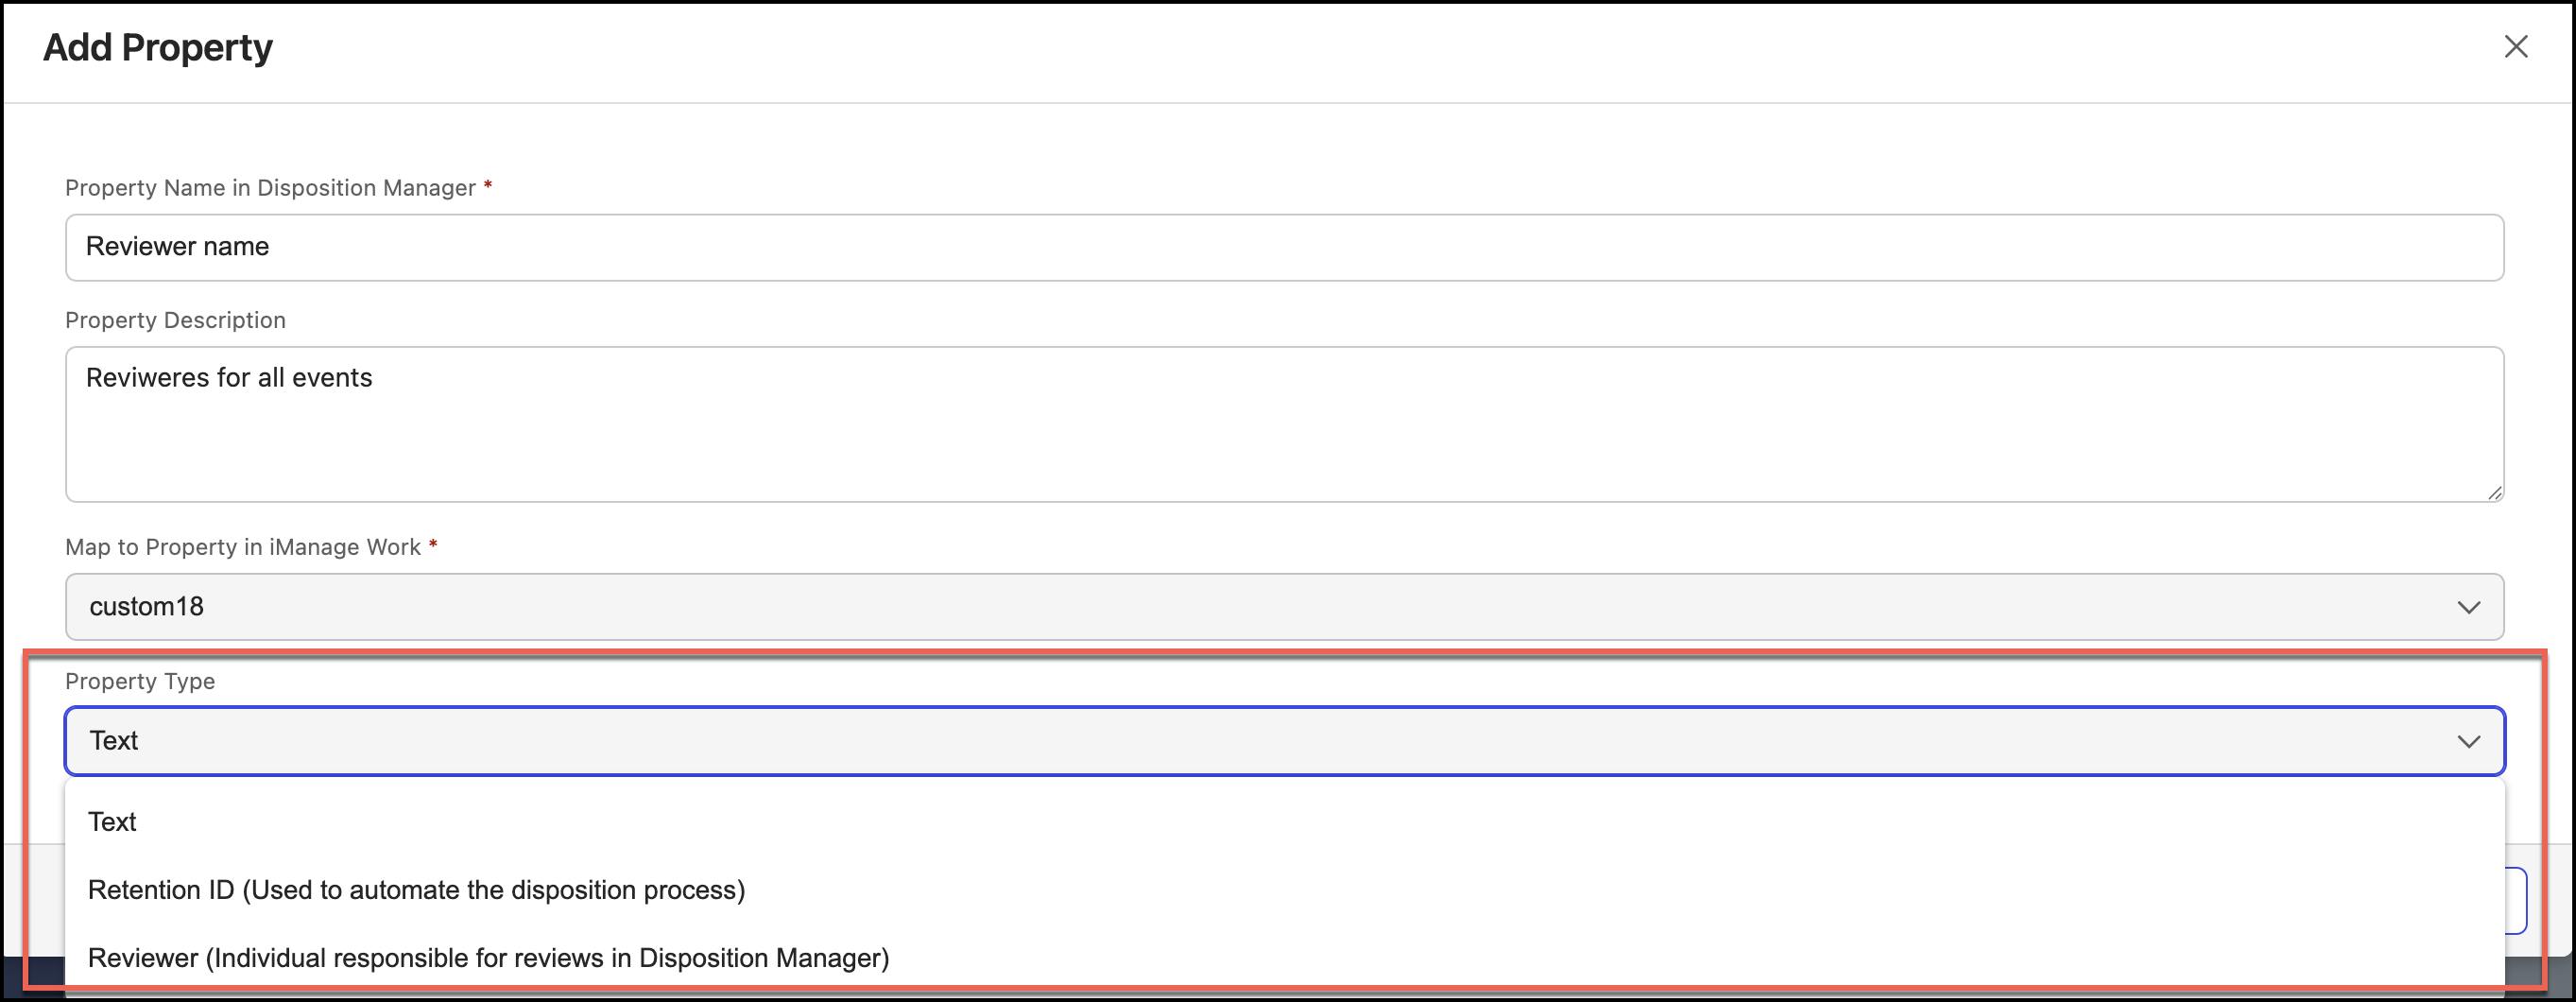
Select Add and the property is added.
NOTES:
For destroyed records, only properties that were originally mapped are retained.
You can map date-type properties only with other date-type properties.