Installing iManage Drive (standalone)
- Download the iManage Drive for Mac installation package (
.pkg) from iManage Help Center. - Right-click the iManageDrive.sparkle_interactive.pkg file and select Open. Repeat this action to bypass security warning.
The Install iManage Drive wizard appears. - Follow the instructions on the wizard, and start the installation.
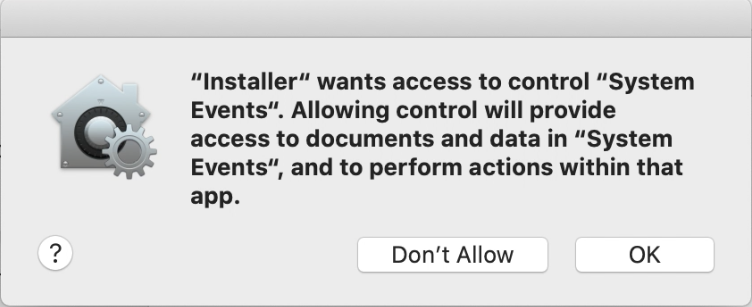
- Select OK on the macOS Security prompt, which appears for granting access to the installer for controlling System Events.
Figure: System Events permissions
- Continue the installation. The wizard displays message after iManage Drive is installed on your Mac.
- Select Close to exit the installation wizard.
Setting up iManage Drive to use the native file system
After running the application installer successfully and quitting the installer wizard, perform the following steps to enable iManage Drive to use the native file system in macOS:
- Open the Finder, select Applications > iManage, and double-click iManageDrive.
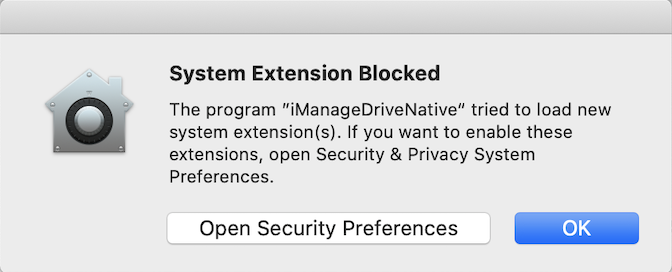
A message appears informing you that iManage Drive is starting, followed by a security dialog box asking you to open security preferences and enable the blocked extension.
Figure: Extension blocked
- Select
 in the lower-left corner to unlock the security preferences on your Mac, and select Allow to enable
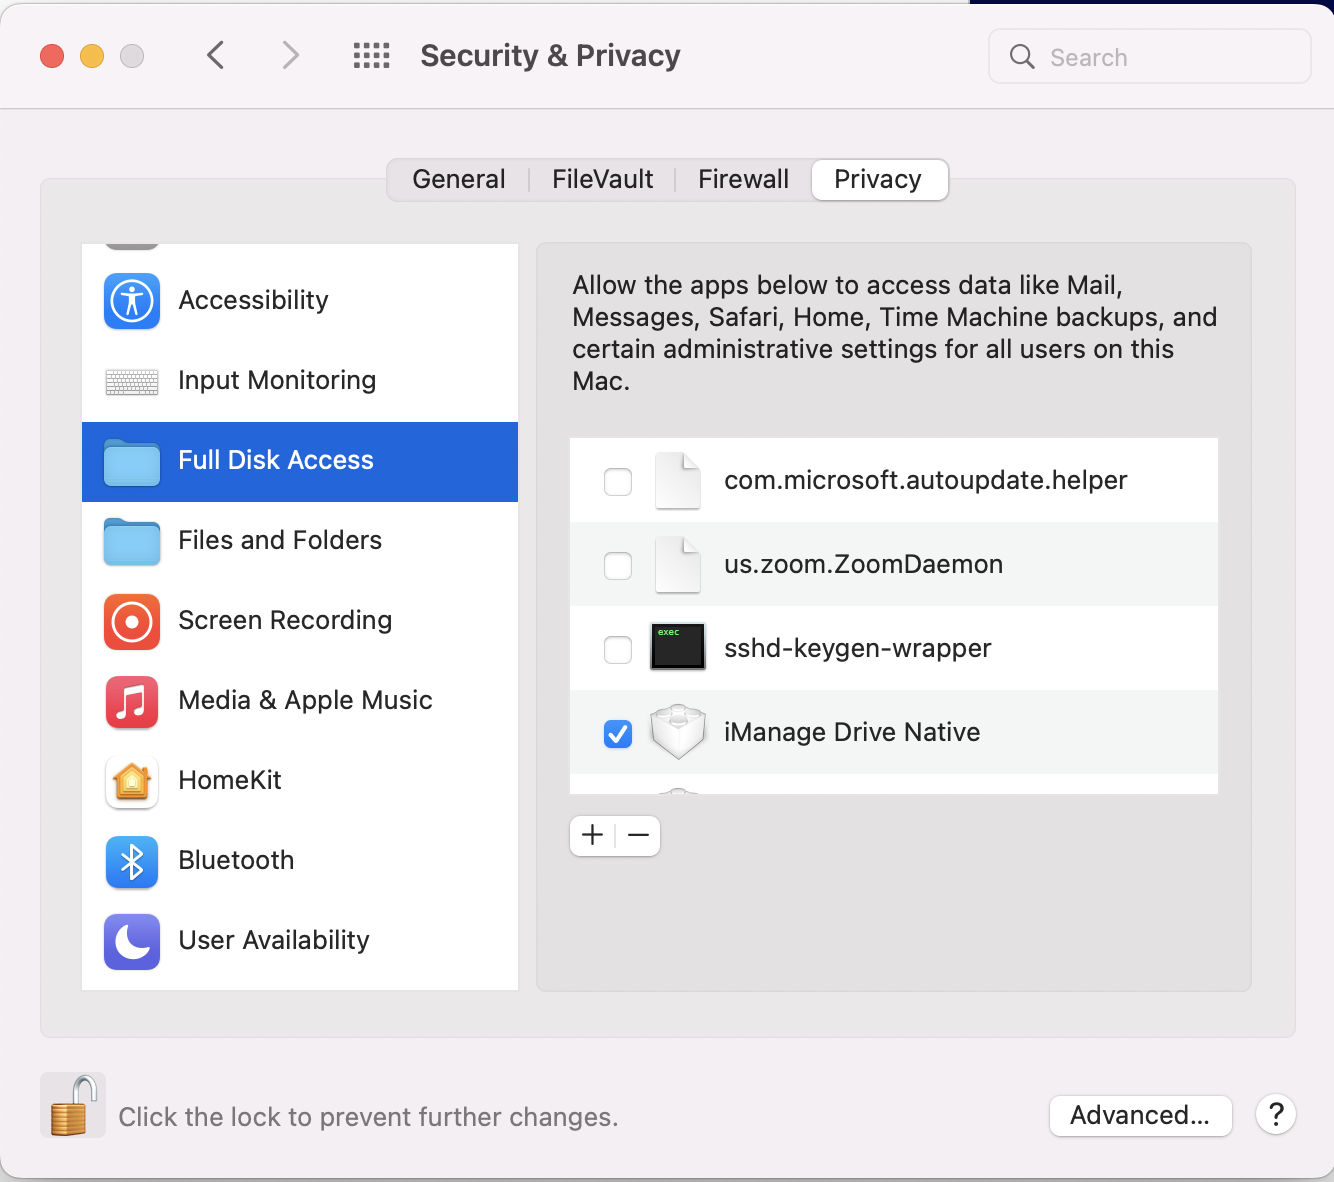
 iManageDriveNative.appto run. - Navigate to System Preferences > Security & Privacy > Privacy tab, select Full Disk Access in the left pane and select the iManage Drive Native check box in the right pane.
Figure: iManage Drive Native permissions
NOTE:
You can setup a configuration profile using Jamf for macOS to automatically allow iManage Drive extensions. This is useful when you are installing iManage Drive on multiple machines. For information about how to setup a configuration profile, visit https://developer.jamf.com/developer-guide/docs/kernel-and-system-extensions#system-extensions.
