Quick setup post installation
After you have run the iManage Drive installer, search for iManage Drive using the search box and then launch iManage Drive. The wizard to set up the application appears. The iManage Drive
 icon appears in the Windows task bar to indicate that no iManage account is currently available.
NOTE:
An icon may appear on your desktop. If you don't want that icon to show, then your administrator should set enable_windows_sidebar to false or remove that setting in admin_settings.yaml file. After they’ve performed either action, restart iManage Drive. The icon will no longer appear on your desktop. Contact your administrator for more information.
- Select Set up iManage Drive.
Figure: Quick setup wizard
In the Enter iManage Work URL field, enter the URL to iManage Work and select Continue.
NOTE:
If your administrator has pre-configured the setup, the Choose iManage Work URL field appears with one or more iManage Work URLs pre-populated. For more information, refer to the
extra_hostsoption in Configuring user settings section in iManage Drive Administration Guide.If prompted, enter the user ID and password to sign in to iManage Work. The Select Matters to Sync screen is displayed.
The Recent Matters tab is selected by default and displays the workspaces that you recently accessed in iManage Work.Hover the mouse pointer over a workspace and choose +Select. The workspace is moved to the Selected Matters pane and appears grayed out in the matters list.
(Optional) Choose other workspaces for syncing on thr My Matters tab or search for them using the Find Matters search box.
(Optional) To remove a workspace from the Selected Matters pane, select .
.NOTE:
- iManage Drive limits the number of workspaces that users can sync to 20. The recommended number of documents that can be synced is up to 100,000 documents.
- For efficient handling and syncing of content, we recommend that each workspace must contain no more than 10,000 folders.
- The I want to select which folders to sync option is enabled by default. Select Continue and select the folders to sync. For more information, refer to Selecting the folders to sync.
(Optional) Clear the I want to select which folders to sync option if you don't want to select the folders for syncing. - After you have selected all workspaces/folders that you want to sync to your local drive, select Sync. A message is displayed in the wizard asking you to wait while the content from the selected workspaces is synced to your local drive and the iManage Drive icon in the task bar starts turning blue
 to indicate the progress of the sync activity. Additionally, pop-up notifications appear in the lower-right corner of the screen when the sync starts and ends.
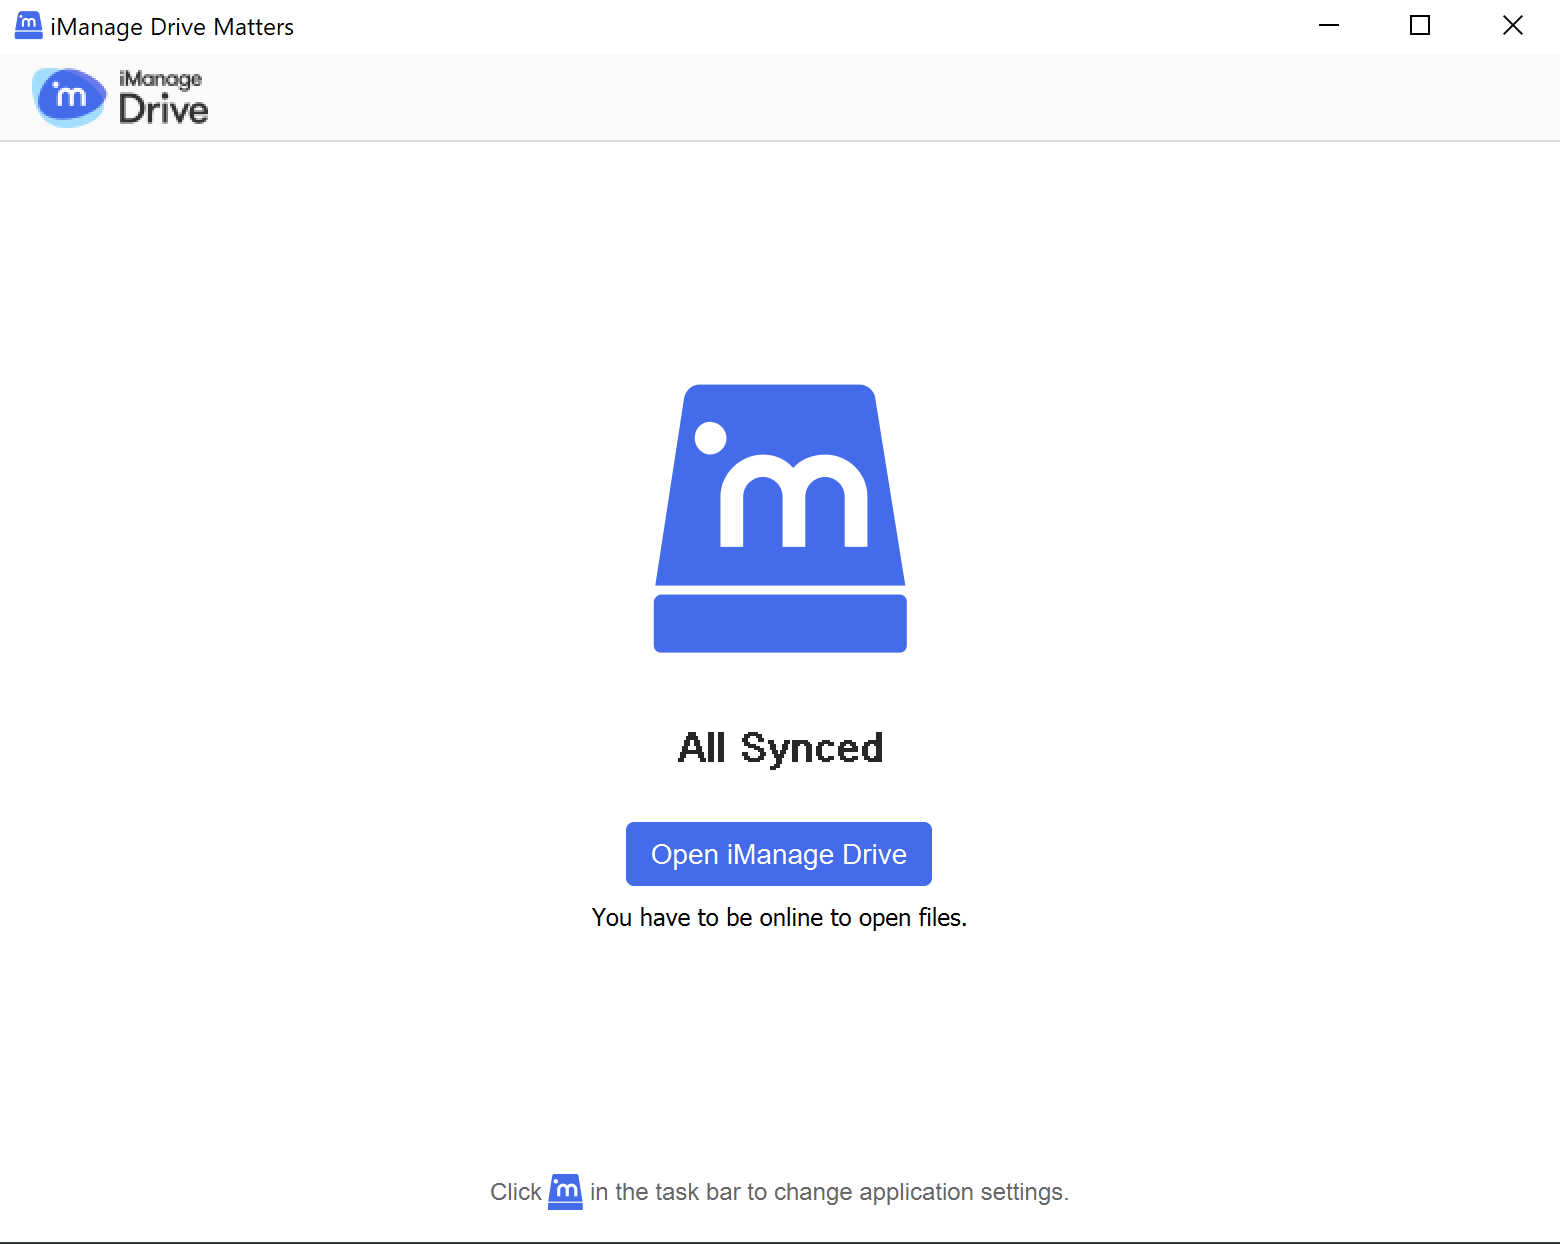
 The wizard notifies you when all workspaces are synced. Select Open iManage Drive to open the local drive where the workspaces are synced, or select the iManage Drive
 icon in the task bar to change preferences or modify application settings.
Figure: iManage Drive setup complete