NOTE: To perform operations on this page, the user signed in to iManage Control Center must be a member of the NRTADMIN group.
Introduction
This page lets you manage Microsoft Windows and macOS configuration files for iManage Drive, an iManage Work client application. These iManage Drive configuration files are used to define the iManage Drive application mode and to customize account setup options. These files contain settings so you can (for example):
Specify the file and folder patterns that shouldn't be synced to iManage Work.
Allow folders to be copied to a destination outside iManage Drive.
Specify the default check-in mode.
Specify whether document and folder deletion is allowed.
Allow users to access the Recent and My Workspaces folders on their local file system.
Specify the maximum number of folders per workspace.
Specify the maximum file size allowed.
As an administrator, you can modify the configuration files and then upload them to iManage Control Center. iManage Drive syncs with iManage Control Center to check for uploaded configuration files during startup and on a scheduled basis.
NOTE: The sync schedule is controlled by iManage Drive Admin setting refresh_remote_admin_settings_frequency. This setting defaults to sync once per day.
When a new or updated configuration file is detected, iManage Drive restarts, allowing the configuration settings to take effect.
For more information about syncing configuration files between iManage Control Center and iManage Drive, refer to the Downloading admin_settings file from iManage Control Center in iManage Drive Administrator Help. For more information about customizing iManage Drive configuration files, refer to the Configuring user settings section in iManage Drive Administrator Help.
Supported configuration files
The following iManage Drive configuration files are supported:
admin_settings_windows.yaml: For specifying Microsoft Windows settings.
admin_settings_mac.yaml: For specifying macOS settings.
CAUTION: Configuration files must be named as shown above. If a configuration file isn’t named correctly, no error is reported and the file is ignored by iManage Drive.
These files are uploaded to iManage Control Center and made available to iManage Drive through the Configuration category on the Drive page.
Add and enable the iManage Drive application
The iManage Drive application must be added and enabled before you can manage iManage Drive configuration files in iManage Control Center. For more information about adding and configuring applications in iManage Control Center, refer to Applications.
Peform the following steps to determine the status of the iManage Drive application and to add and enable it if needed:
In iManage Control Center, browse to Settings > Applications.
In the Search applications by name field, enter iManage Drive.
If the iManage Drive application is:
Found and enabled: No further action is required and you can manage iManage Drive configuration files as described in Configuration.
Found and disabled: Proceed to Enable iManage Drive.
Not found: Proceed to Add iManage Drive.
Enable iManage Drive
To enable the iManage Drive application, if it has already been added but is disabled, perform the following steps:
In iManage Control Center, browse to Settings > Applications.
In the Applications table, locate the iManage Drive application and use one of the following methods to enable the application:
To enable the application through the ribbon bar:
Select the iManage Drive check box. The ribbon bar is displayed.
Select Enable Application.
To enable the application through the kebab menu:
Select the icon next to the iManage Drive application. Application options are displayed.
Select Enable Application.
To enable the application through the context menu:
Right-click the iManage Drive application. Application options are displayed.
Select Enable Application.
Add iManage Drive
To add and enable the iManage Drive application if it hasn't already been added, perform the following steps:
In iManage Control Center, browse to Settings > Applications.
Select + Add Application. The Add Application dialog opens and displays the list of applications that are available to add.
In the Search for Application field, enter iManage Drive.
Select the iManage Drive application and select Authentication. Authentication options are displayed.
In the Authentication options dialog:
Configure OAuth settings to suit your needs. For more information, refer to Adding an application package.
Select Access. Access options are displayed.
In the Access options dialog:
Configure which users can use the iManage Drive application. For more information, refer to Adding an application package.
Select Review. Review options are displayed.
In the Review options dialog:
Set Enable application? to Yes.
Review the authentication and access selections.
Select Finish.
Browse to Work Clients > Drive to confirm that the application has been added. You may need to refresh your browser for this menu item to display.
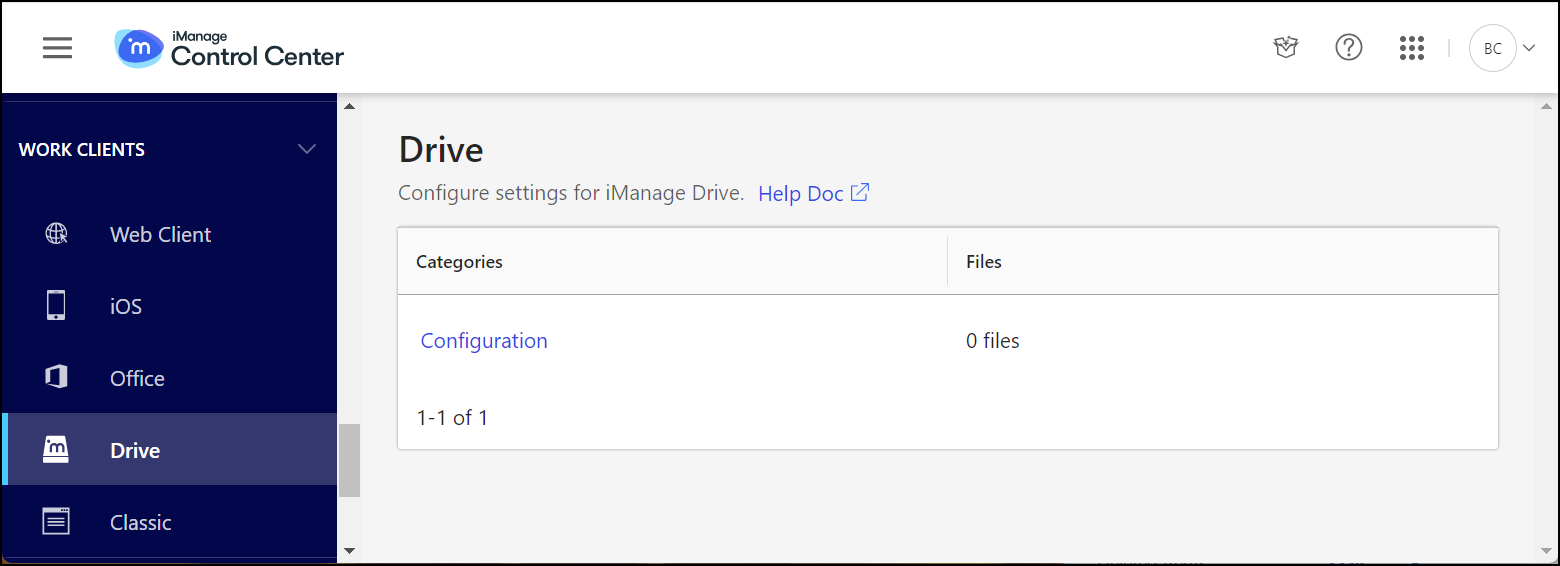
Configuration
iManage Drive configuration files are managed on the Drive page. If this page isn’t visible, you must add and enable the iManage Drive application. Refer to Add and enable the iManage Drive application.
On the Drive page, you can select the Configuration category to:
Upload configuration files using the Upload File option.
Replace a configuration file using the Replace option.
Download a configuration file using the Download option.
Delete configuration files using the Delete option.
Upload configuration files
To upload configuration files, perform the following steps:
In iManage Control Center, browse to Work Clients > Drive.
Select the Configuration category. The Configuration page is displayed.
Select + Upload File. The Upload Files dialog opens.
Select Choose Files, choose the file(s) you want to upload, and select Upload. The file(s) are uploaded.
NOTE: Alternatively, you can drag and drop file(s) to the target area in the Upload Files dialog.
New or updated settings take effect when iManage Drive is restarted. For more information, refer to Introduction.
Replace a configuration file
Use this option to replace a configuration file.
You can access the Replace file option on the Configuration page through the:
Ribbon bar: Select a configuration file check box to display the ribbon bar.
Kebab menu: Select the
 icon next to a configuration file.
Context menu: Right-click a configuration file.
To replace a configuration file, perform the following steps:
In iManage Control Center, browse to Work Clients > Drive.
Select the Configuration category. The Configuration page is displayed.
Locate the file you want to replace.
Use one of the methods described above to display file options and select Replace. The Replace File dialog opens.
Select Choose File, choose the file you want to serve as the replacement, and select Replace. The file is replaced.
NOTE: Alternatively, you can drag and drop a file to the target area in the Replace File dialog.
Download a configuration file
Use this option to download a configuration file.
You can access the Download file option on the Configuration page through the:
Ribbon bar: Select a configuration file check box to display the ribbon bar.
Kebab menu: Select the
icon next to a configuration file.Context menu: Right-click a configuration file.
To download a configuration file, perform the following steps:
In iManage Control Center, browse to Work Clients > Drive.
Select the Configuration category. The Configuration page is displayed.
Locate the file you want to download.
Use one of the methods described above to display file options and select Download. The file is downloaded.
Delete configuration files
Use this option to delete one or more configuration files.
NOTE: If a configuration file is deleted, applicable settings in the local Admin settings file are updated when iManage Drive is restarted. For more information on how setting updates take effect, refer to Introduction.
Delete a single file
When deleting a single configuration file, you can access the Delete file option on the Configuration page through the:
Ribbon bar: Select a configuration file check box to display the ribbon bar.
Kebab menu: Select the
icon next to a configuration file.Context menu: Right-click a configuration file.
To delete a single configuration file, perform the following steps.
In iManage Control Center, browse to Work Clients > Drive.
Select the Configuration category. The Configuration page is displayed.
Locate the file you want to delete.
Use one of the methods described above to display file options and select Delete. The Delete confirmation dialog opens.
Select Delete to delete the file or Cancel to cancel the deletion.
Delete multiple files
The option to delete multiple configuration files on the Configuration page is only available through the ribbon bar.
To delete multiple configuration files, perform the following steps:
In iManage Control Center, browse to Work Clients > Drive.
Select the Configuration category. The Configuration page is displayed.
Locate the files you want to delete and select the check box for each file to display the ribbon bar.
Select Delete. The Delete confirmation dialog opens.
Select Delete to delete the files or Cancel to cancel the deletion.