Settings
Setting the Default Language
This feature enables you to set the default language for iCC and iManage Work.
In the Default Language section, click Client Setup > Web > Settings; the General page under Settings appears.
Select the language from the drop-down list, and click Save.
iManage Work now appears in the selected language.
Hiding a specific language from browsers
This features enables you to hide specific languages from the browsers that display iManage Work. To hide one or more languages, complete the following steps:
Create a new file: C:\Program Files\Autonomy\WorkSite\WorkWebServer\settings.py
Add the following contents to the file, excluding any languages you do not want:
# -*- coding: UTF-8 -*-# Supported LanguagesIM_LOCALES = [{'id': 'en-US', 'name': 'English'},{'id': 'fr-FR', 'name': 'Français'},{'id': 'es-ES', 'name': 'Español'},{'id': 'de-DE', 'name': 'Deutsch'},{'id': 'pt-BR', 'name': 'Português (Brasil)'},{'id': 'ja-JP', 'name': '日本語'}]
Customizing the Logo
This application enables you to replace the iManage Work logo with your logo for iManage Work application.
The customized logo appears in the new iManage Work UI at the following places:
Page headers (desktop view)
Left sidebar (mobile view)
Custom Logo File Requirements
The image must be in SVG format as it appears crisp in high density displays. You cannot upload an image in any other format such as JPG, PNG, GIF and so on.
The image size should be 174px x 60px. If the size of your image does not match, it will be scaled to 174px x 60 px automatically. However, the logo may appear distorted.
The SVG files exported from tools such as Adobe Illustrator or Sketch work properly without any additional effort. However, if the logo does not appear in the UI, open the image file in a text editor to view its XML format. Verify that the <svg> element has both xmlns and xmlns:xlink attributes are set. If these attributes are missing, the logo may not render.
For example, <svg xmlns="http://www.w3.org/2000/svg" xmlns:xlink="http://www.w3.org/1999/xlink" … > …. </svg>
Steps to Customize Logo
Click Client Setup > Web > Settings; the General page under Settings appears.
Figure: Settings
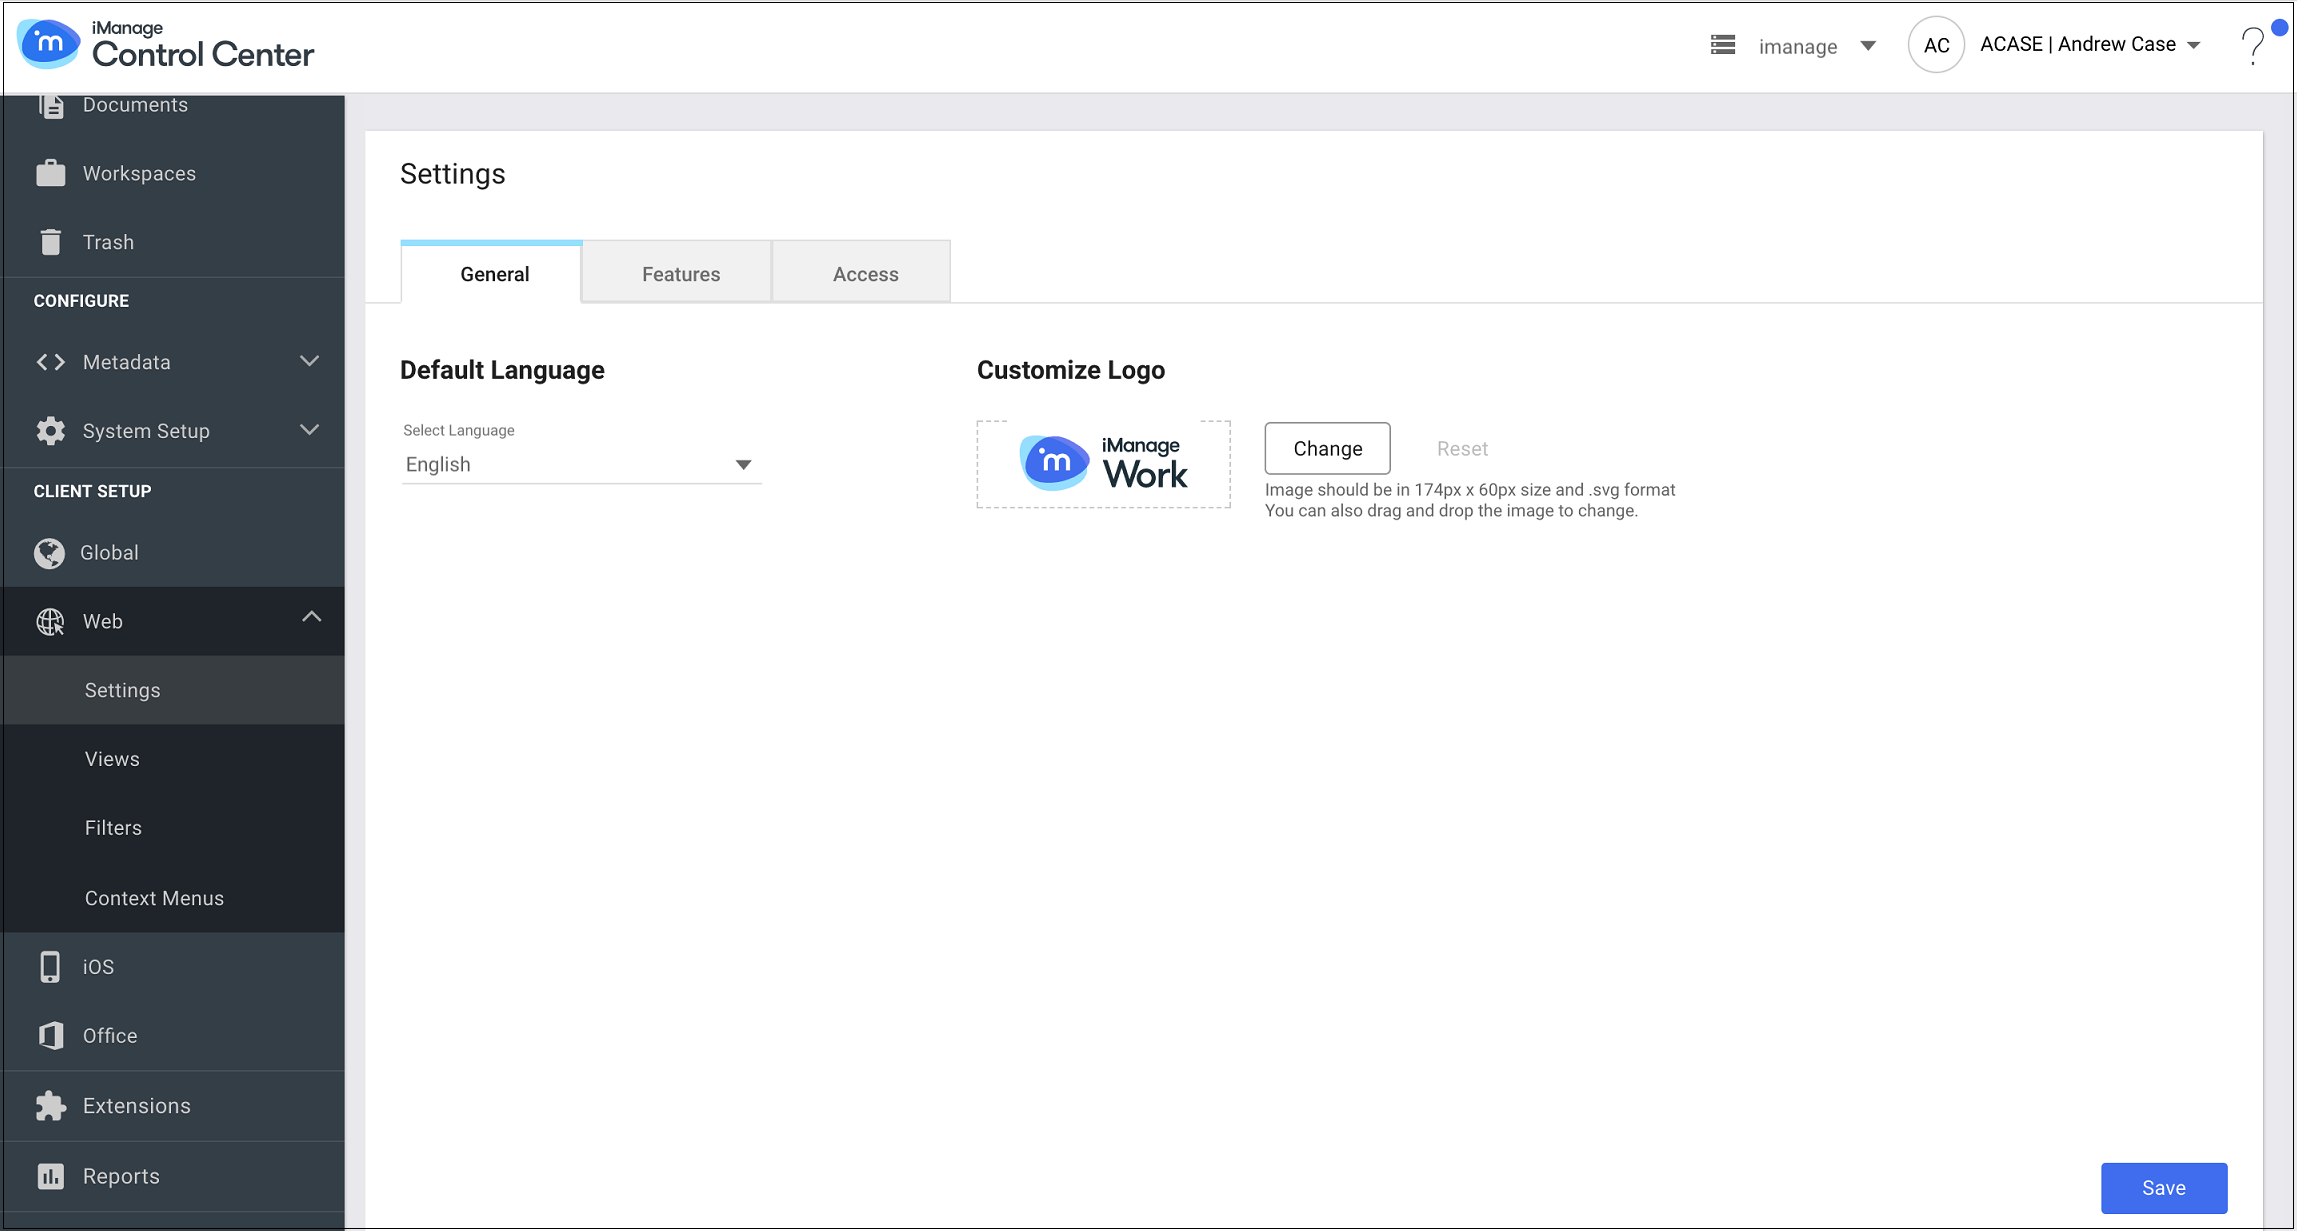
In Customize Logo section, click Change and browse through your local directories to select the new logo. You can also drag and drop the new logo. The new logo is uploaded.
Click Reset to restore the default iManage Work logo.
Features
This feature enables you to customize the features of iManage Work.
Click Client Setup > Web > Settings > Features tab.
Figure: Features
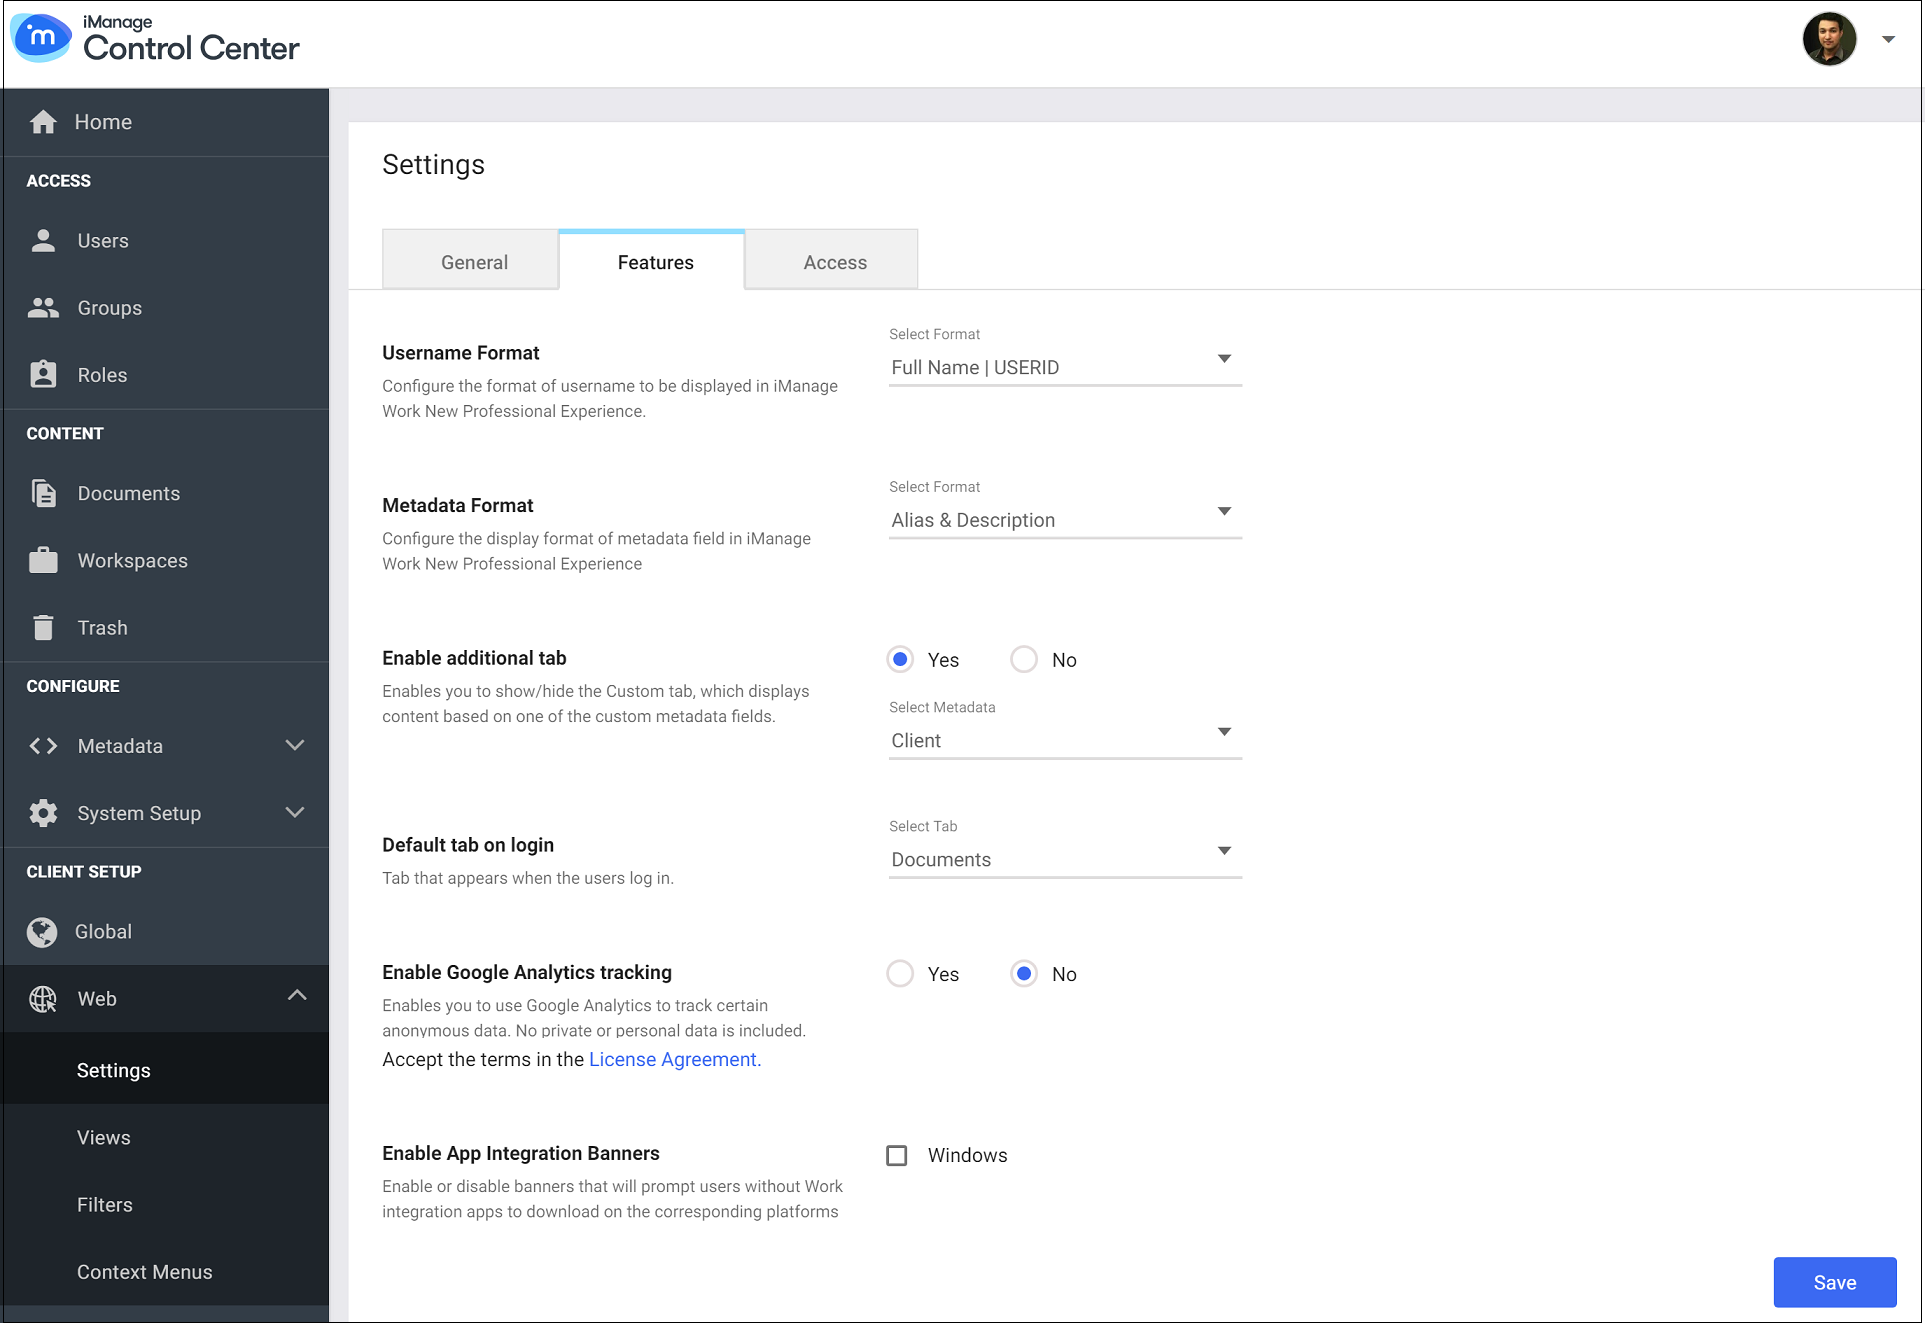
Customize the following features:
Username Format - Select the format of username to be displayed in iManage Work.
Metadata Format - Select Alias & Description or Description Only as the format for custom metadata fields to be displayed in iManage Work.
Enable Additional Tab : Adds an additional tab to iManage Work home page. This tab can be added for a custom metadata field between Custom1-12 and Custom29-30.
Select Yes to add an additional tab, and select the metadata from the drop-down list.
Click System Setup > Captions, and update the captions for CUSTOM1VIEW, and RECENTCUSTOM1 to reflect appropriate labels in iManage Work for additional tab, and recent items. For example, if Practice Areas is added as an additonal tab, then update the captions to reflect labels in iManage Work as Practice Areas, and Recent Practice Areas.
Figure: iManage Work Home Page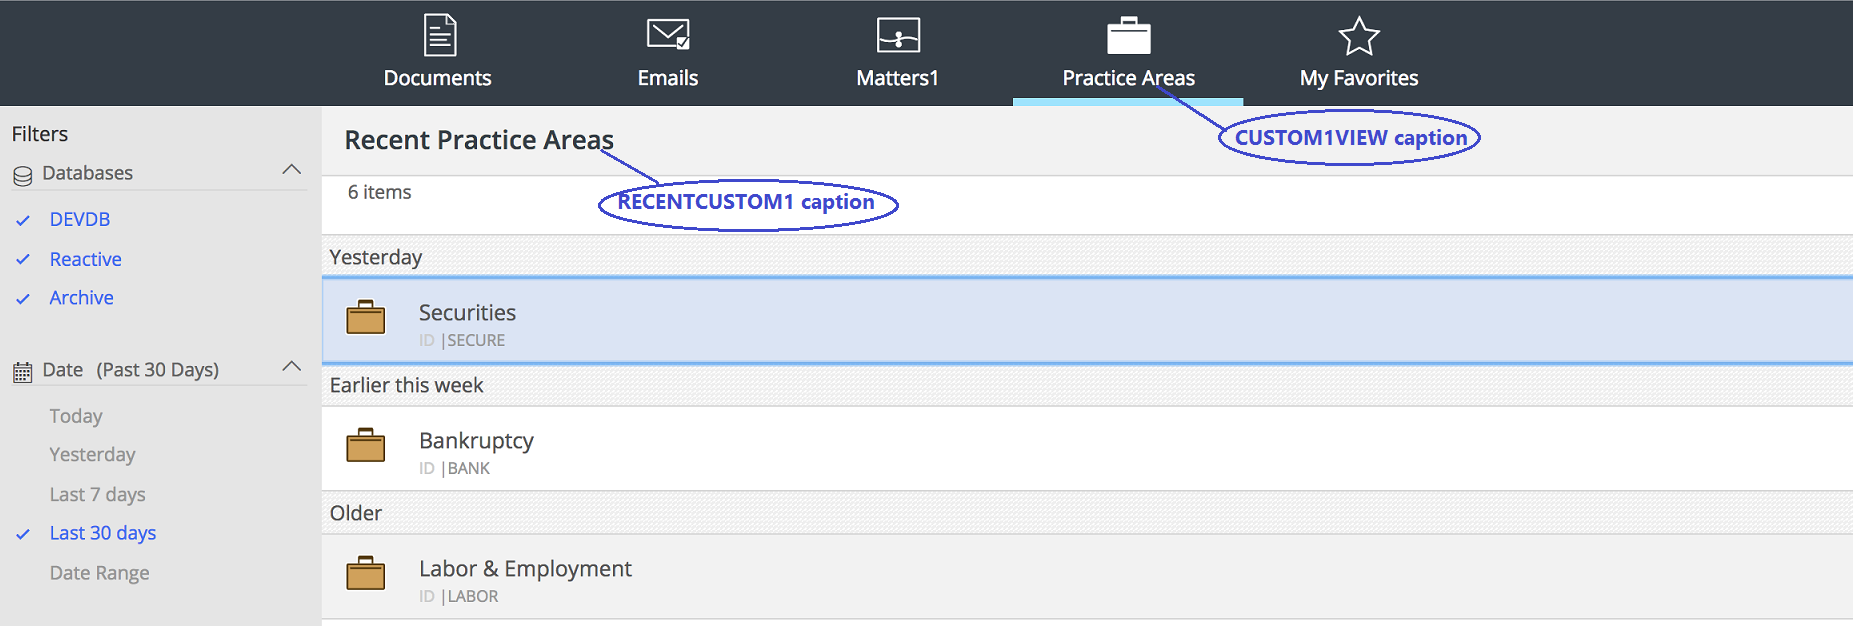
Figure: iManage Work Search Window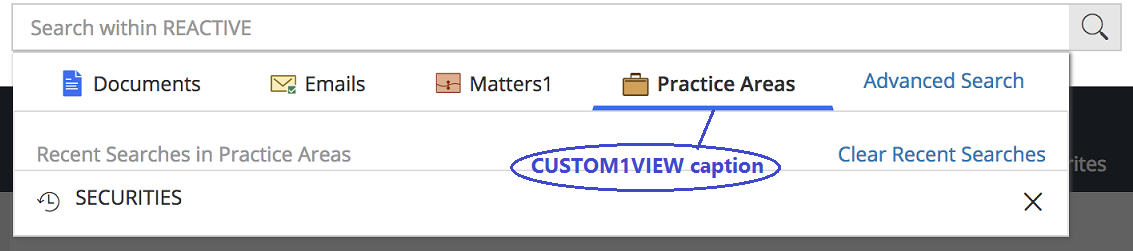
Default tab on Login - Select the tab from the drop-down list that should appear when the users log in.
Enable Google Analytics tracking - Select Yes to allow iManage to collect anonymous data through Google Analytics to track the application usage information. No private data, such as user names or metadata is sent to iManage.
Enable App Integration Banners - Select the Windows checkbox if you want your end-users to see the following iManage Auto Updates banner in iManage Work (Web client) if iManage Work Desktop for Windows is not installed. By default, the checkbox is not selected. Only those end-users who do not have iManage Work Desktop for Windows will see this banner.
Figure: iManage Auto Updates Banner

Access
This feature enables assigning the privilege to all the users in a group to access iManage Work. The users who are not in this list can still access iManage Work for Office, iManage Work 10 for Mobility, and iManage Work classic clients.
This feature is useful for firms who decide to provide the mobile access of iManage Work only to specific users, and control the data that is left on the devices. For example, mobile access is provided only to partners and attorneys, while the document support staff and secretaries are restricted.
Click Client Setup > Web > Settings > Access tab to provide access to specific groups.
Figure: Access
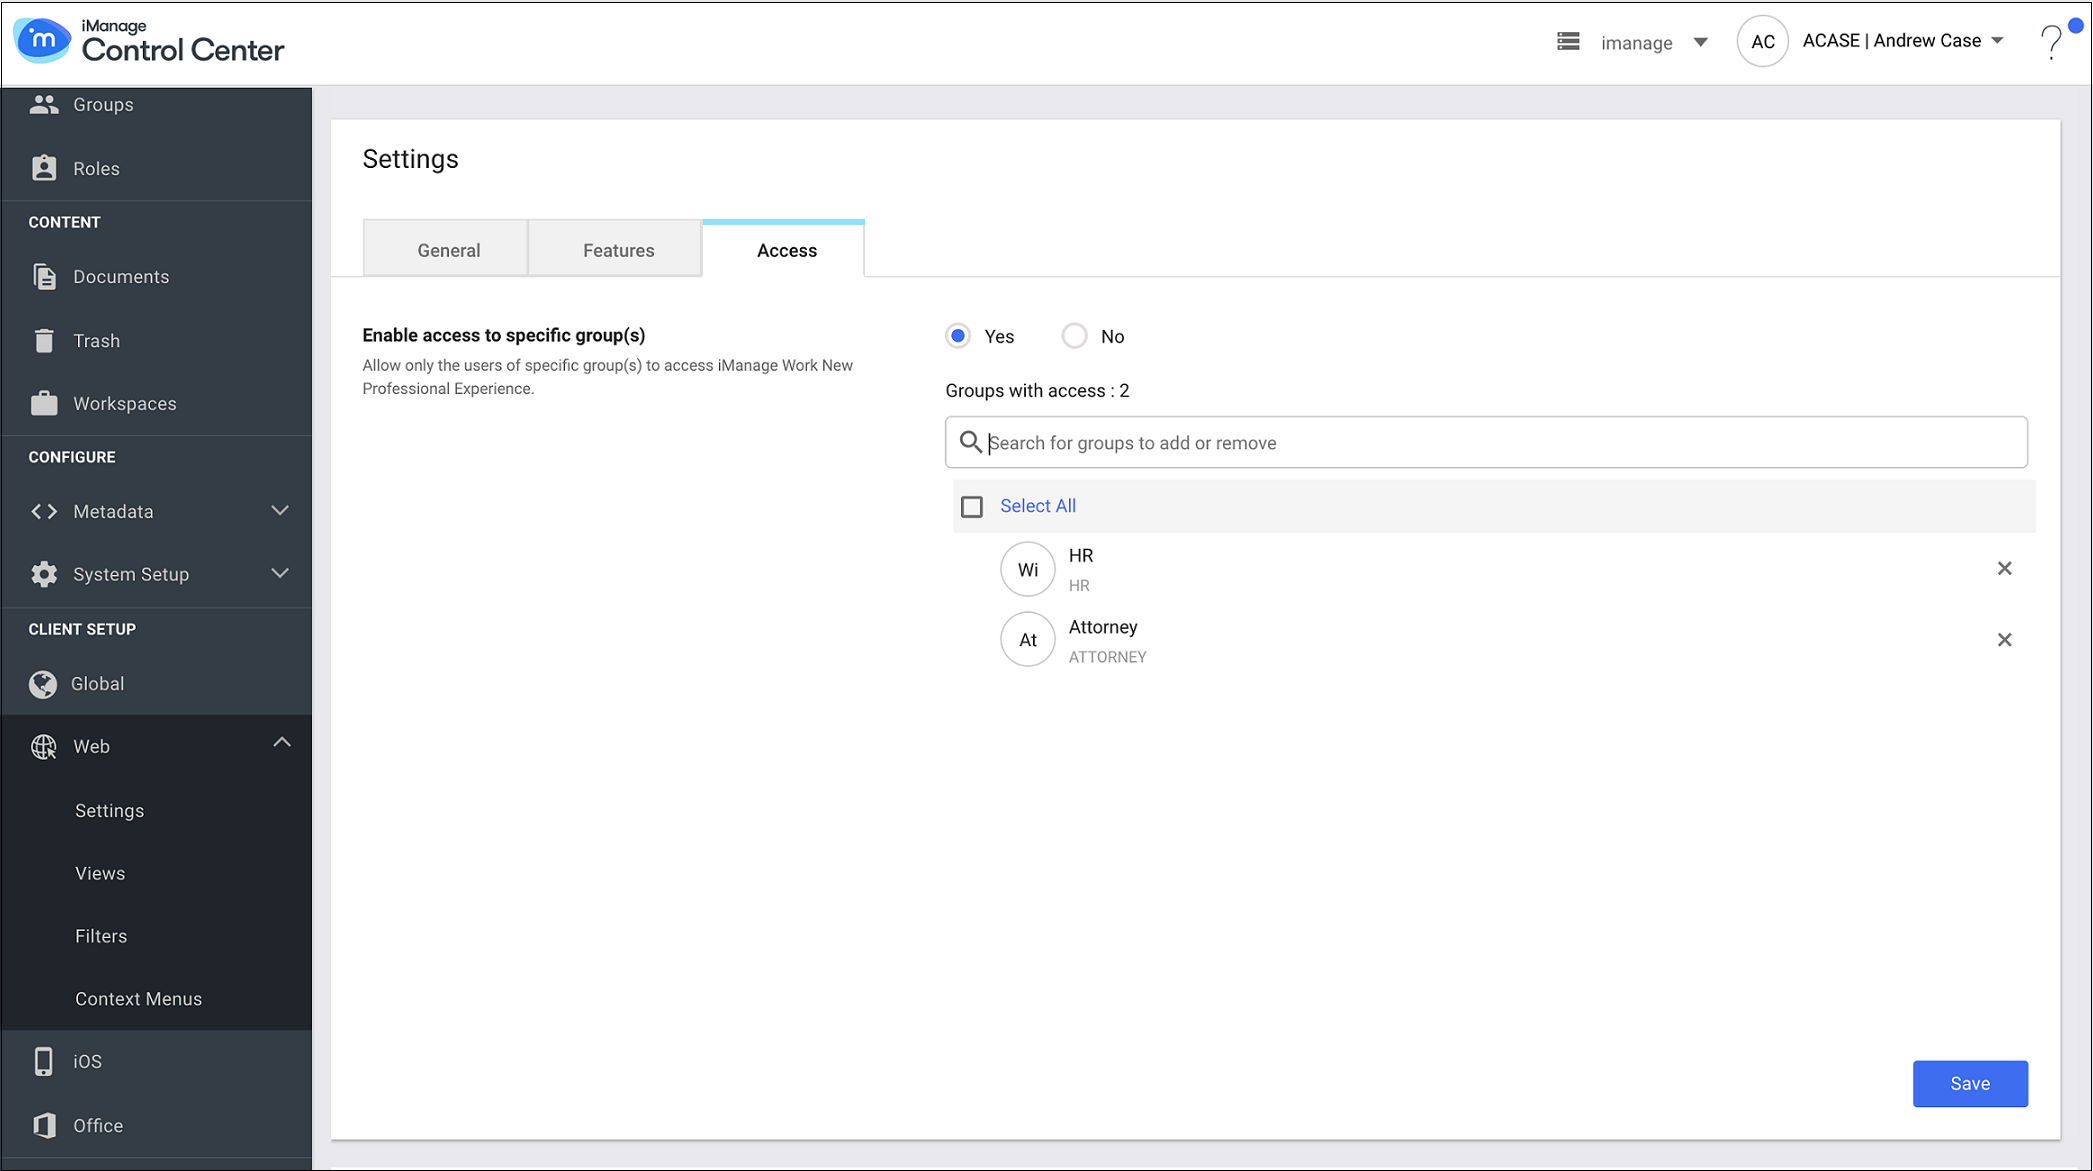
Select Yes.
The field to search for groups appears.Type the name of the group to be added, and click Add to provide access to the group.
Click x to remove the group that is already added.