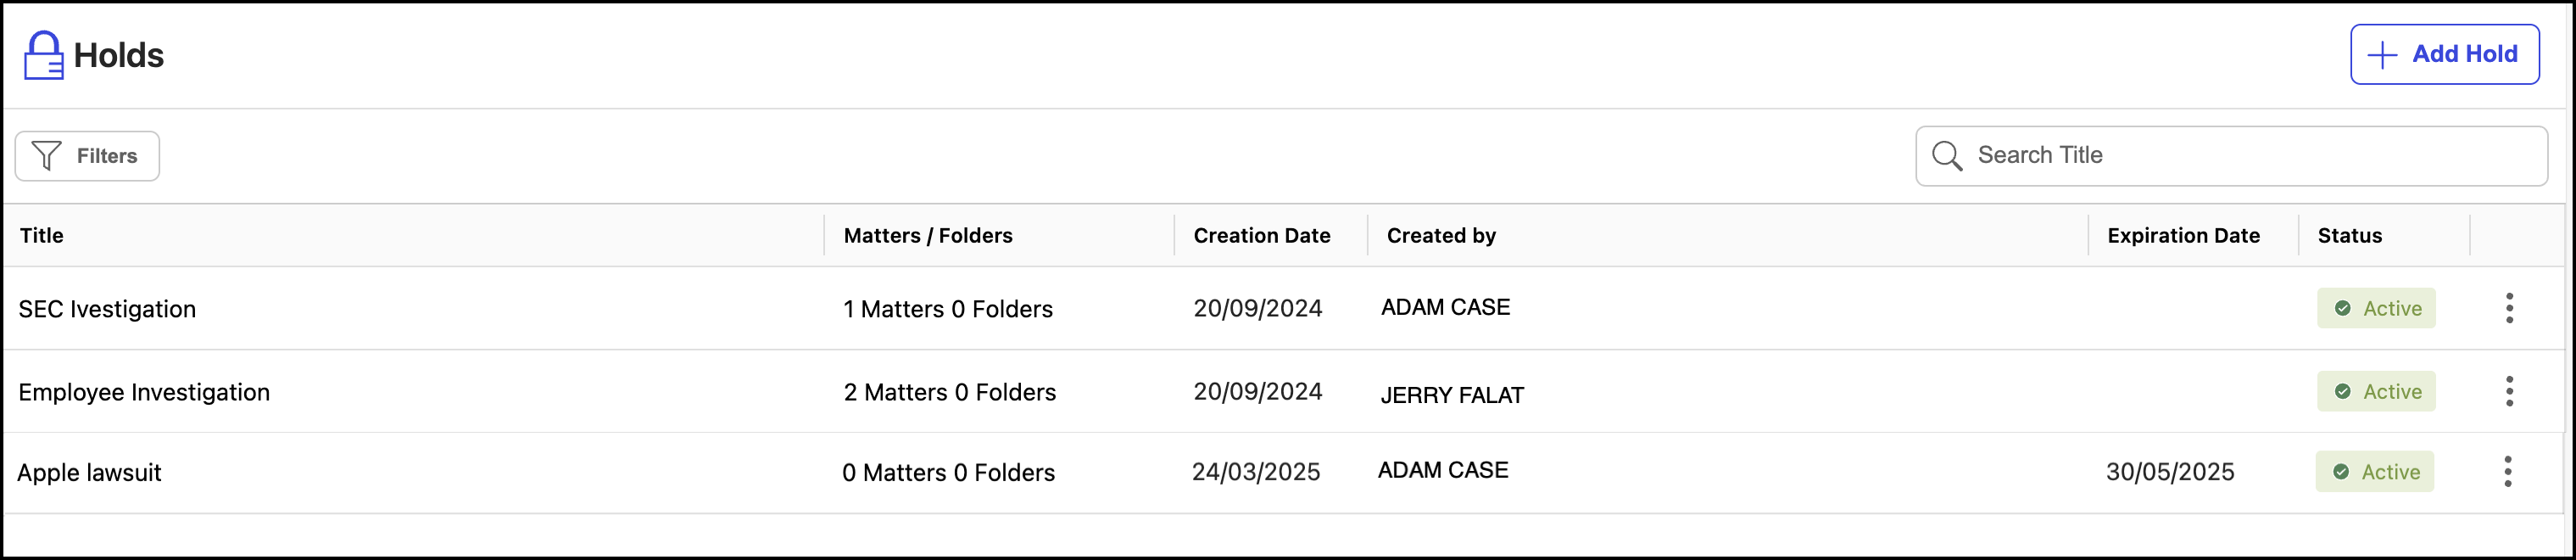
In the list view, select Holds.
Figure: Browse to holds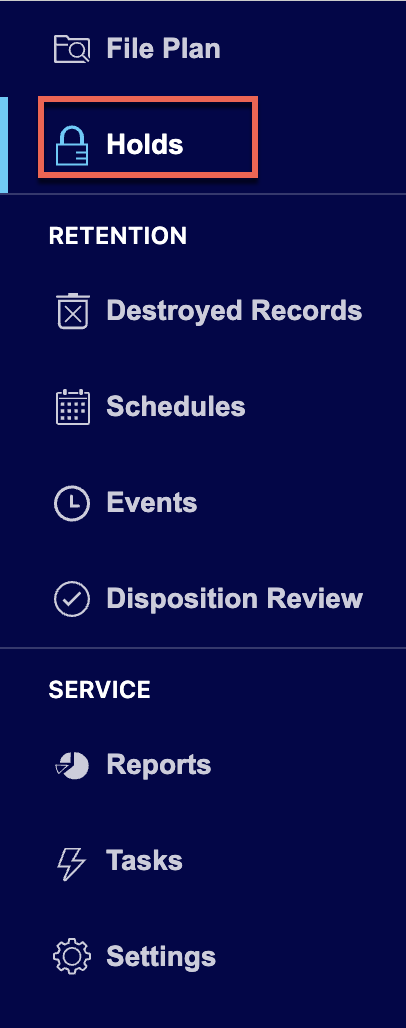
Select Add Hold.
Figure: Select Add Hold
In the Add Holds dialog, enter the hold name in the Title field.
(Optional) Enter a description in the Description field.
(Optional) Enter the expiration date in the Expiry Date field.
When you enter this value, the hold expires after the selected date. If the hold is applied to a workspace, folder, or subfolder, the relevant tasks are executed as scheduled after the hold expires. If no date is defined, the hold never expires and remains active indefinitely.
Figure: Create a hold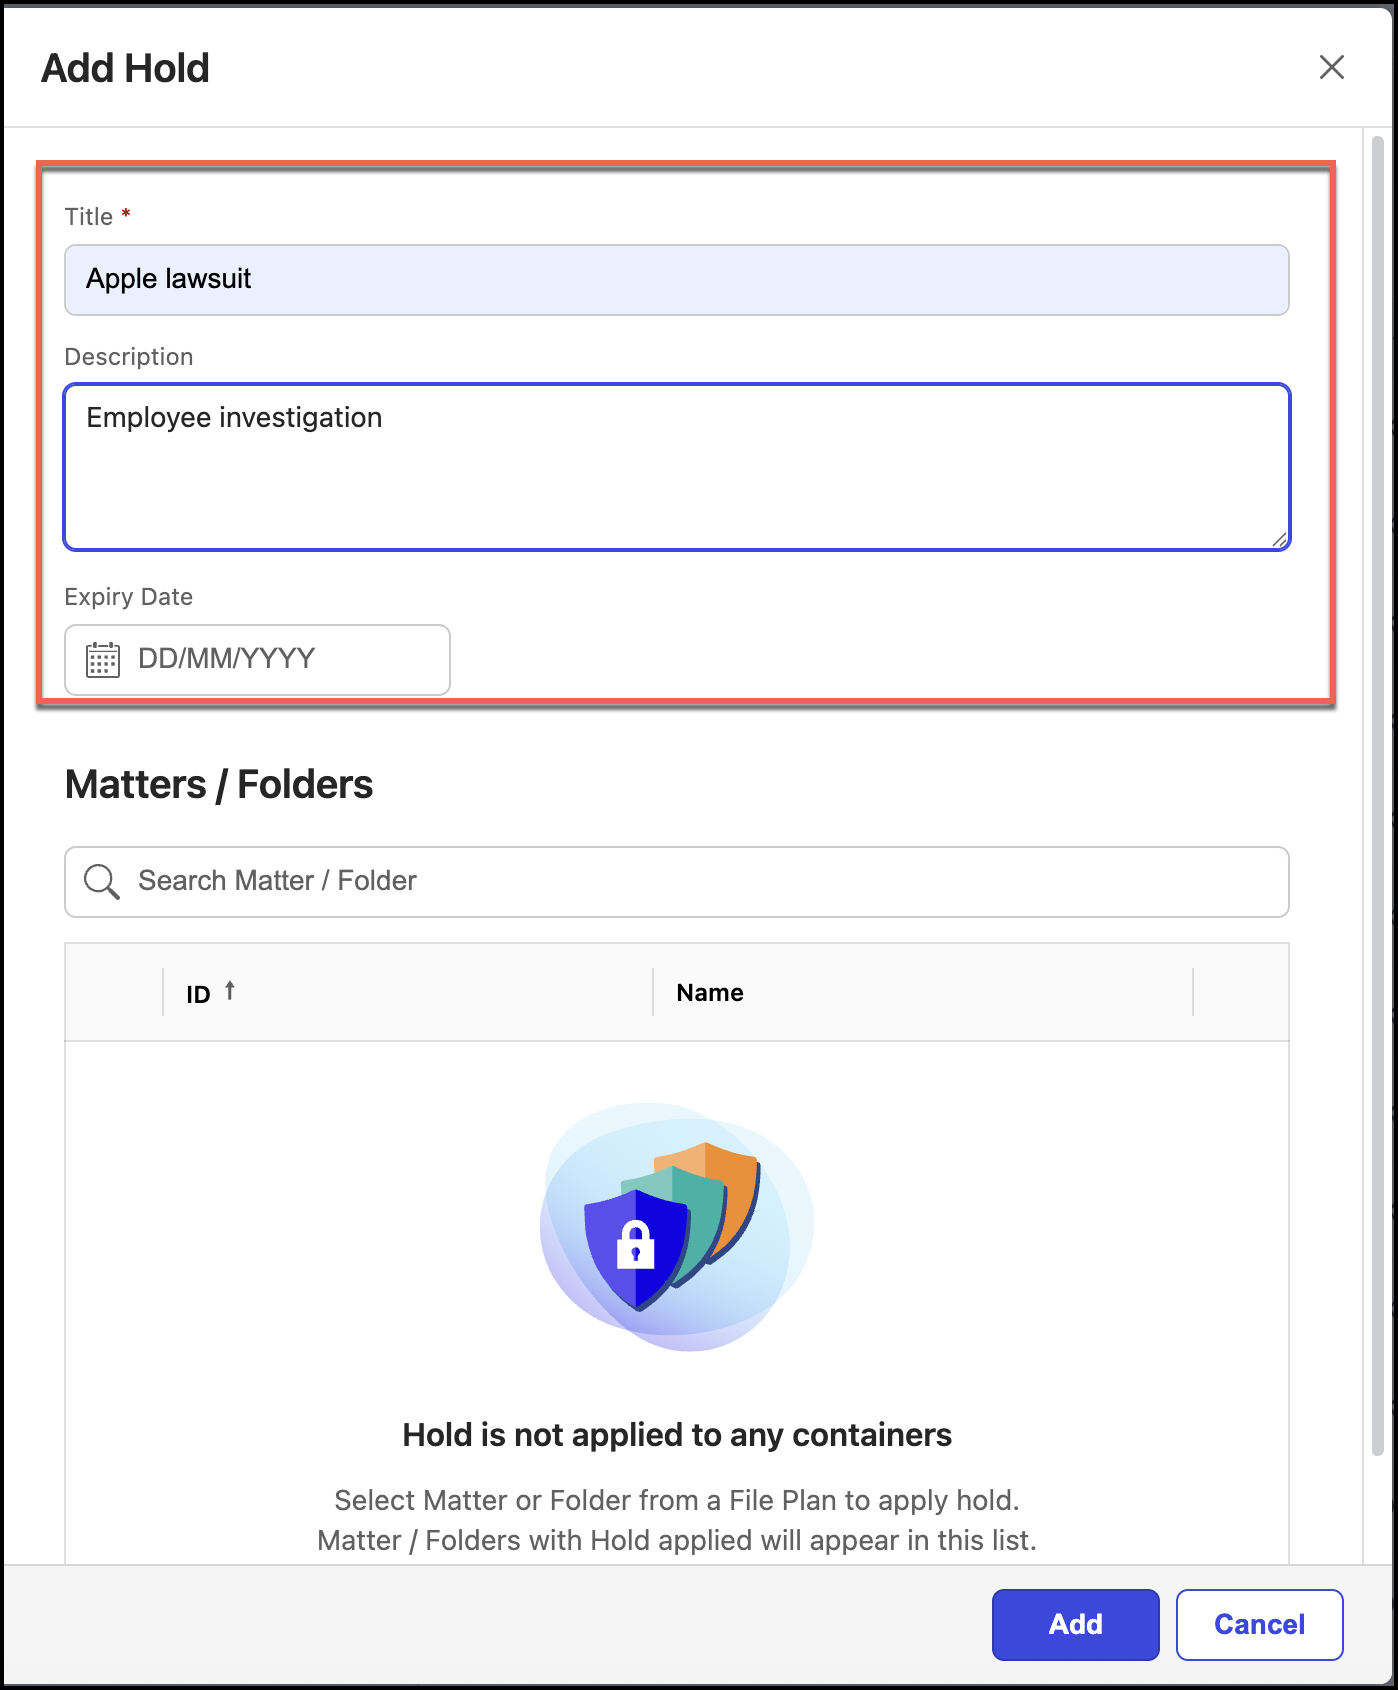
NOTE: You can't add workspaces or folders using the Matters/Folder option. The search option provided in this field is used to search for workspaces or folders that are already added to the hold.
Select Add. The hold is created and can be viewed on the Holds page.
Figure: Holds page