In the left pane, under Retention, select Schedules.
Figure: Select Schedules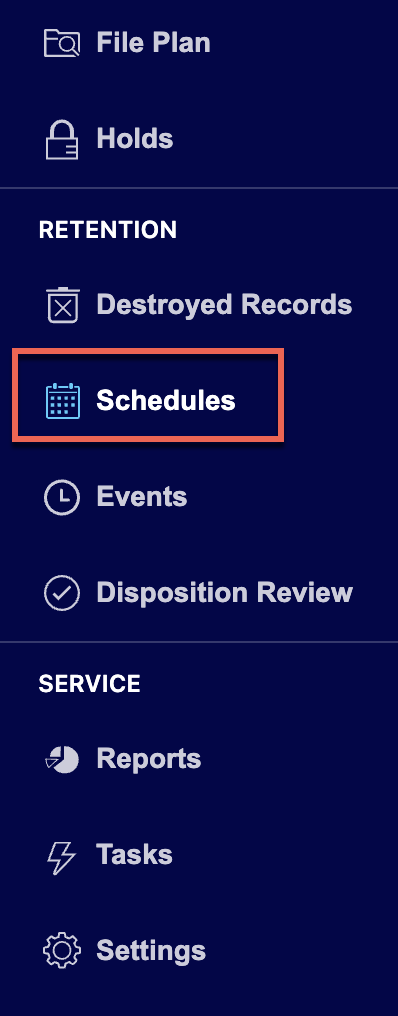
Select Add Schedule.
Figure: Select Add Schedule
In the Add Schedule dialog, enter the schedule name in the Title field. The name entered is displayed in File Plan, Tasks page, Review panel, Properties pane, and so on.
Figure: Add schedule details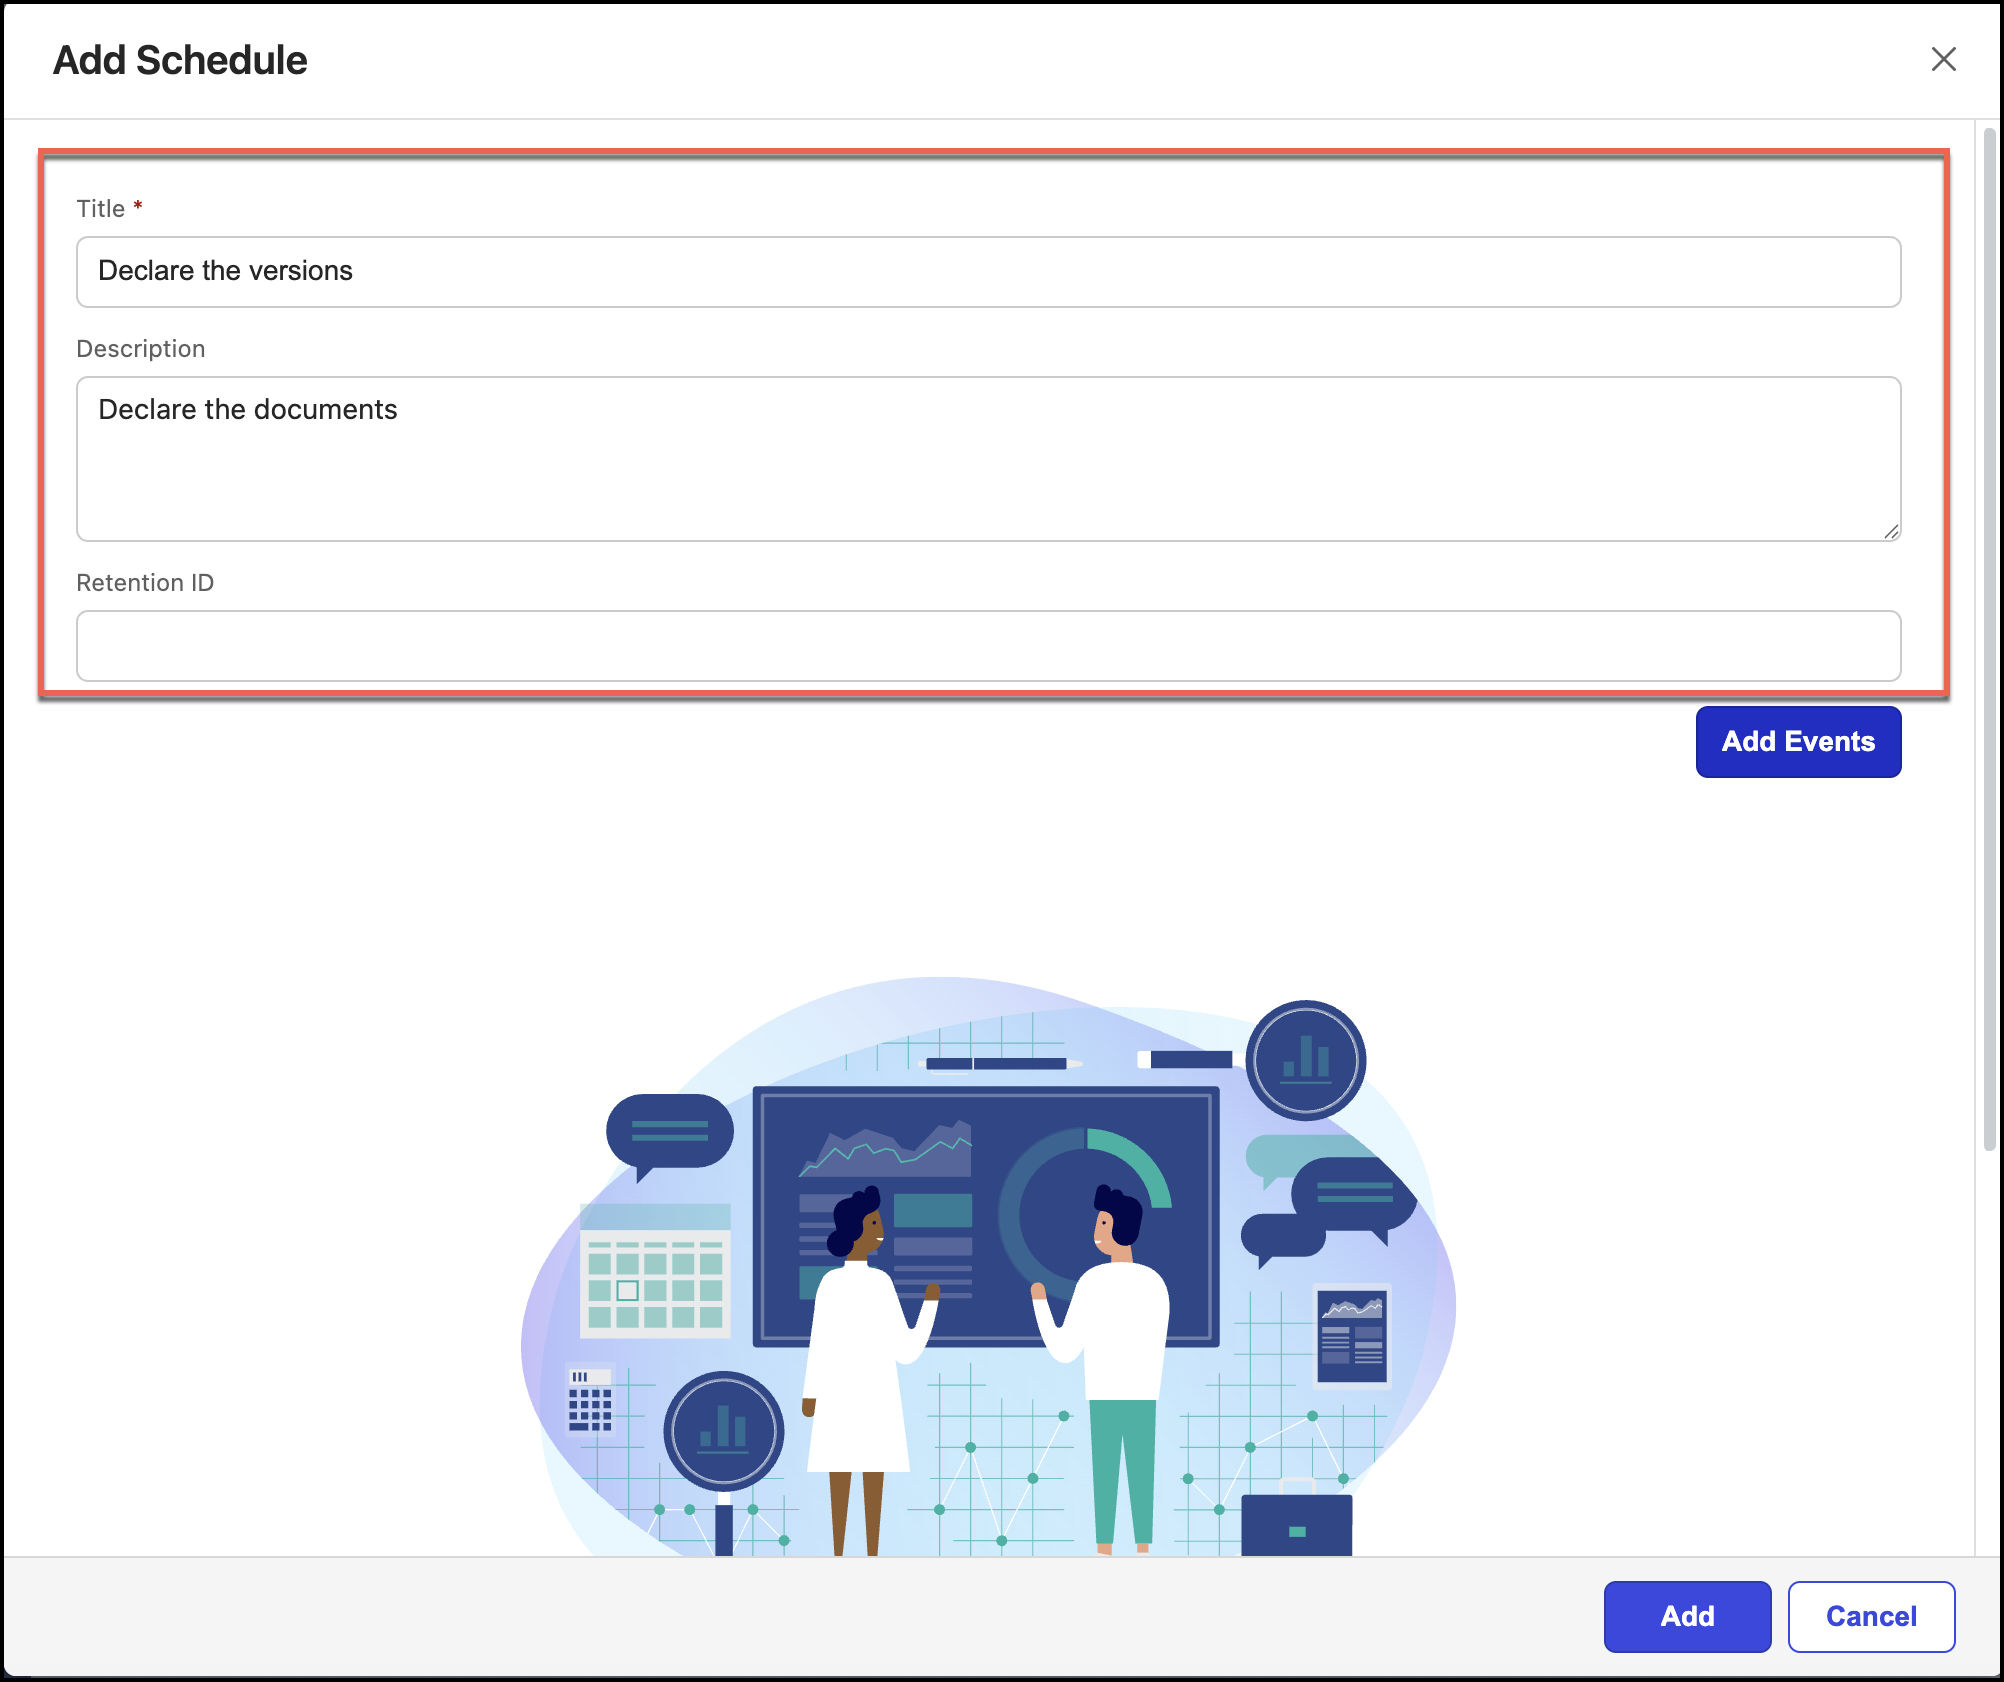
(Optional) Enter the description in the Description field.
(Optional) If you want to use the retention policy defined in iManage Work, enter the retention ID in the Retention ID field.
The value provided in Retention ID should exactly match the value provided in iManage Control Center. For example, if the value described in iManage Work is DESTROYONDATE, make sure that DESTROYONDATE is entered in the Retention ID field. If the values don’t match, iManage Disposition Manager doesn’t apply the value described in iManage Work.
Select Add Events. The Add Events to the Schedule dialog opens within the Add Schedule dialog.
Figure: Add events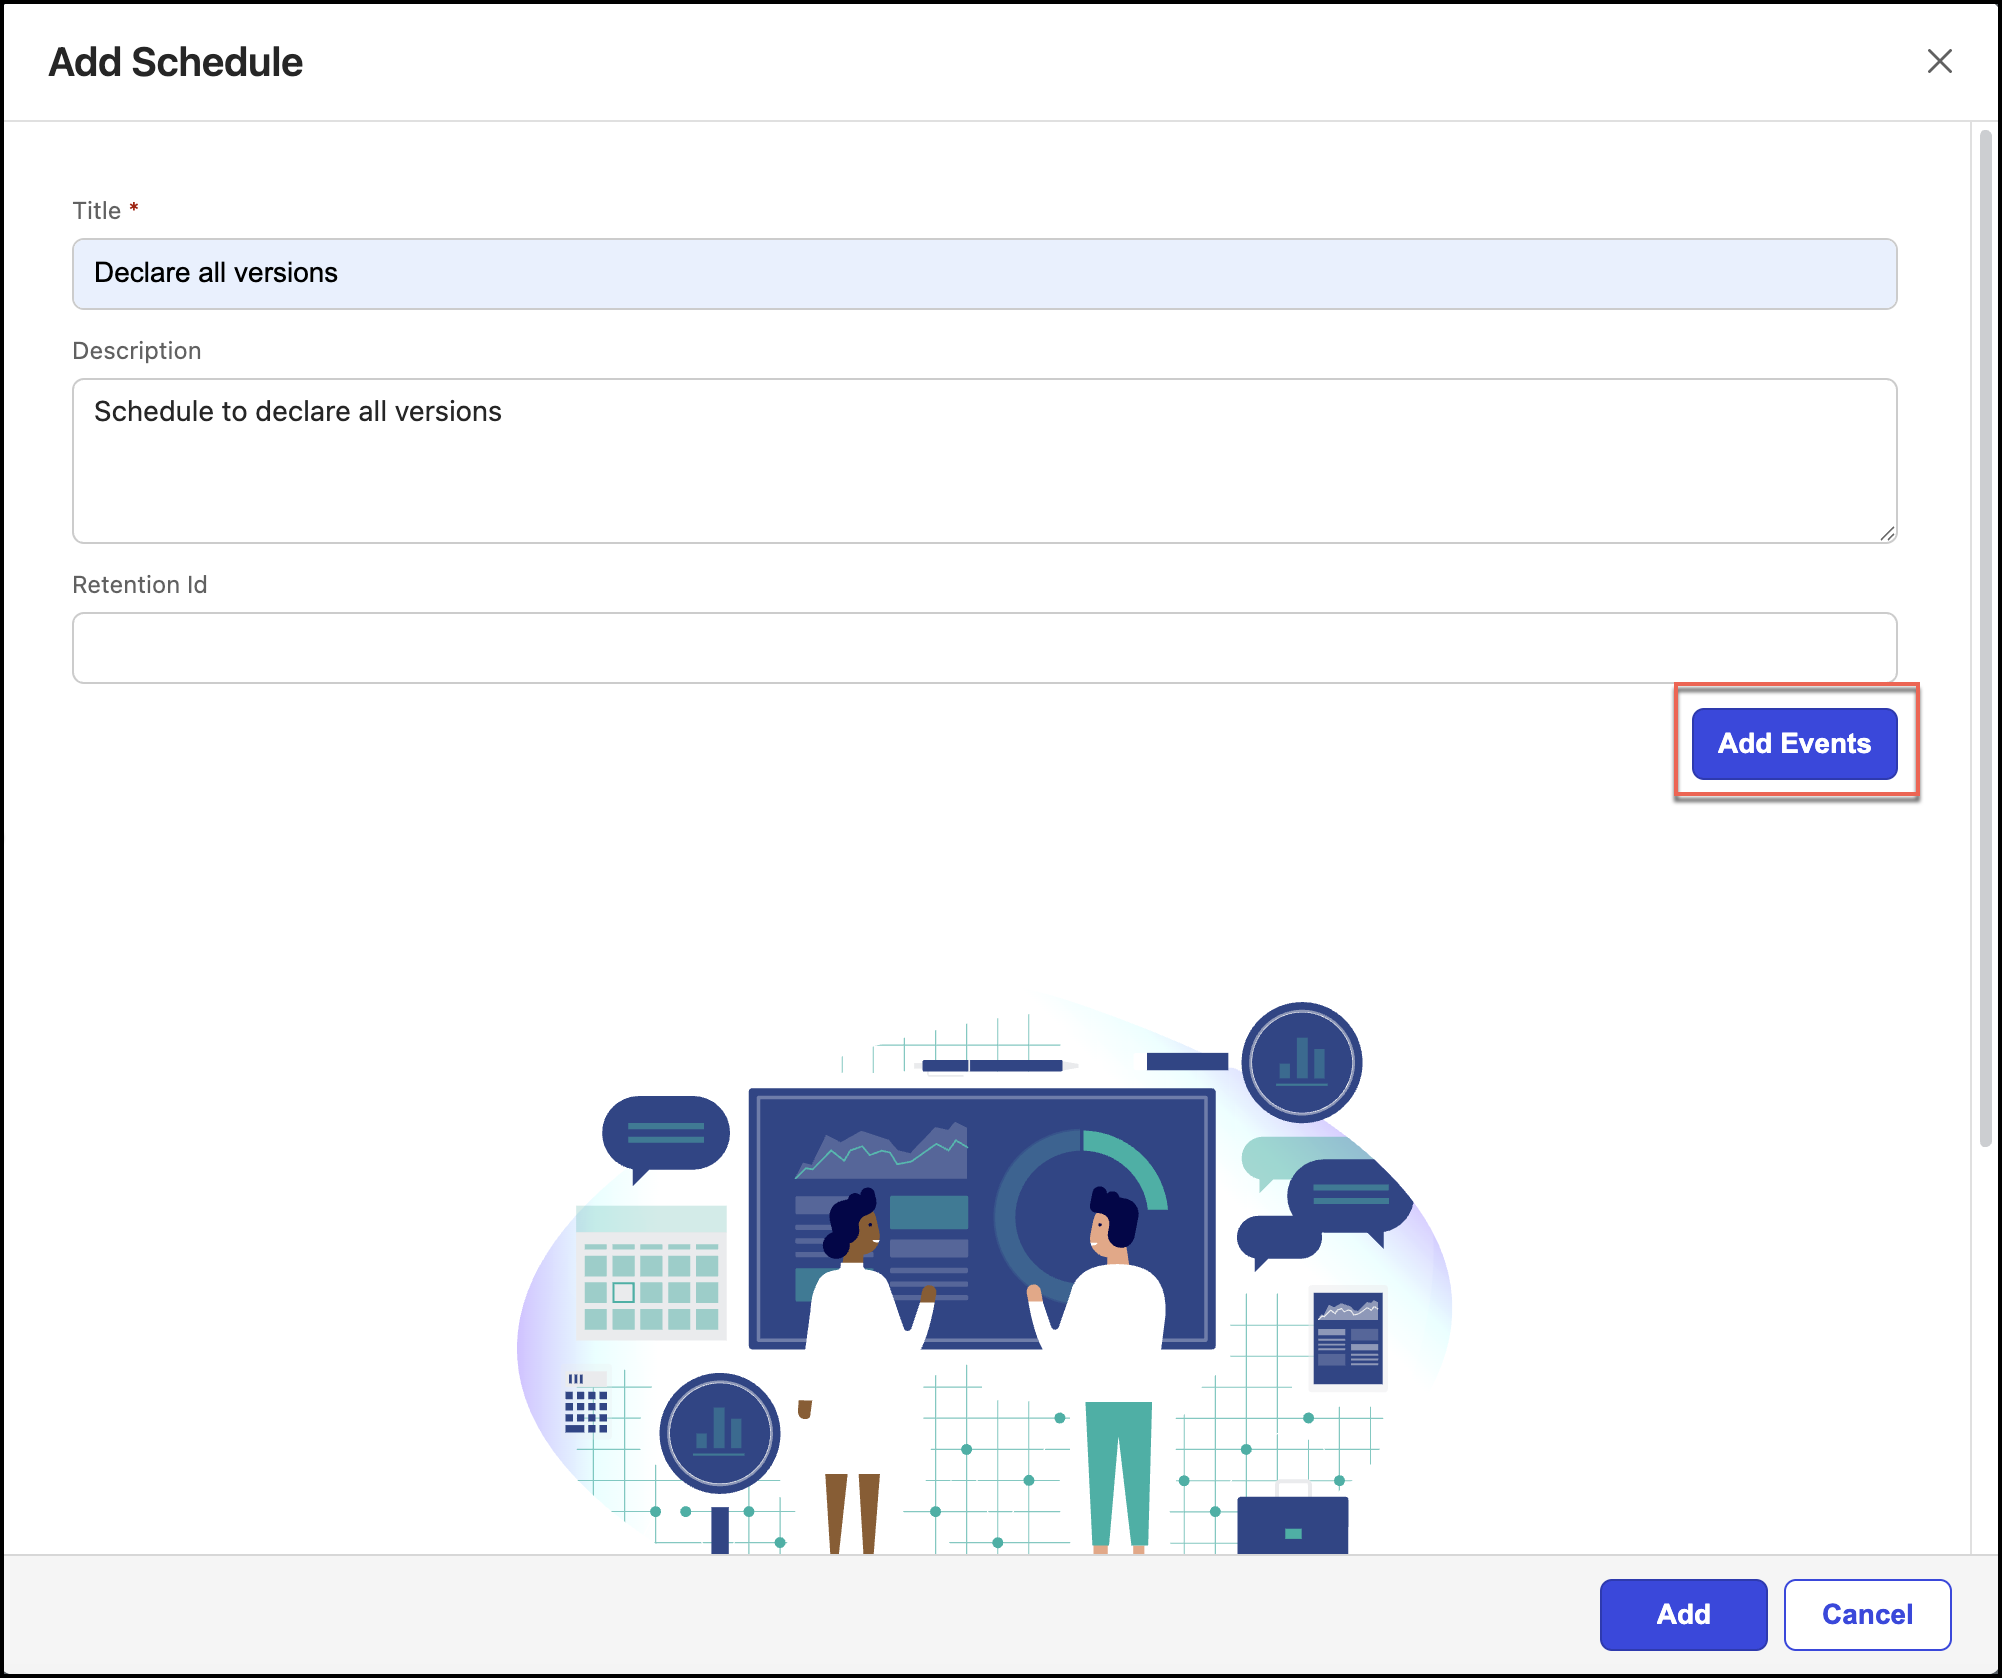
Select the
 icon for all the events you want to add to the schedule. You can add one or more events to the schedule.
 Select Confirm Events. The selected events are added to the schedule.
Figure: Add events to the schedule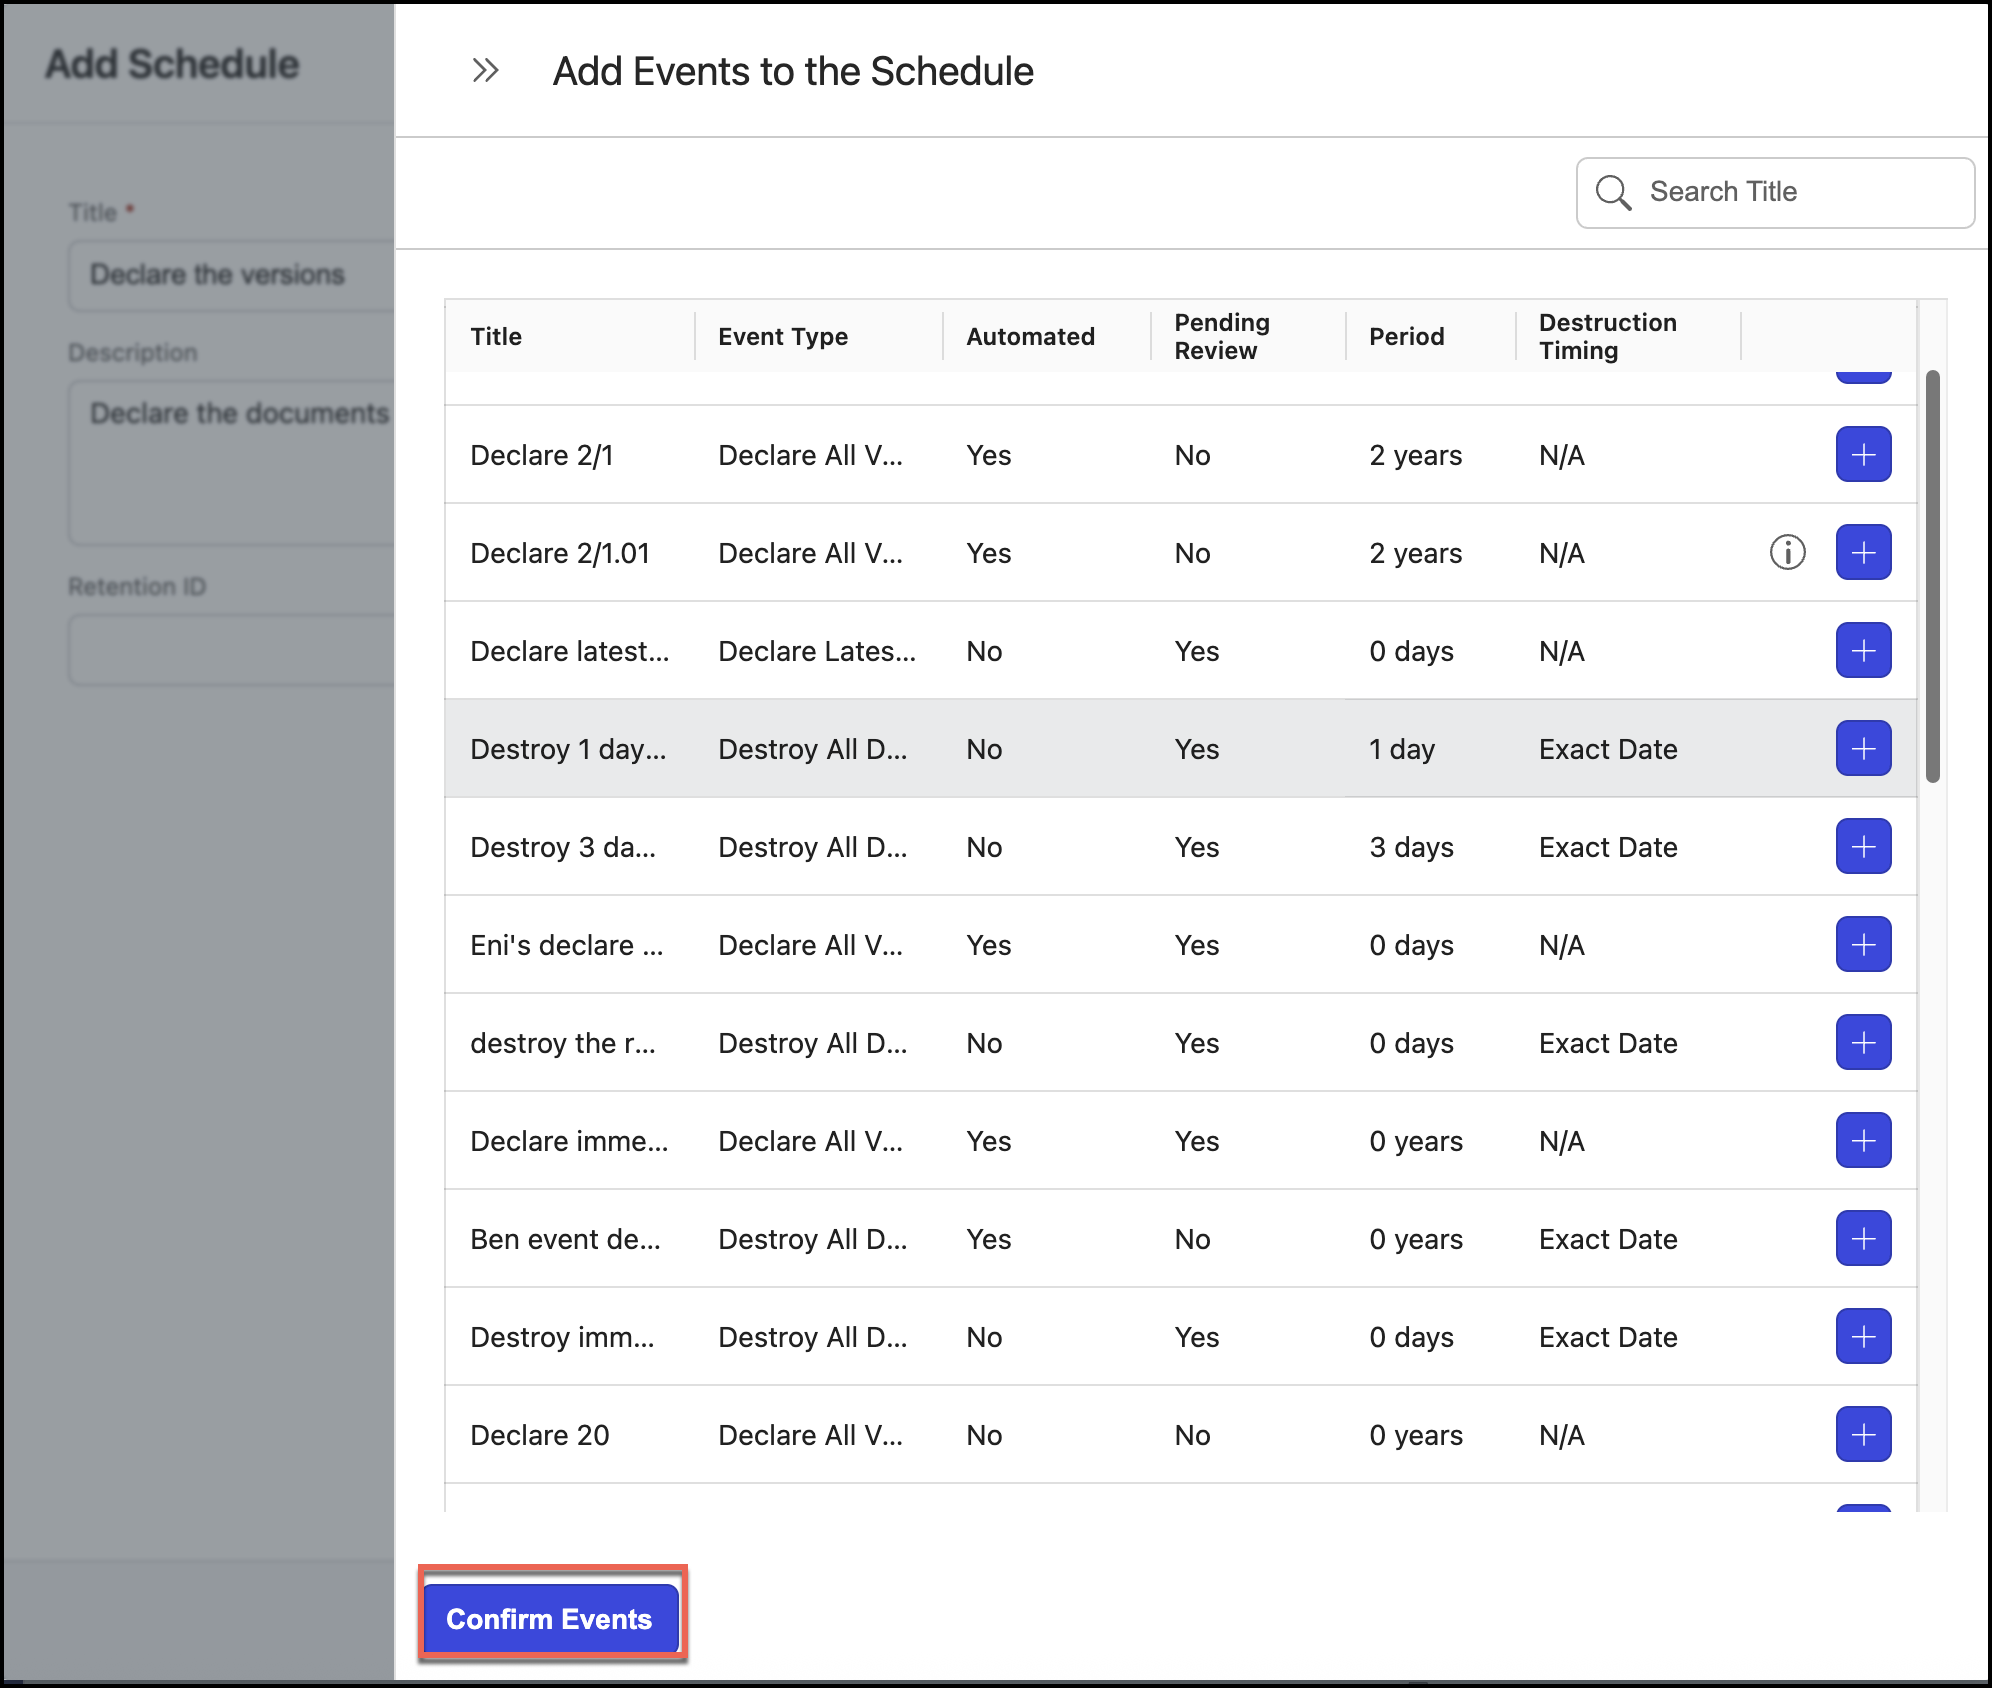
You can remove the events added by selecting the
 icon.Figure: Check events and add the schedule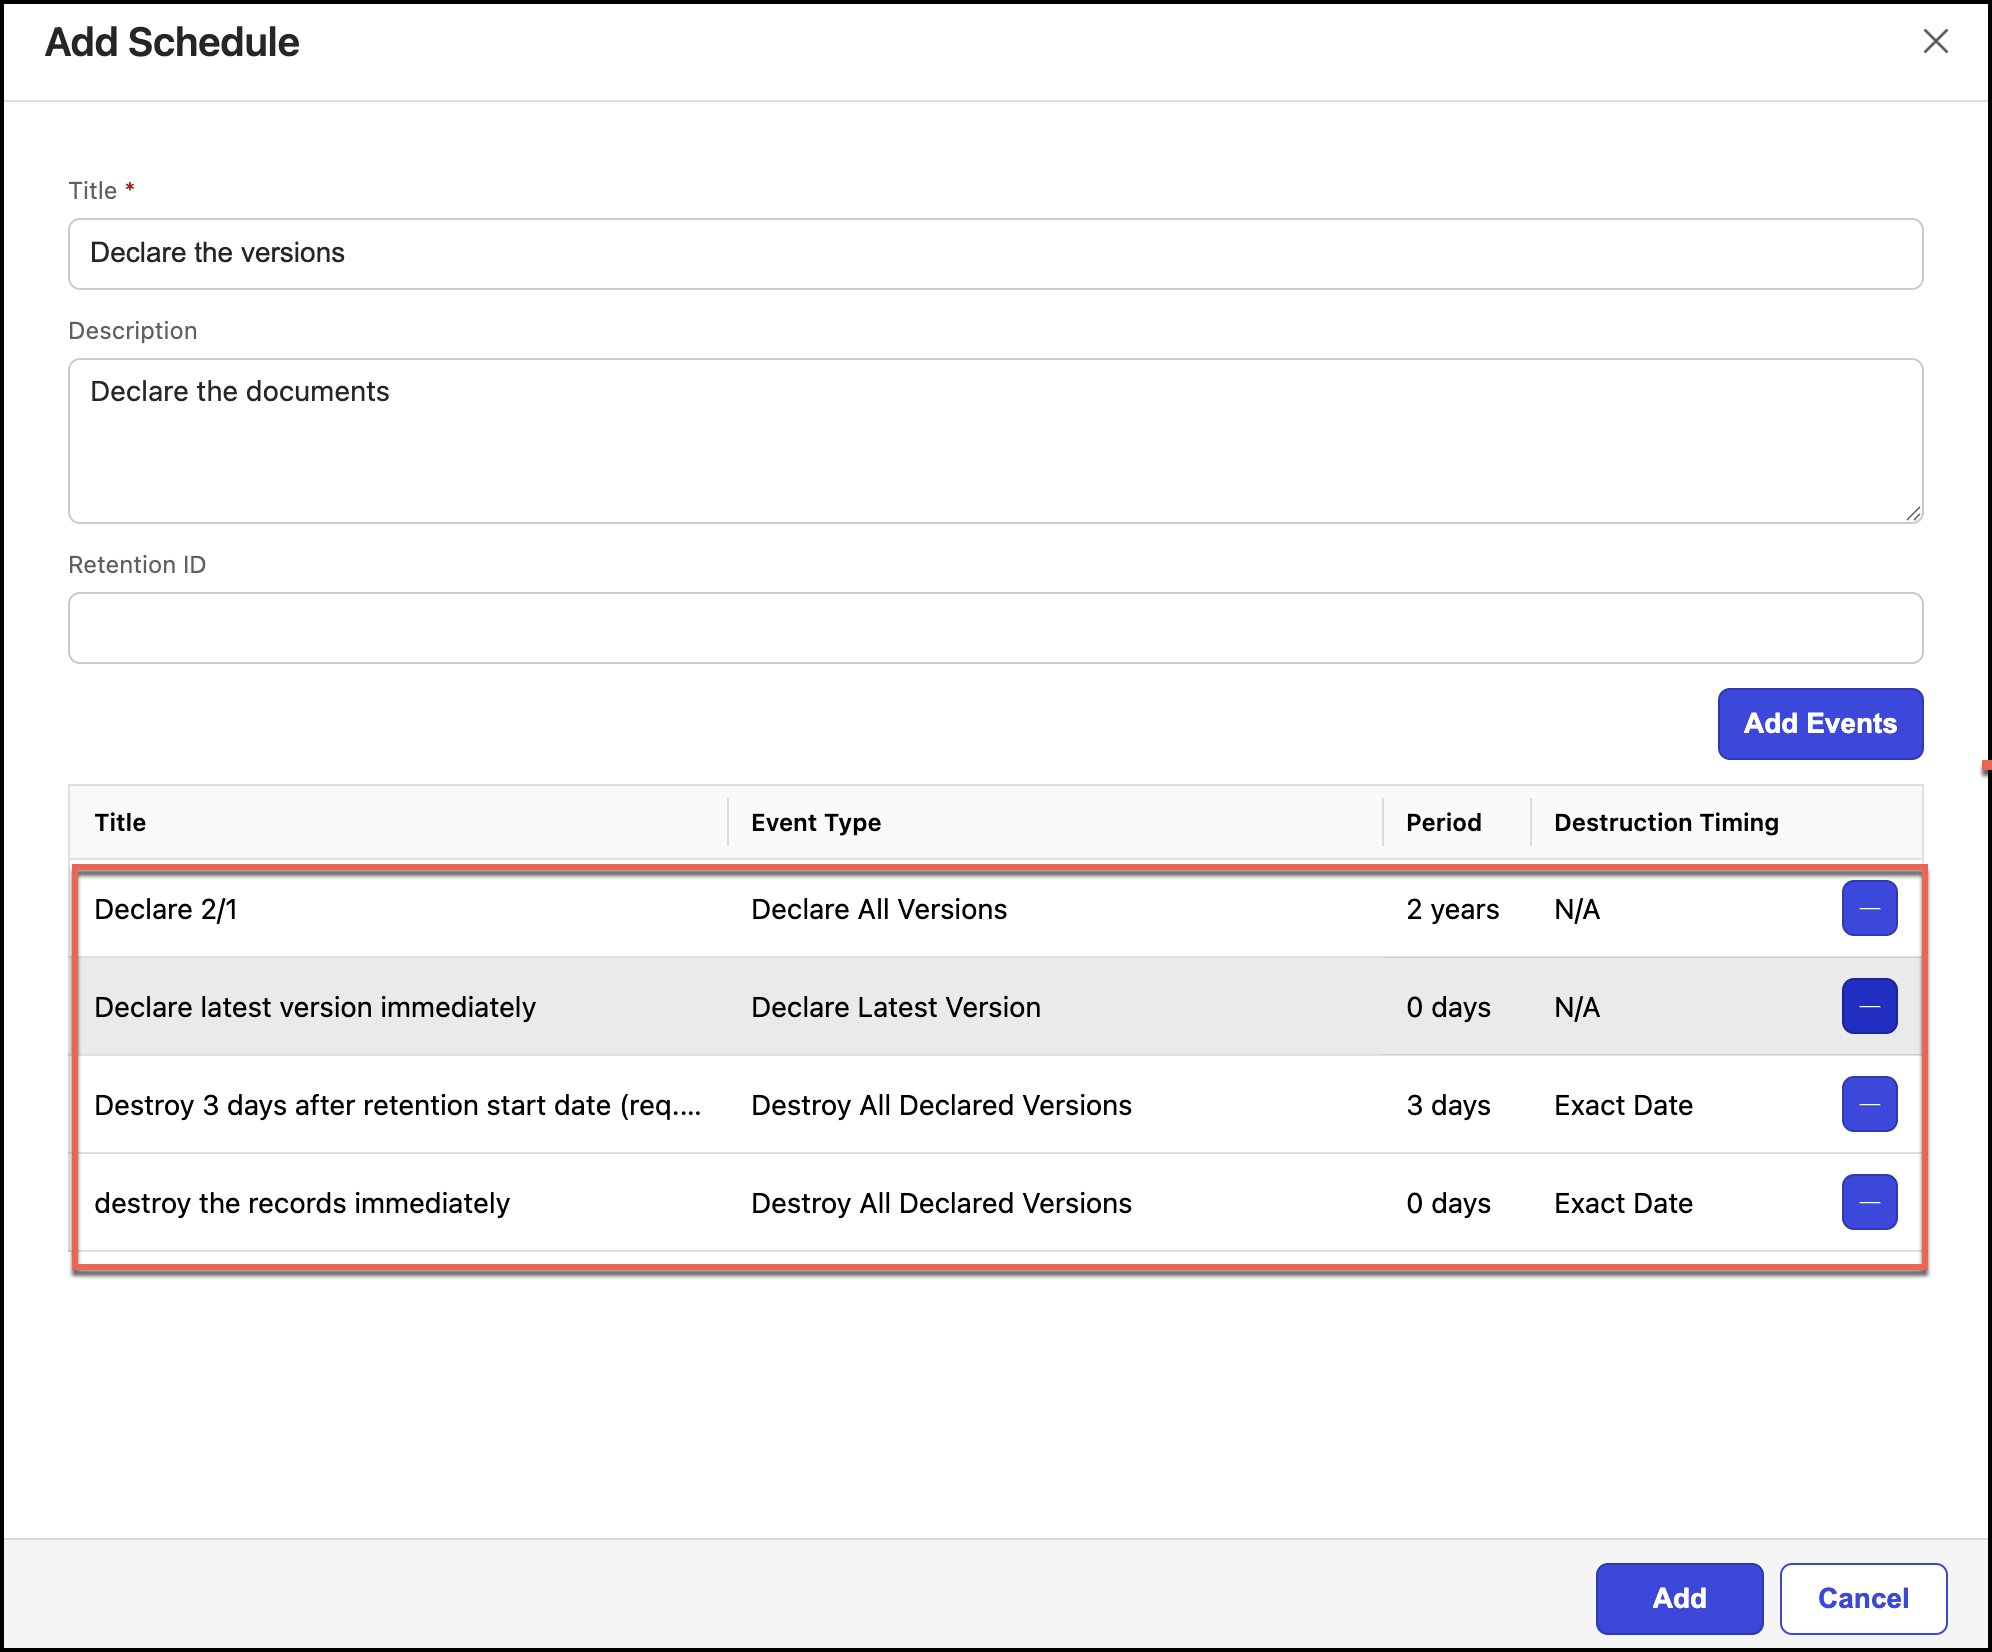
Select Add. The schedule is created and added to the Schedules page.