Importing the Submit workflow template
Using your company credentials, sign-in to your Power Automate account.
In the left pane, select My flows > Import > Import Package (Legacy).
Figure: Importing a package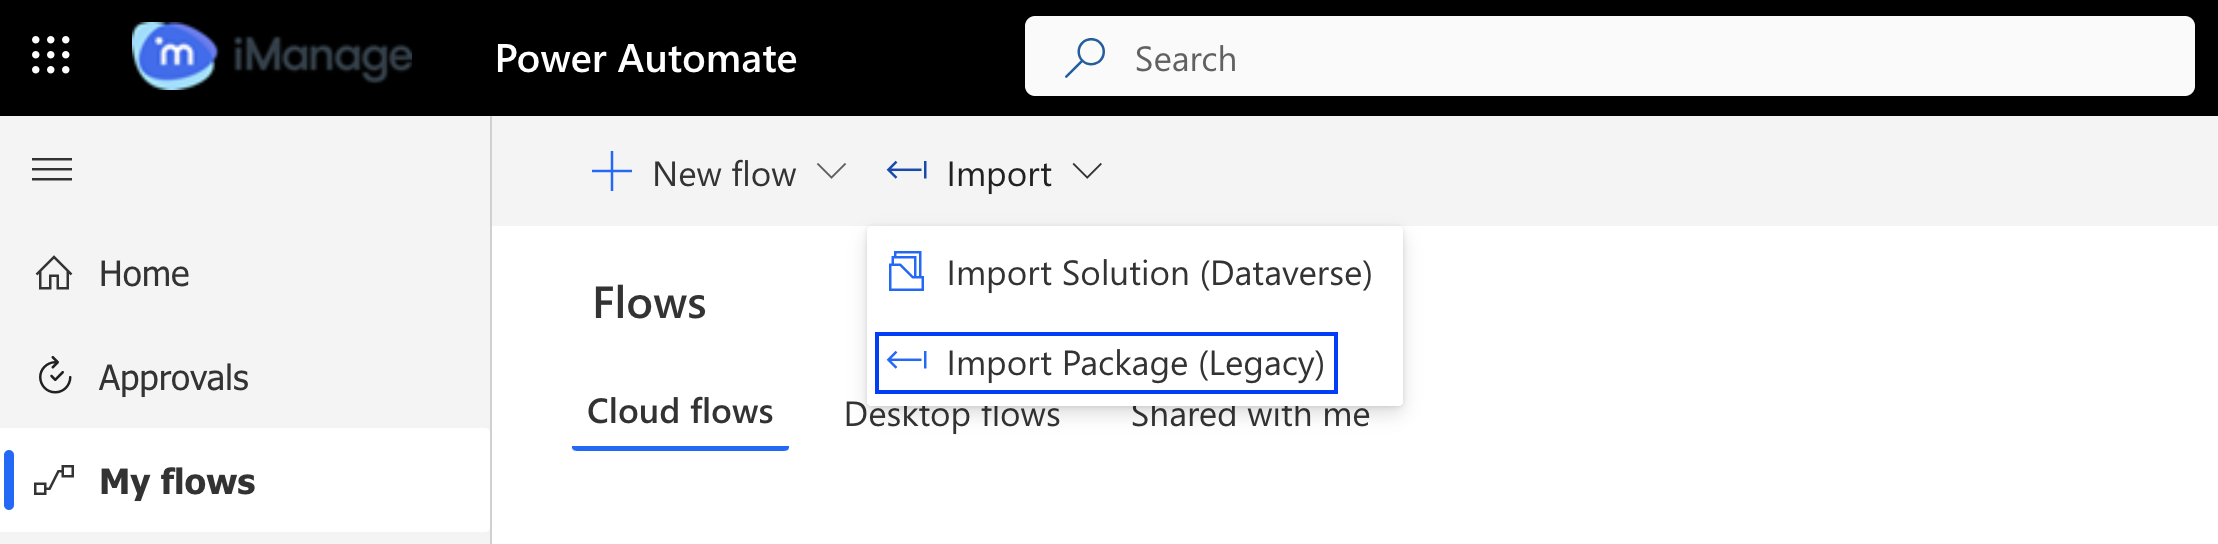
Select Upload and then select the .zip template file from your file explorer. You'll be directed to the next page where you must review the package contents.
Figure: Reviewing package contents
To complete uploading the templates, choose Select during import to establish a connection for each resource type that has a warning indication beside them. The Import setup dialog box appears.
Select Create new in the import setup dialog box. You'll be directed to the Connections page.
Select New connection. Since you are importing the Submit workflow template, you must have the following resource type connections established:
iManage Work Connection
iManage Insight Plus Connection
Office 365 Outlook Connection
Search for the iManage Work connector and then select Create. You will be directed to your cloudimanage.com sign-in page. Enter your company credentials and select Import.
To install the iManage Insight Plus connector, repeat the same instructions as mentioned in step 7.
Search for the Office 365 Outlook connectors and then select Create. Enter your Microsoft account credentials. The connector is added and displayed on the Connections page.
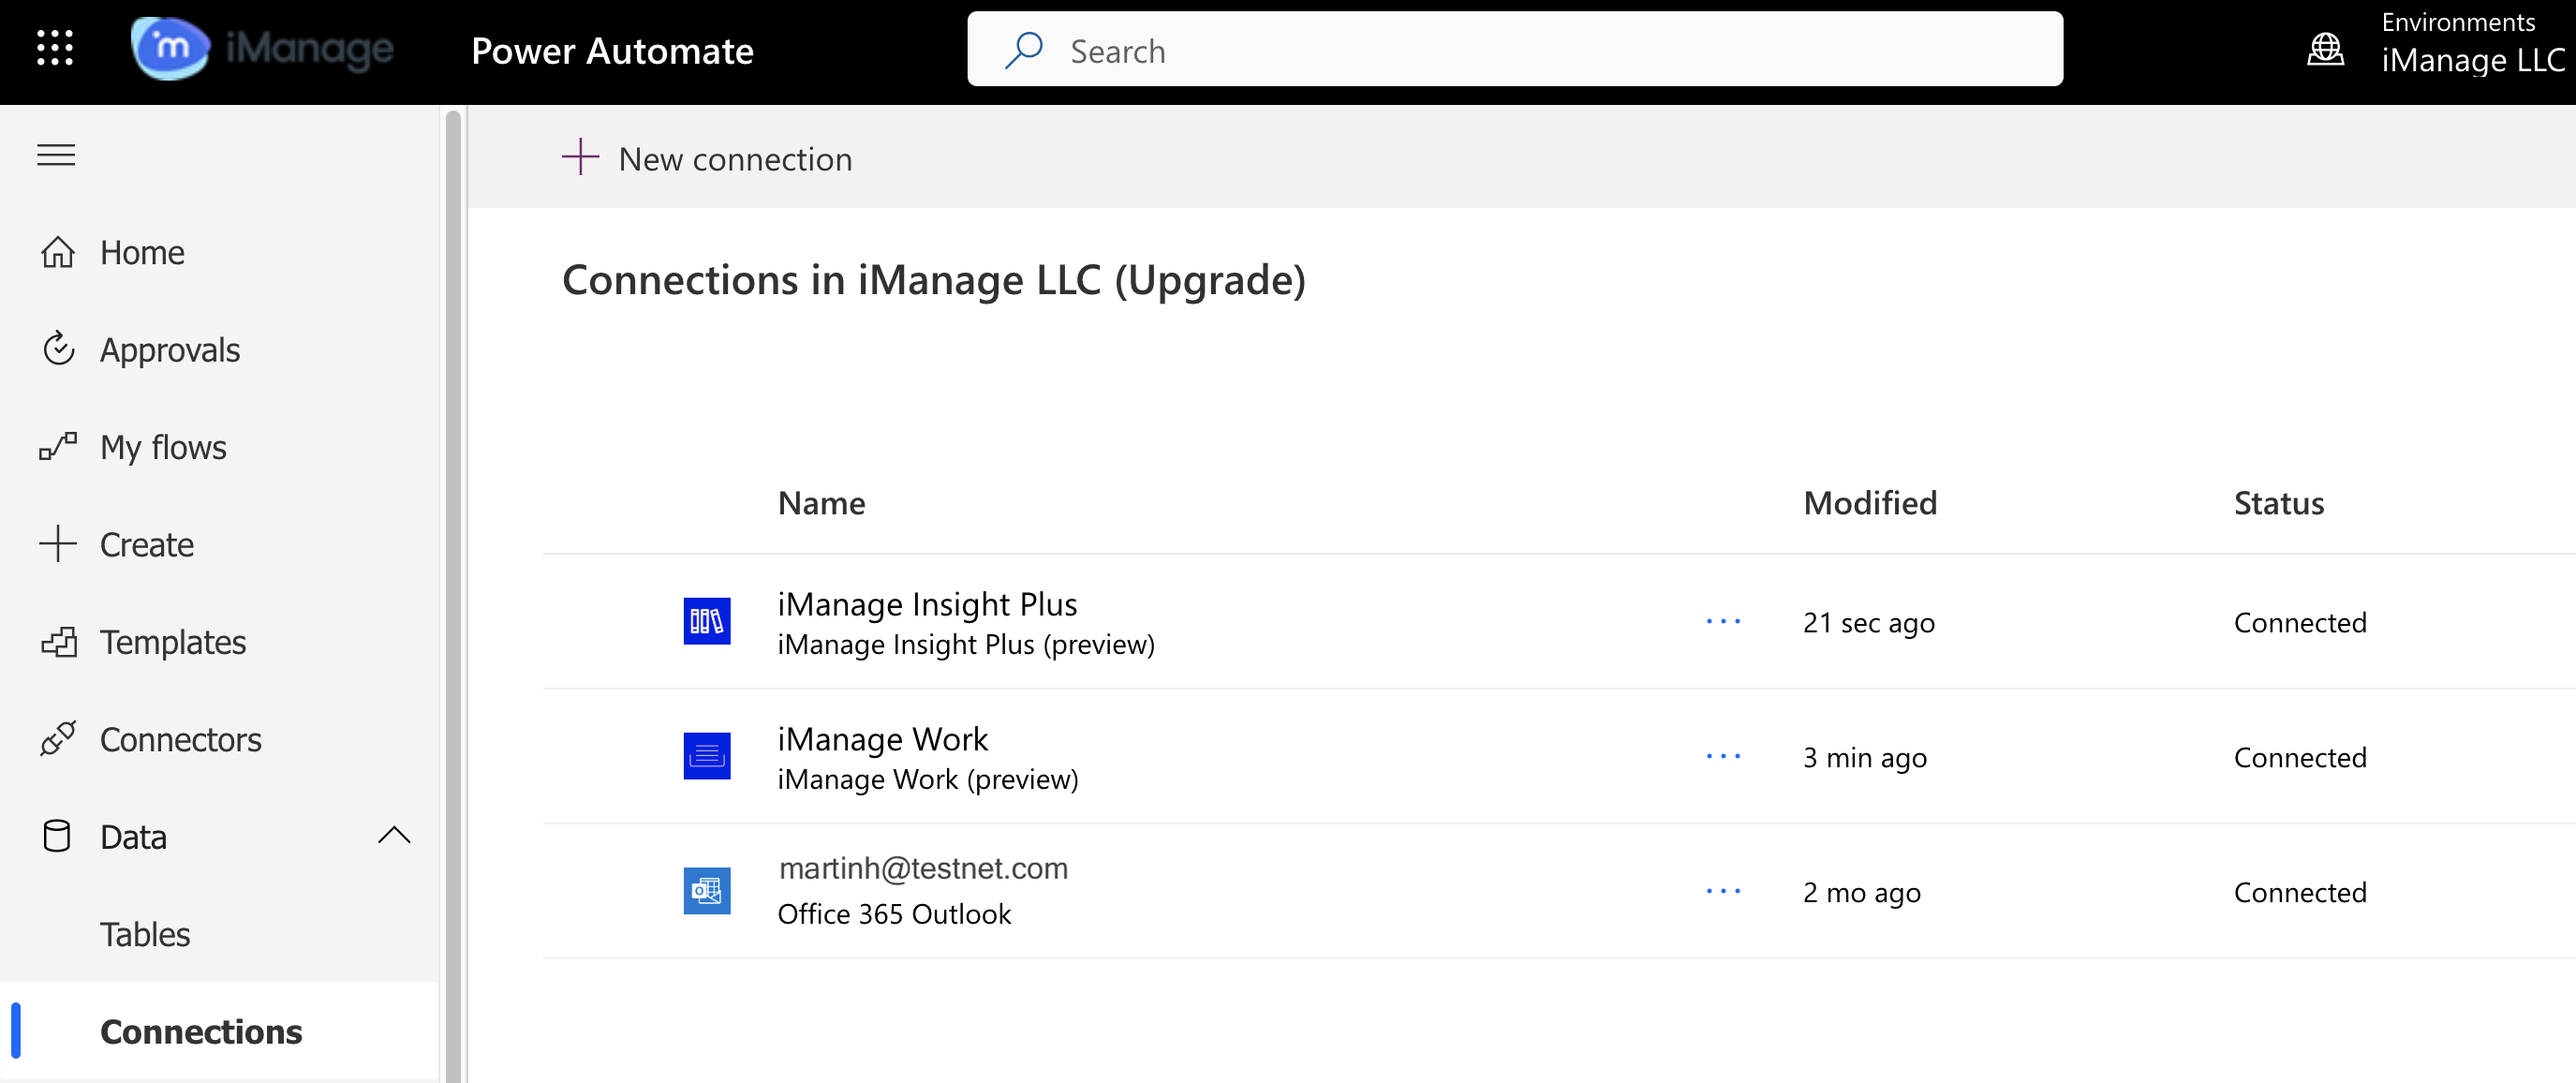
The connectors are added and displayed on the Connections page.
Figure: List of connectors on the Connections page
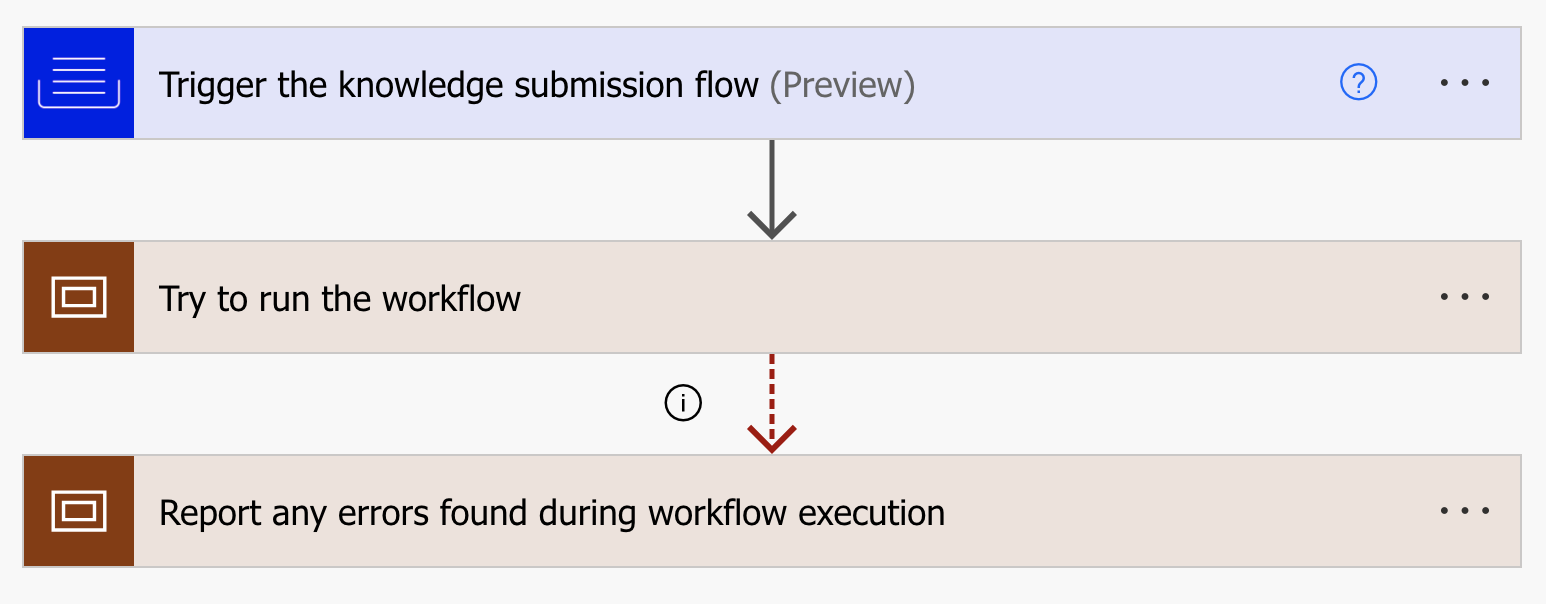
After importing the workflow template successfully, you must configure the workflow.
Figure: Submit workflow
Stage 1: Triggering the knowledge submission flow
Select the first block in the workflow.
Workflow Display Name: Provide a name to the workflow you are creating. This workflow will be available in the Edit: Workflow routing dialog box.
Description: Specify the description of the workflow you are creating.
Library ID: Specify the Knowledge library ID where the workflow must be available.
Form ID: Specify the ID of the form that is presented to users to collect inputs used by the workflow. This is the Knowledge submission form that can be designed by the Admin, which is used to collect knowledge properties when users are submitting the knowledge asset for curation.
Return Folder ID: Specifies if the document’s folder ID is required by the workflow. This is helpful if you want to use a specific folder where the selected document is located further in your Power Automate script. Set this value to Yes.
Available to users: Specify one or more user IDs separated by semicolons, to whom the workflow is available. Select Everyone if you wish to make the workflow available to all users in your organization.
Figure: Trigger the knowledge submission flow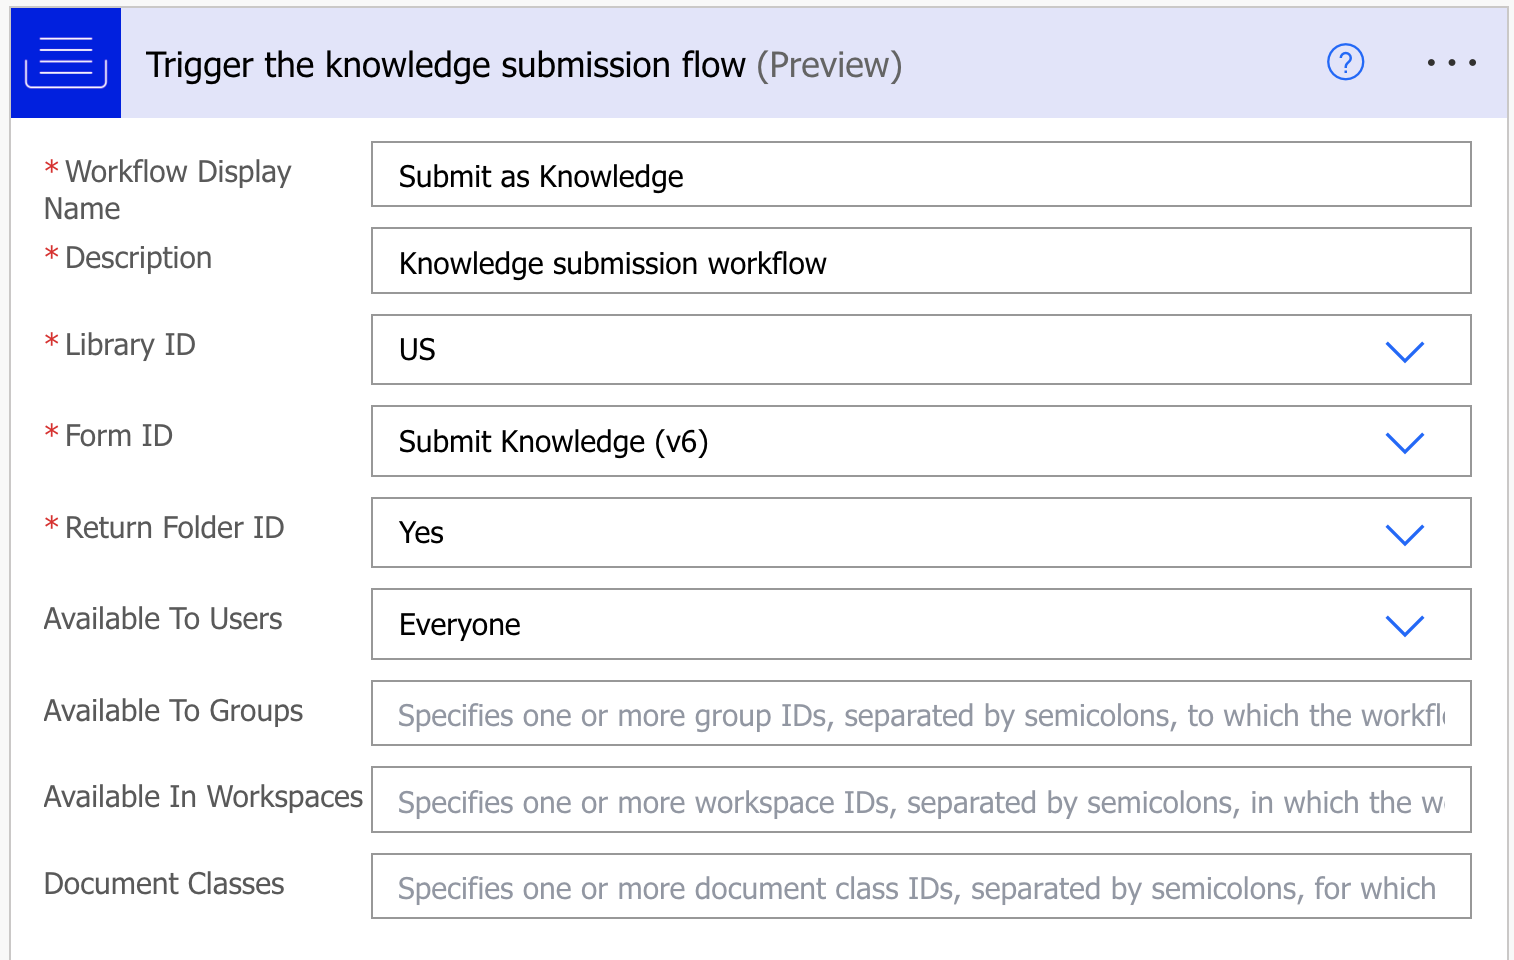
Stage 2: Running the workflow
You do not need to make any changes in this stage as all the required configurations are already made when the template was built. Here are the different connectors used to build this workflow:
Connector | Figure | Field description | Dynamic content used |
|---|---|---|---|
iManage Work connector | 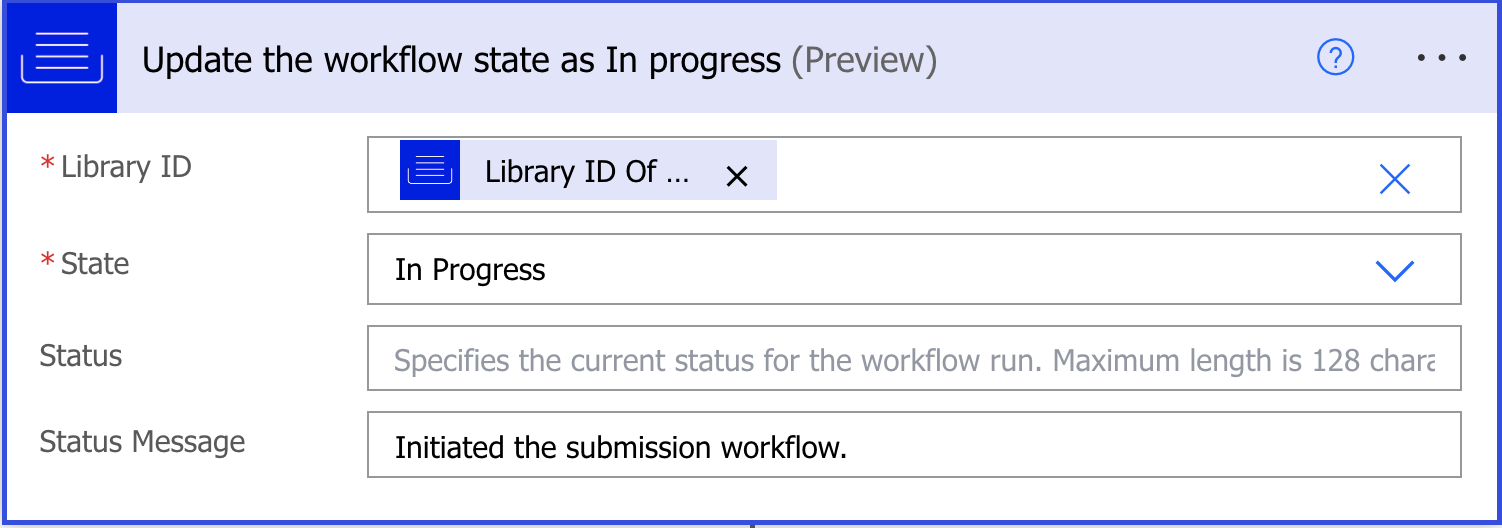 |
|
|
iManage Insight Plus connector |  |
|
|
iManage Work connector | 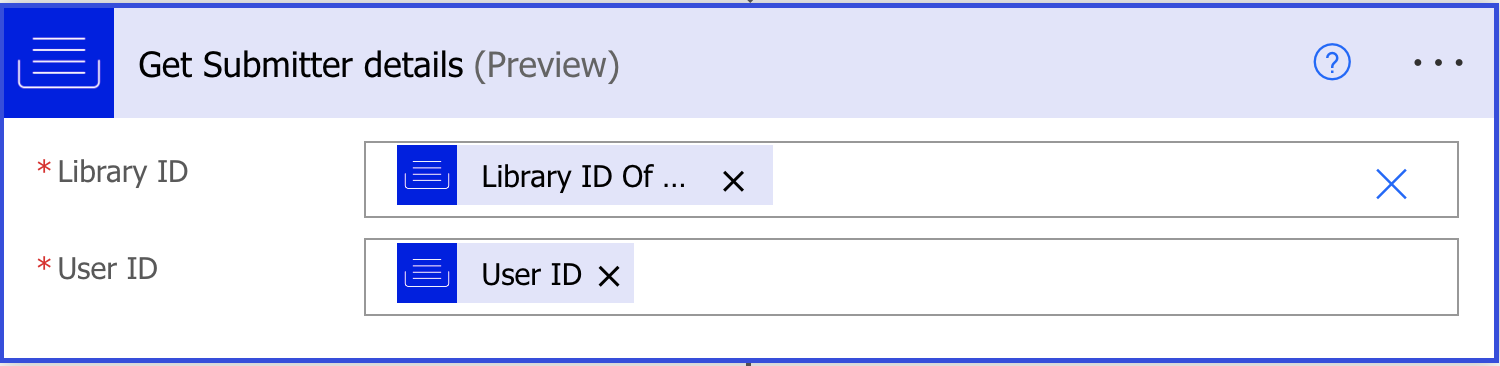 |
|
|
iManage Work connector | 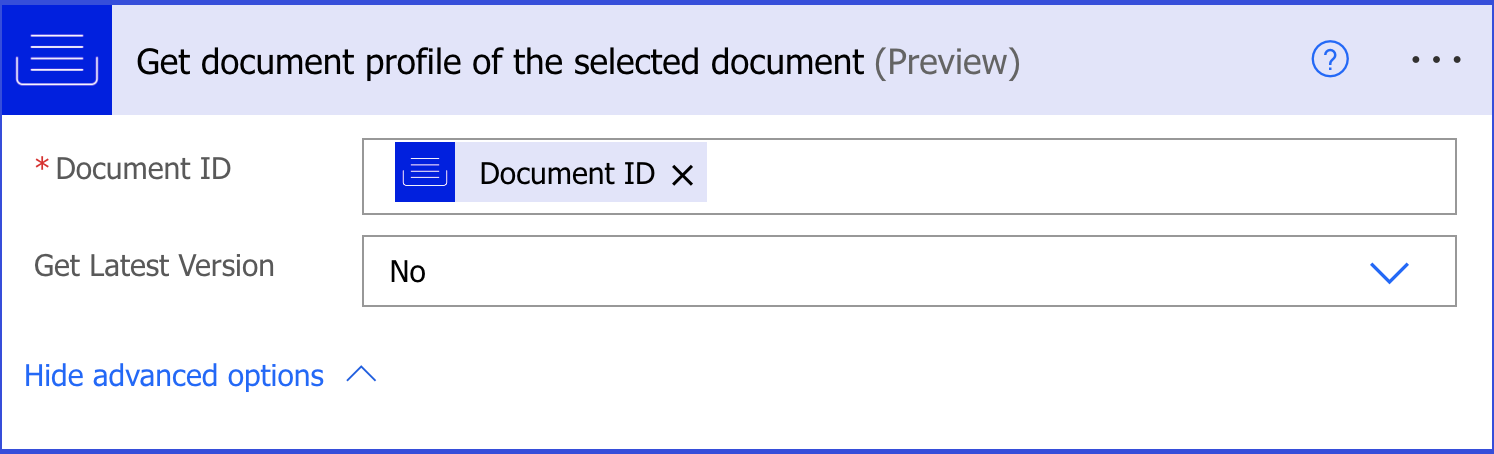 |
|
|
iManage Work connector | 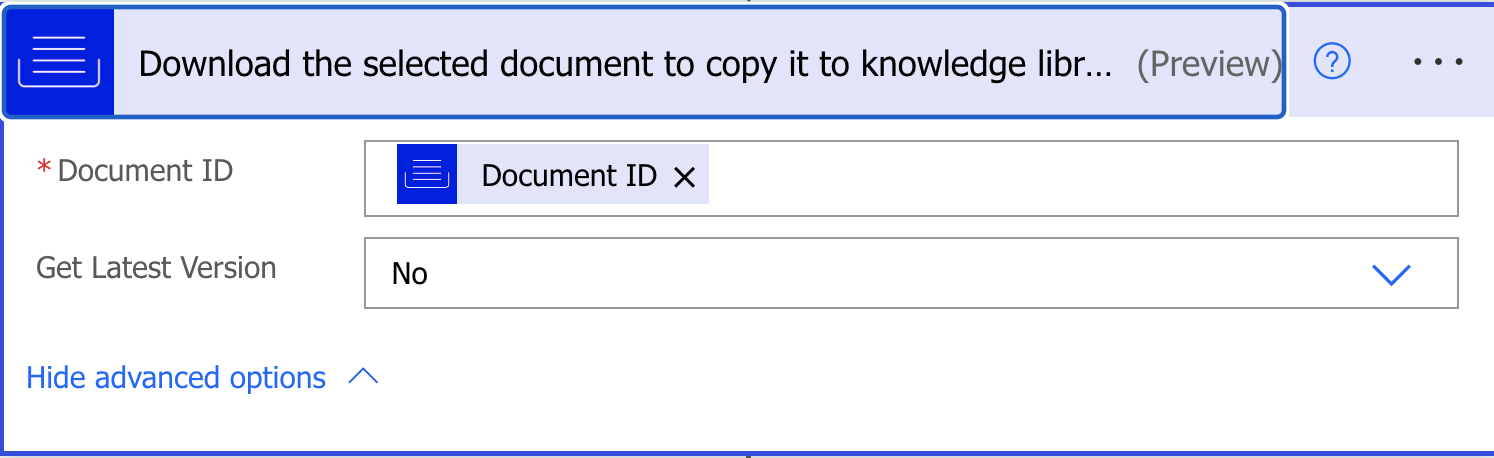 |
|
|
iManage Work connector | 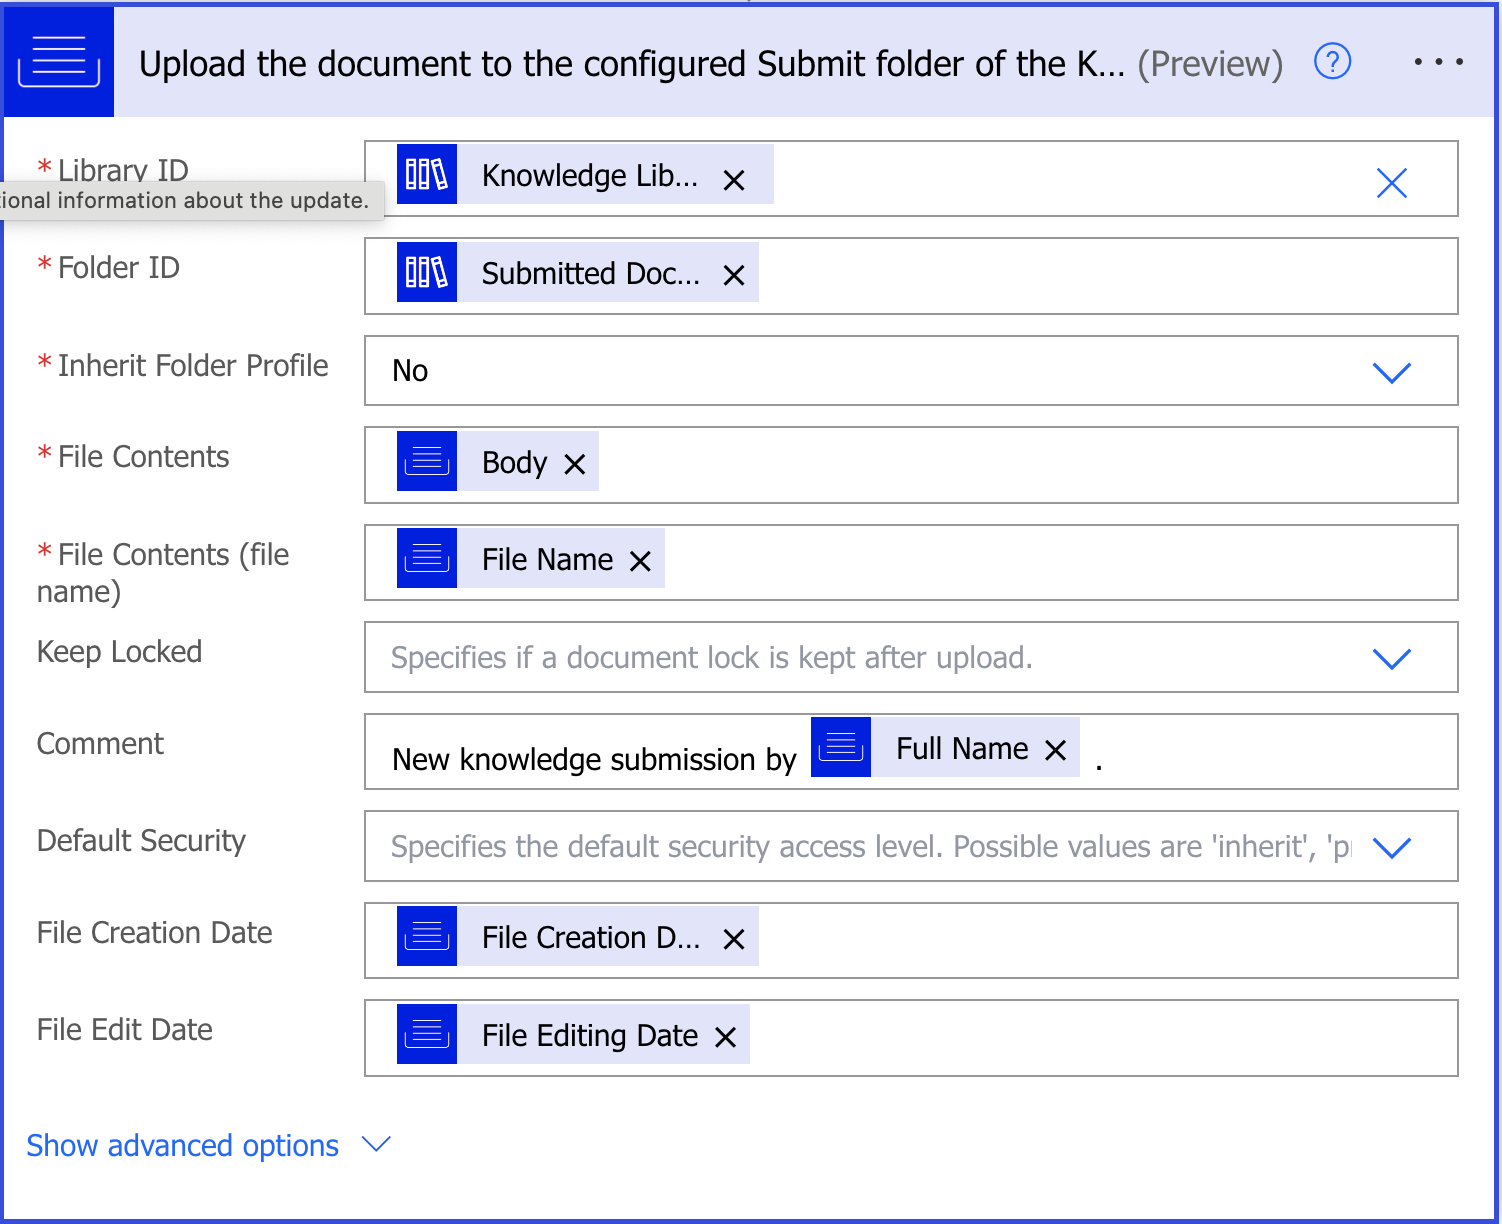 |
|
|
iManage Insight Plus connector | 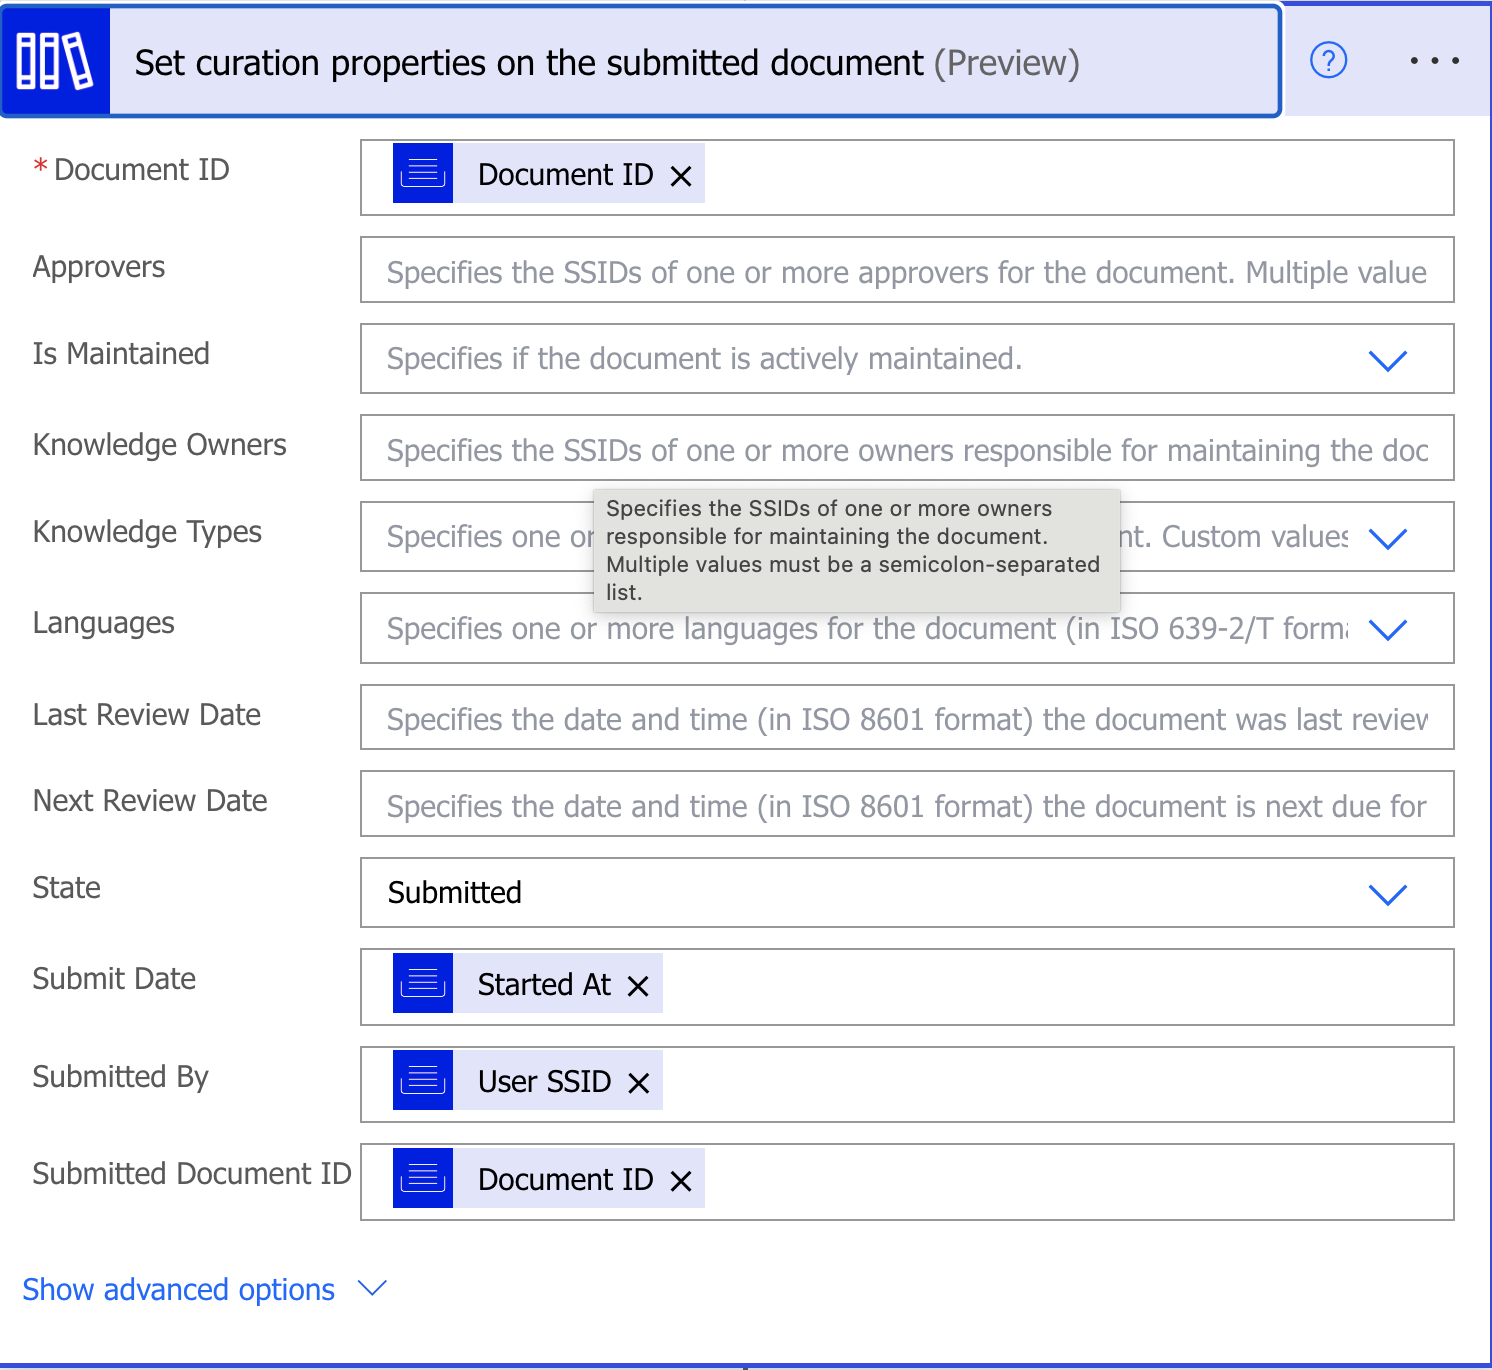 |
|
|
Stage 3: Reporting errors
You don't need to make any changes in this stage as all the required configurations are already made when the template was built.
Figure: Reporting errors found during workflow execution
