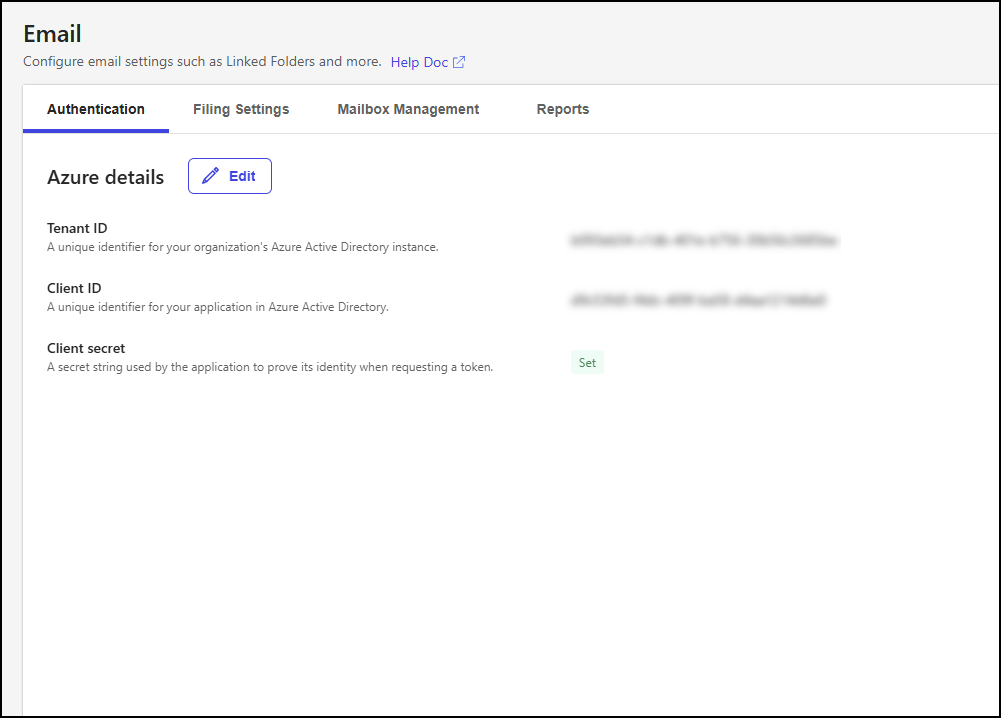
The Authentication tab on the Email page lets you view and edit your Microsoft Azure details, including the tenant ID, client ID, and client secret. An example of the Authentication tab is shown in the figure below.
To edit your Microsoft Azure details, follow these steps:
In iManage Control Center, browse to Extensions > Email.
Select the Authentication tab, then select Edit.
Figure: Azure details dialog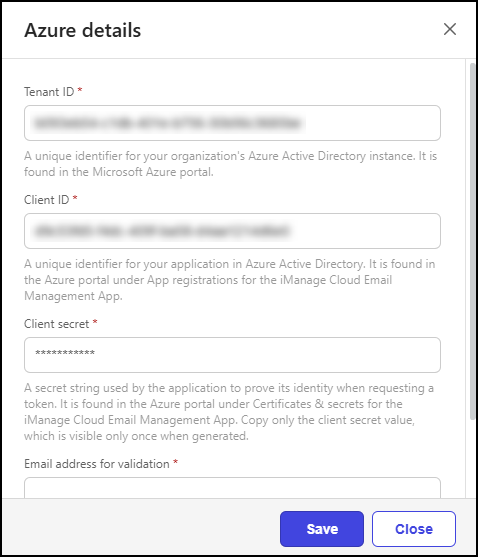
In the Azure details dialog:
Update the following settings as needed:
Tenant ID: This setting specifies the unique identifier for your organization’s Microsoft Entra ID (Azure Active Directory) instance. Enter the Directory (tenant) ID value recorded in the Register the iManage Work for Outlook app in Azure section.
Client ID: This setting specifies the unique identifier for your organization’s iManage Work for Outlook application in Microsoft Entra ID (Azure Active Directory). Enter the Application (client) ID value recorded in the Register the iManage Work for Outlook app in Azure section.
Client secret: This setting specifies the secret string used by iManage Work for Outlook to prove its identity when requesting a token. Enter the Client Secret value recorded in the Create a client secret section.
Email address for validation: This setting specifies the email account used by the iManage Work for Outlook app to confirm that it has access to the email address tenant. Enter the email address of a member added to the mail-enabled security group in the Create a mail-enabled security group section.
Select Save.
TIP: If you’re editing the Azure details to provide a new Client ID and Client secret because you're swapping in a new App from Azure, verify email filing in iManage Work for Outlook works as expected, then delete that old app in Azure after saving these changes in Control Center as a best practice. There will be no impact to the user during this transition.