The Context Menus tab on the Web Client page lets you customize the context menus that appear for the following objects in iManage Work client applications:
Documents and document versions
Emails
Matters
Client
Folders
These objects appear as sub-tabs in the Context Menus tab.
You can customize menus by adding, removing, reordering, and grouping menu actions using existing sub-menus or by creating new ones.
NOTE: To perform operations on the Web Client page, the user must be a member of the NRTADMIN group, or be assigned to a role with Tier 2 access to Control Center. For more information about the specific operations allowed, refer to Understanding tiers.
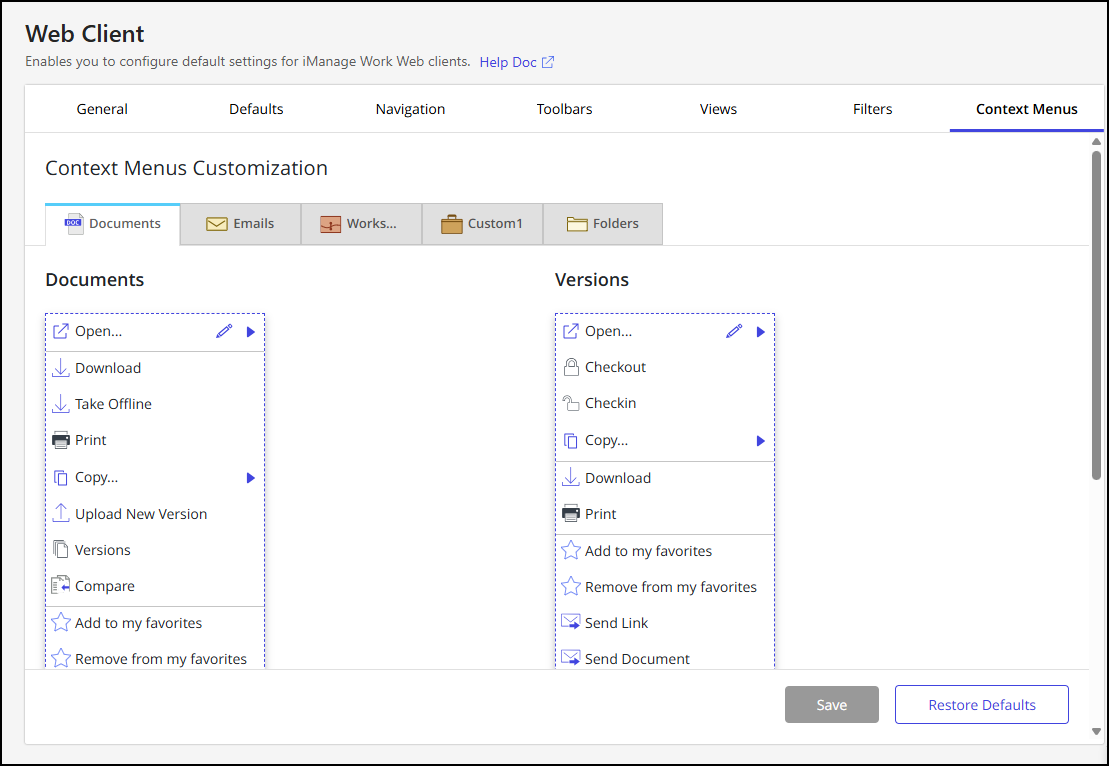
The following figure shows an example of the Context Menus tab.
Customize context menus
Follow these steps to customize context menus:
In iManage Control Center, browse to Work Clients > Web Client and then select the Context Menus tab.
In the Context Menus Customization section, select the sub-tab for which you want to customize the context menu.
NOTE: Two context menus are available for customization in the Documents sub-tab: Documents and Versions. All other sub-tabs have just one context menu.
In the context menu, select the
 icon. In edit mode, you can:
When finished, select the
 icon to confirm your changes, then select Save to save the customization.
NOTE: To revert to the default settings, select Restore Defaults.
Change the order of actions in a menu
To change the order, drag and drop the menu actions.
Add menu actions
You can add menu actions for third-party integrations or for iManage Work (native) menu actions that were previously removed.
Select Add action at the bottom of the menu.
Select the context menu actions you want to add from the drop-down.
Add or remove a horizontal line
To add a horizontal line to separate actions within the menu, place the cursor over the area between the two actions until the + icon appears, then select +.
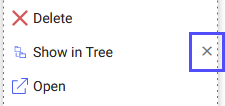
To remove a line, hover over the line until the X icon appears, then select X.
Remove actions from a menu
To remove a menu action, place the cursor over the action and select X.
Removing actions from a menu will remove the action in all iManage Work client applications. However, the menu actions are still available in Control Center to allow you to add them again, if needed.
Create a sub-menu
To create a sub-menu:
At the bottom of the menu, select Create Sub-menu.
In the Create Sub-menu dialog, enter a name for the sub-menu.
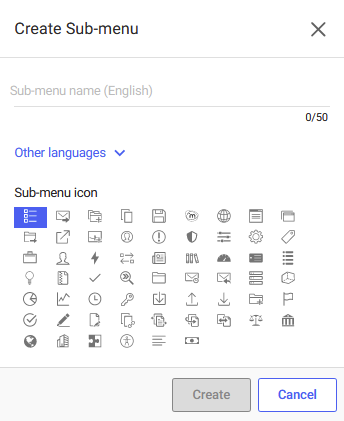
Expand Other languages to enter localized names for the sub-menu.
Select an icon.
Select Create. The new sub-menu is added with no actions within it (Empty).
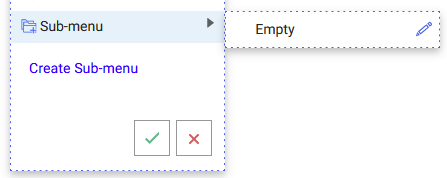
To add, reorder, or delete items within the sub-menu, select the
icon in the sub-menu.
Select the
icon in the sub-menu to confirm your changes.
Delete a sub-menu
To delete a sub-menu, select the ![]() icon in the sub-menu to edit it, then select Delete.
icon in the sub-menu to edit it, then select Delete.
Any action in the deleted sub-menu will be displayed in the available list of actions the next time you select Add action.
NOTE: The default sub-menus Share and More Actions can't be deleted.
Points to remember
Menu names and icons can't be customized.
Changes to context menus apply across all iManage Work libraries.
In Work 10.3 and later, the Delete Shortcut menu item is no longer available. The Delete menu item is now context-sensitive and appears in the context menu for documents, emails, and folders, whereas the Delete Shortcut option appears for document, email, and folder shortcuts when the Delete option is included in the respective context menus.
The menu Open Web Link for iManage Work panel isn't configurable and doesn't appear in the context menus list.
Third-party menu options appear when you select Add action. To enable third-party menus, refer to the third-party documentation.
To replace the native functionality with third-party integration, you must delete the native context menu and add the third-party context menu. For example, if you're using a third-party tool to add new folders, remove the native New Folder context menu and add the third-party new folder menu by selecting Add action.