The Filters tab on the Web Client page lets you set filters for the following objects that are available to users in iManage Work client applications for each library:
Documents
Emails
Matters
Client
These objects appear as sub-tabs in the Filters tab.
NOTE: To perform operations on the Web Client page, the user must be a member of the NRTADMIN group, or be assigned to a role with Tier 2 access to Control Center. For more information about the specific operations allowed, refer to Understanding tiers.
The following figure shows an example of the Filters tab.
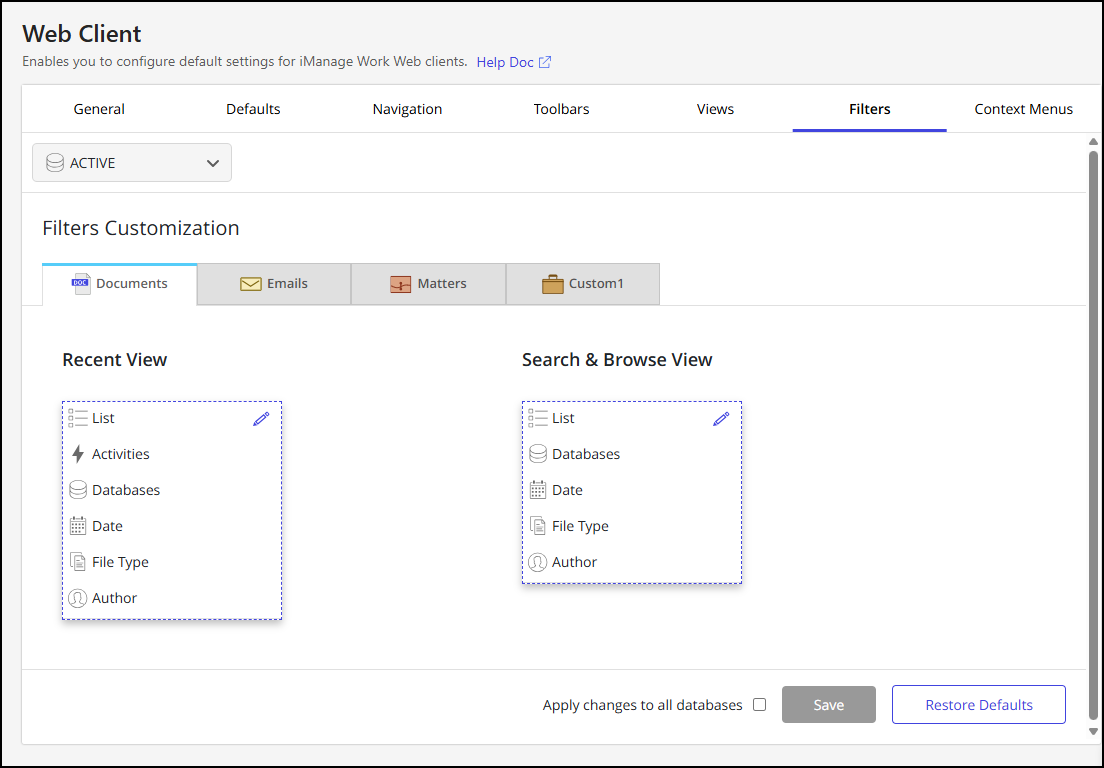
On the Filters tab, you can choose filters for each library from the list of custom fields for the following views:
Recent View: This view shows iManage Work client application objects from the recently accessed list, which includes objects a user has interacted with in the last 30 days. By default, when users open the iManage Work client application, they see the recently accessed list on the left panel.
Search & Browse View: This view shows iManage Work client application objects in the search results and while navigating through them. When you search for specific details, the left panel automatically updates with the attributes you have set in the Search & Browse View.
NOTE: Mandatory filters are already included in the list and can't be removed or re-ordered.
Follow these steps to customize object filters:
In iManage Control Center, browse to Work Clients > Web Client and then select the Filters tab.
Select the library you want to customize from the drop-down list at the top of the tab.
In the Filters Customization section, select the tab for which you want to customize the filters.
In Recent View or Search & Browse View, select the
 icon. In edit mode, you can:
Select Add action to choose one or more actions from the drop-down list and add them to the filter.
Hover over a property and select X to remove the property from the list.
Drag-and-drop properties to change their order.
NOTE: In each view, several default actions are provided. These default actions can't be removed or reordered. Only the actions that you add can be removed or reordered.
Select the
 icon to confirm the list of filters and disable editing.
Optional: Select Apply changes to all databases to apply the same filters to all libraries. This option is available only if there's more than one library.
Select Save.
NOTE: To revert to the default settings, select Restore Defaults.