The Navigation tab on the Web Client page is used to select what navigation tabs are displayed as nodes and their order in iManage Work Web.
NOTE: To perform operations on the Web Client page, the user must be a member of the NRTADMIN group, or be assigned to a role with Tier 2 access to Control Center. For more information about the specific operations allowed, refer to Understanding tiers.
The following figure shows an example of the Navigation tab.
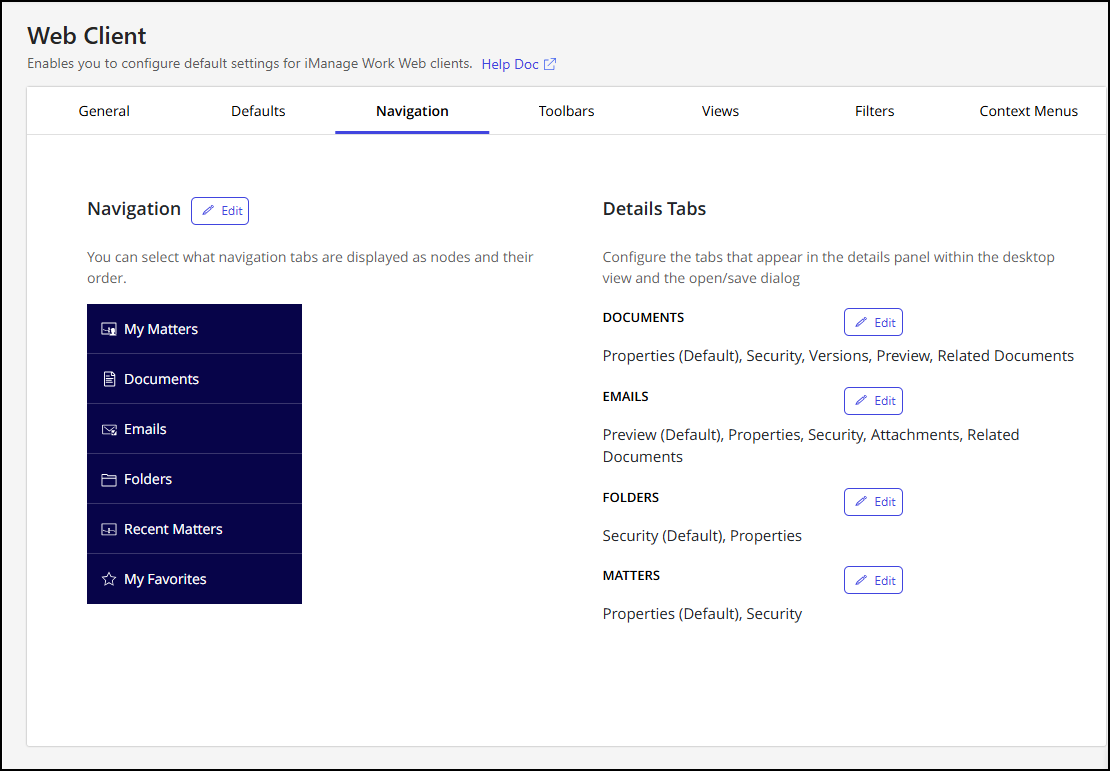
In the Navigation tab, you can:
Choose which navigation tabs are displayed in iManage Work Web and set their order. For more information, refer to Configure navigation settings.
Configure the tabs that are shown in the details panel within the desktop view and the open/save dialog. For more information, refer to Configure the Details panel.
Configure navigation settings
Follow these steps to configure which navigation tabs are displayed as nodes in iManage Work Web and to set their order.
In iManage Control Center, browse to Work Clients > Web Client and then select the Navigation tab.
In the Navigation section, select Edit.
In the Navigation dialog, reorder nodes as required and use the check boxes to show or hide items.
Select Save.
NOTES:
Default navigation nodes are always displayed and don’t have a check box in the Navigation dialog. Third-party extensions have a check box, allowing you to show or hide them.
To change the display order, drag the tabs within the dialog.
To revert to the default settings, select Restore Defaults.
Configure the Details panel
You can re-order, show, or hide the tabs, including custom tabs, in the Details panel in iManage Work Web to meet your organizational needs. These customizations will be reflected in both the desktop view and the Open and Location Selection dialogs in iManage Work Web.
Follow these steps to configure which tabs are shown for Documents, Emails, Folders, and/or Matters objects.
In iManage Control Center, browse to Work Clients > Web Client and then select the Navigation tab.
In the Details Tabs section, identify the object you want to configure and then select Edit. An object-specific dialog opens.
From the Default view drop-down menu, select which tab is displayed by default.
Reorder the items as needed and use the check boxes to show or hide specific tabs.
Select Save.
NOTES:
Default tabs are always displayed and don’t have a check box in the object-specific dialog. Non-default tabs have a check box, allowing you to show or hide them.
To change the display order, drag the tabs within the dialog.
To revert to the default settings, select Restore Defaults.