The Toolbars tab on the Web Client page lets you configure or customize actions for containers like Recent Matters, My Matters, Workspaces, Folders, and so on, in iManage Work.
NOTE: To perform operations on the Web Client page, the user must be a member of the NRTADMIN group, or be assigned to a role with Tier 2 access to Control Center. For more information about the specific operations allowed, refer to Understanding tiers.
The following figure shows an example of the Toolbars tab.
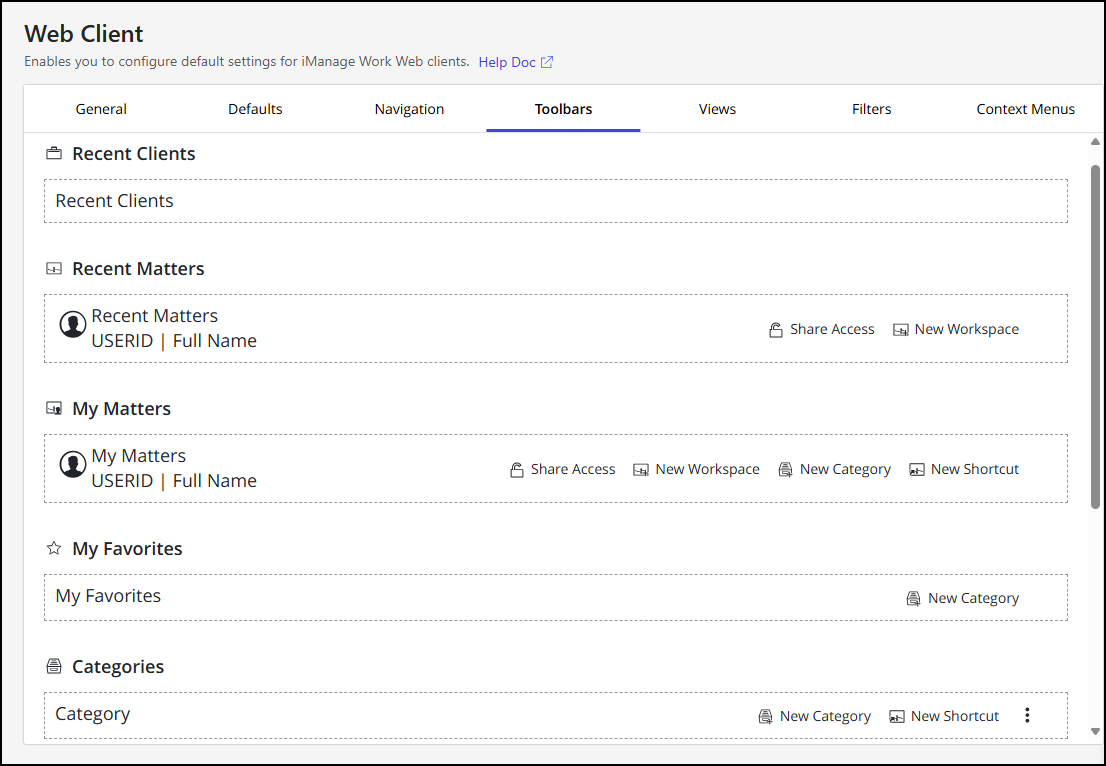
The toolbar at the top of containers such as Recent Matters, My Matters, Workspaces, and Folders can be customized. You can add, remove, reorganize, or group these custom toolbar actions. All available actions can be shown either as commands along the top toolbar or placed under the actions menu. When the available space in the toolbar decreases due to added actions, they’re automatically moved to the actions menu.
Follow these steps to customize the toolbar actions.
In iManage Control Center, browse to Work Clients > Web Client and then select the Toolbars tab.
Choose a container to customize, and then select the
 icon.
icon.In the Configure Actions dialog, customize the available commands to appear either on the toolbar or in the actions menu.
Select Save.
NOTES:
The toolbar kebab menu actions for Folders or Matters will continue to reference their respective context menus until you customize the toolbar actions.
Toolbar customizations in iManage Control Center apply to iManage Work Web, Work Panel, and mobile views.
The Upload Folder action isn't supported in iManage Work Panel. To upload a folder from Work Panel, drag-and-drop a folder into a workspace or another folder.
To change the display order, drag the actions within the dialog.
To revert to the default settings, select Restore Defaults.