This section contains the following:
Reviewing pre-approved tasks as Records Manager
In Review Mode, if Item destruction is pre-approved unless denied by an authorized reviewer is selected, as a Records Manager, you can deny tasks that are already pre-approved.
In the left view pane, under Retention, select Disposition Review.
Figure: Selecting Disposition Review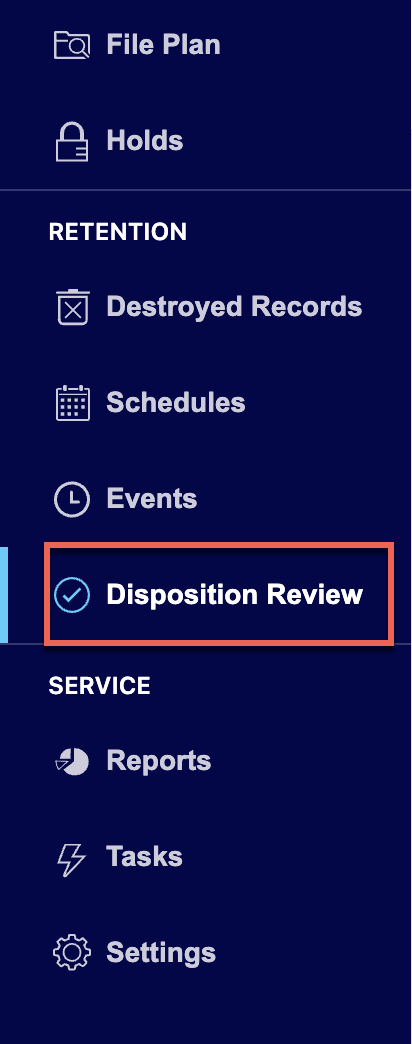
Select the
 kebab menu next to the task you want to deny and then select Deny. Figure: Denying pre-approved tasks
Enter the reason for denying the task and select Yes, Deny.
Figure: Enter the reason for denial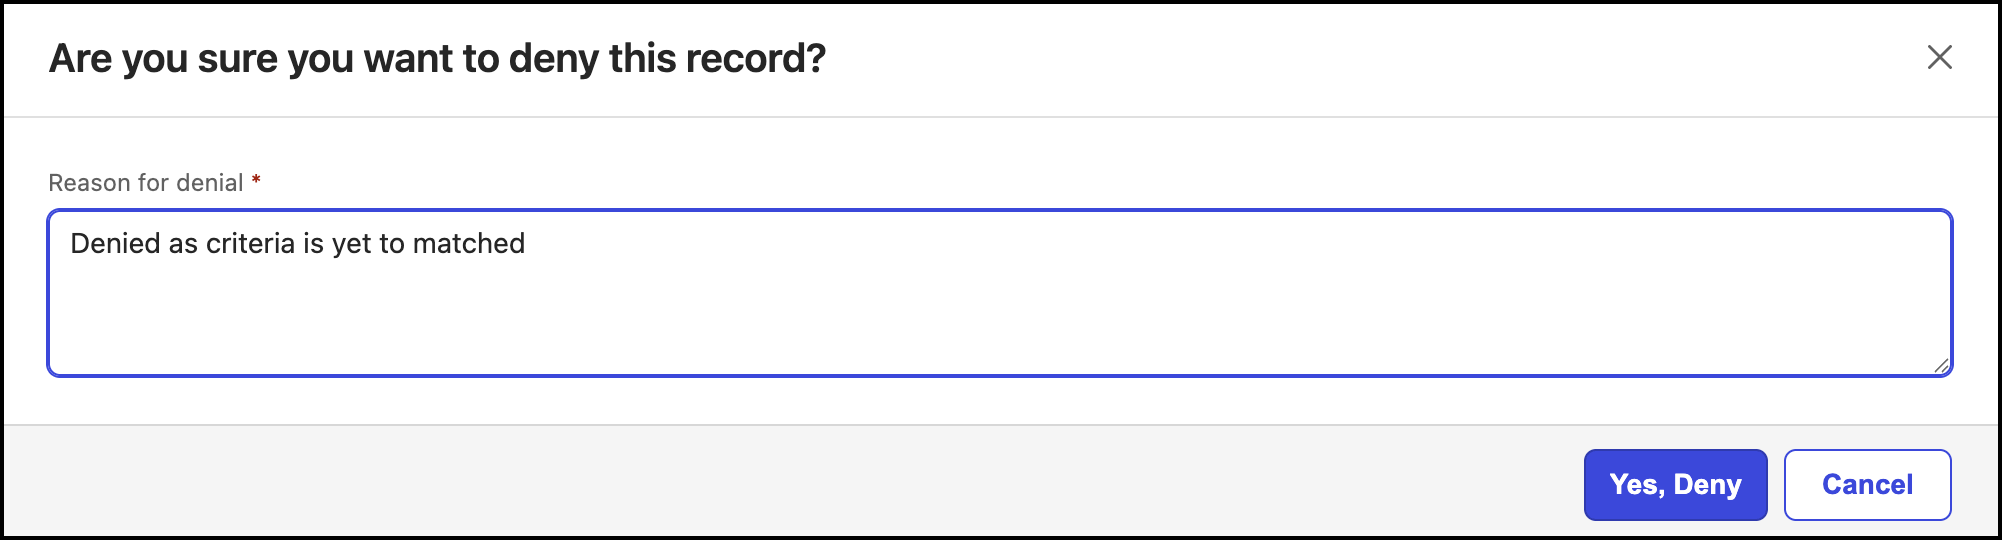
The status of the tasks changed to Denied.
(Optional) As a Records Manager, you can also select the
 kebab menu for the task that is denied and select Reset to Pre-approved to change the status of the task to Pre-Approved.
Reviewing preapproved tasks as an authorized reviewer
If the Records Manager has selected the Items are not destroyed until approval is received by an authorized reviewer option in Review mode, as an authorized reviewer, you can review these tasks by doing the following:
In the left view pane, under Retention, select Disposition Review.
Figure: Selecting Disposition Review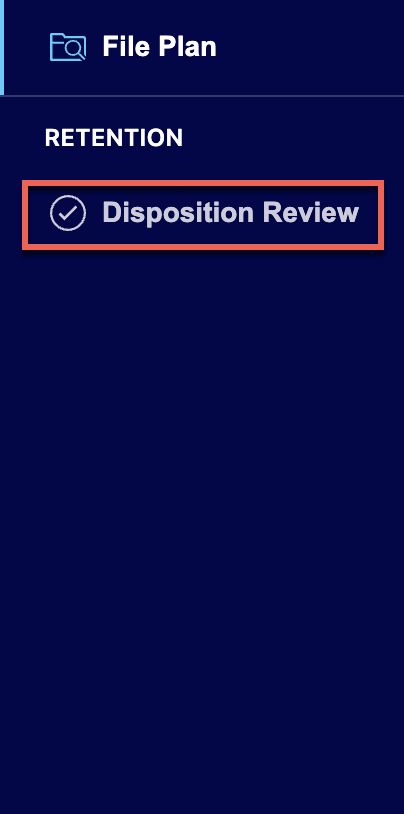
Select the
kebab menu next to the task you want to deny and then select Deny. Figure: Denying pre-approved tasks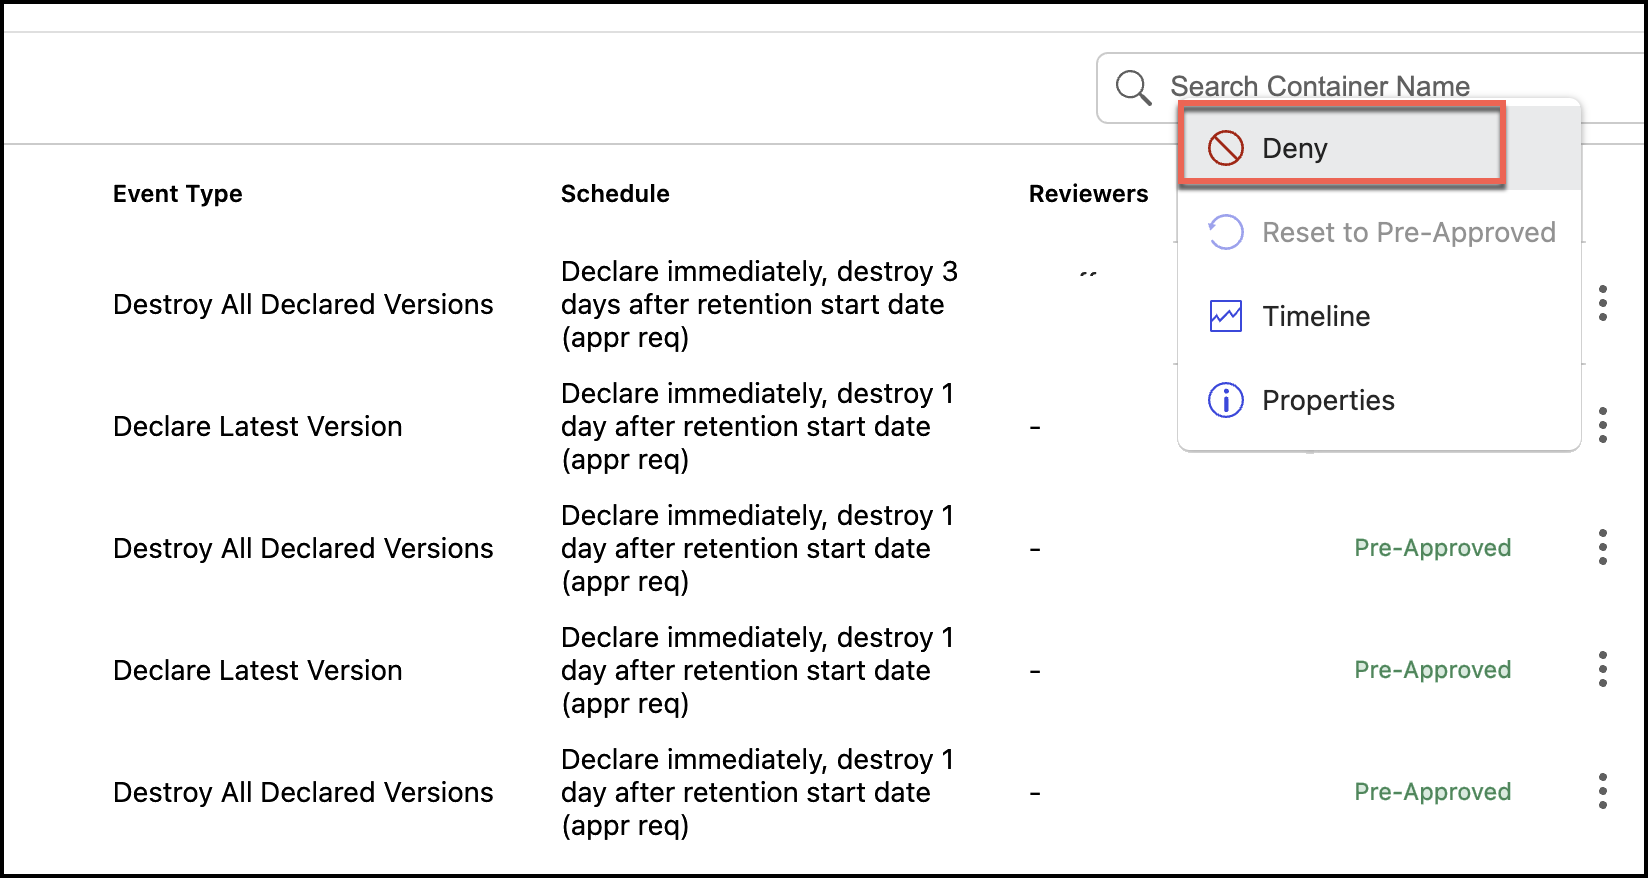
Enter the reason for denying the task and select Yes, Deny. The status of the tasks changes to Denied.
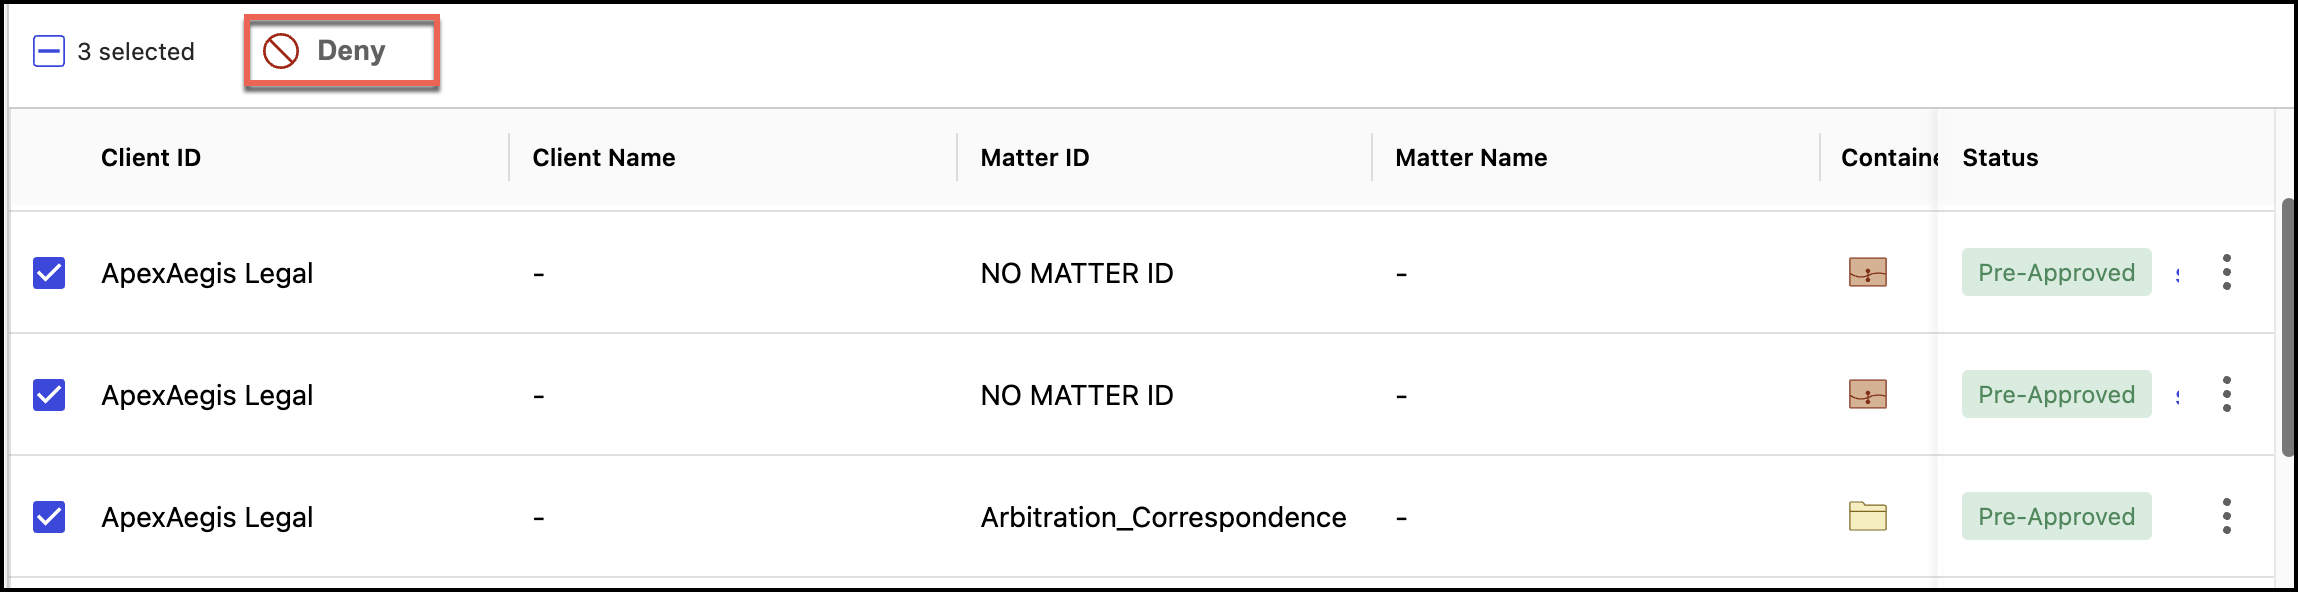
Reviewing tasks in bulk
If the Review mode is set to Item destruction is pre-approved unless denied by an authorized reviewer, then Records Managers and Disposition Reviewers can select multiple tasks and then select Deny for the selected pre-approved tasks. The status of the tasks changes to Denied.
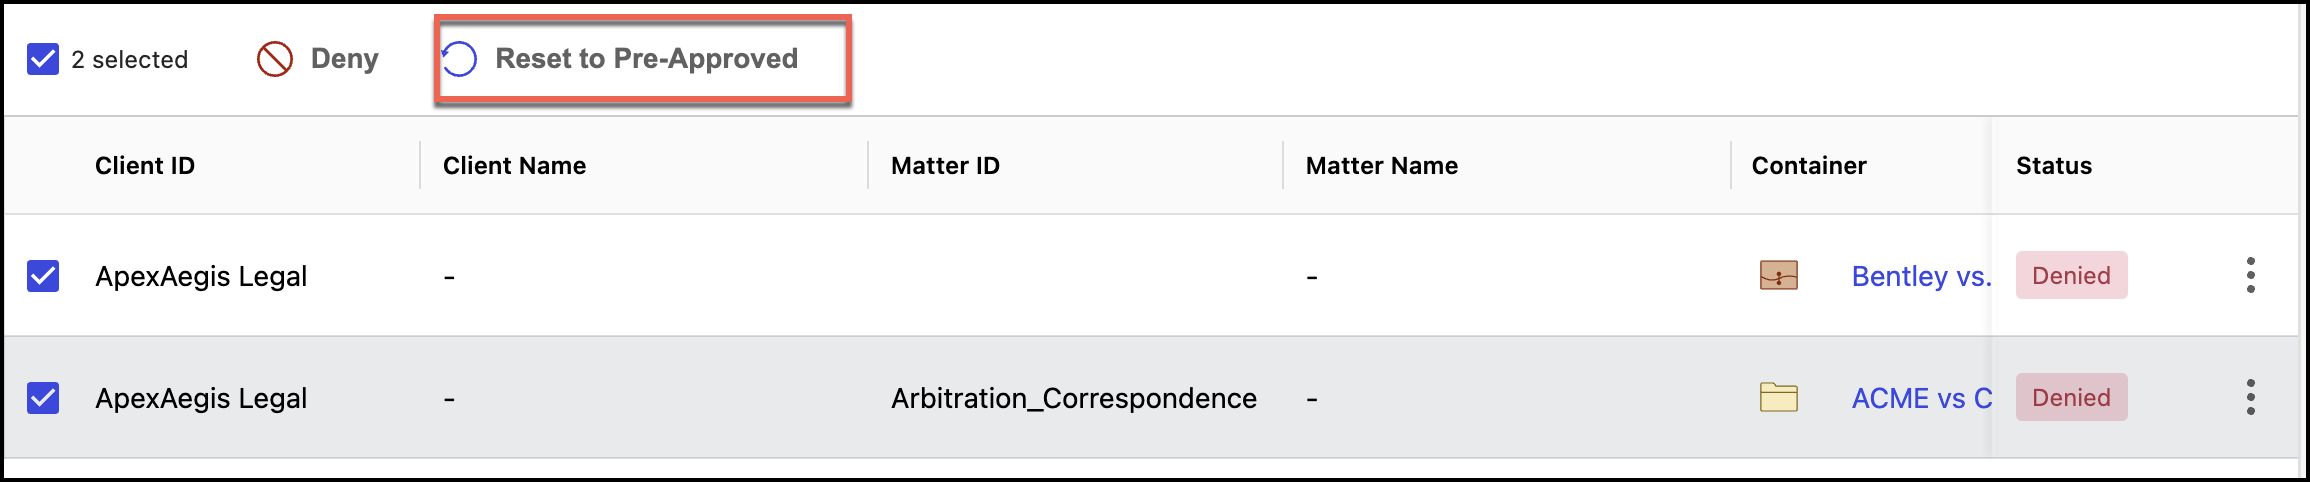
Additionally, Records Managers can change the status of any denied task to Reset to Pre-Approved as shown in the following figure. The status changes to Pre-approved.
Viewing filters
Additionally, select Filters to view or hide the filter panel. In the filter panel:
In the Status section, select the status types. There are two types of status available: Pre-Approved and Denied. You can select one or both options. This displays all the tasks based on the selected status.
In the Eligibility Date section, select the eligibility date range. This displays all the tasks based on the eligibility date.
In the Items on Hold section, select the items on hold. This displays all the tasks based on the select item on hold.
In the Libraries section, select the library. This displays all tasks applicable to the selected library.
In the Matter section, select workspaces. You can select more than one workspace at a given time. This displays all triggered tasks for the selected workspace or workspaces.
In the Event Types section, select an event type. This displays all triggered tasks for the selected event type.
In the Event Name section, select an event name. This displays all records for the selected event name.
In the Schedule section, select a schedule. This displays all records for the selected schedule.
All the filters selected are displayed next to the Filters button as shown in the following figure. You can either select  to clear the particular filter or select Clear All to clear all filters selected.
