The Errors tab is available on the Tasks page in iManage Disposition Manager. As a Records Manager, you can view the tab using one of the following:
Browsing to the Tasks page and selecting the Errors tab.
Selecting View Errors for a task completed with errors in the Triggered tab.
Filtering tasks with errors by browsing to Tasks > Triggered > Filters > Status > Completed with Errors.
NOTE: When a task that's scheduled to declare or destroy records is processed with errors, it's displayed as Completed with Errors in the Triggered tab.
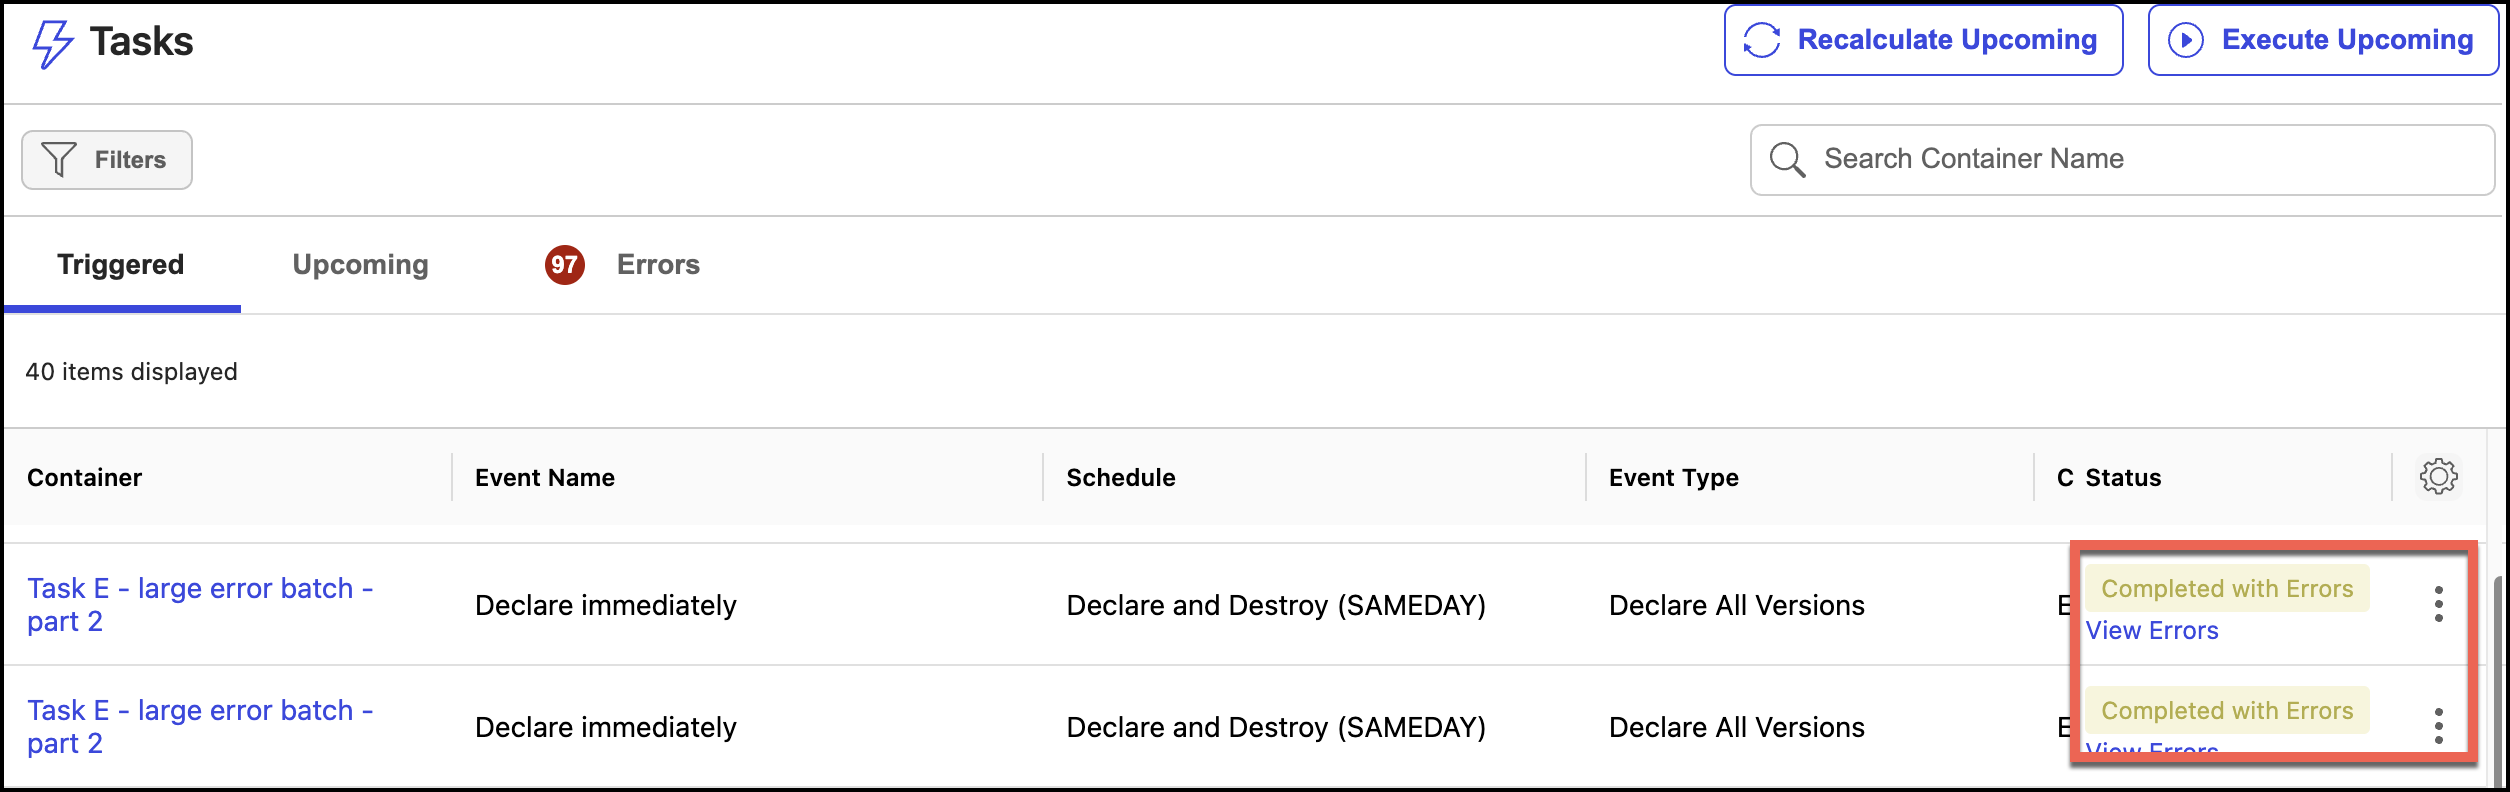
Although the Triggered tab shows the task as Completed with Errors, the records remain undeclared and undestroyed.
The Errors tab displays all the tasks that weren't completed due to one of the following errors:
Document Checked Out: The task wasn’t completed because a document or multiple documents were checked out.
CiM Error: The task wasn't completed because of timeout errors in iManage Work at cloudimanage.com.
Permission Error: The task wasn't completed due to rights or permissions issues.
Selecting table columns
Select the icon to display the Table Columns list. Select or deselect the columns that should be displayed on the Errors page.
Error: Displays the error type.
Container type: Displays the container type for which the errors were displayed.
Container: Displays the workspace of the records for which errors were displayed.
Object ID and Object: Displays the object and object ID for the tasks that errored.
User: Displays the author or reviewer of the record.
Timestamp: Displays the timestamp when the errors occurred.
Client ID and Client Name: Displays the name and ID of the client associated with the records. This information is sourced from iManage Work at cloudimanage.com.
Matter ID and Matter Name: Displays the name and ID of the workspace associated with the records. This information is sourced from iManage Work at cloudimanage.com.
Event name: Displays the name of the event applied to the schedule that's applied to the record.
Schedule: Displays the name of the schedule applied to the record.
Event Type: Displays the name of the event type selected for the event applied.
Using filters
Additionally, a filters pane is available and it includes the following sections:
Start Time: Select the time range to display all errors that occurred during the selected time.
Libraries: Select the library to display all the errors applicable to the selected library.
Client: Select the client to display all errors for the selected client.
Matter: Select workspaces to display all errors for the selected workspace or workspaces.
NOTE: More than one workspace can be selected at a time.
Event Types: Select an event type to display all errors for the selected event type.
Event Name: Select an event name to display all errors for the selected event name.
Schedule: Select a schedule to display all errors for the selected schedule.
Users: Select users to display all errors for the selected user or users.
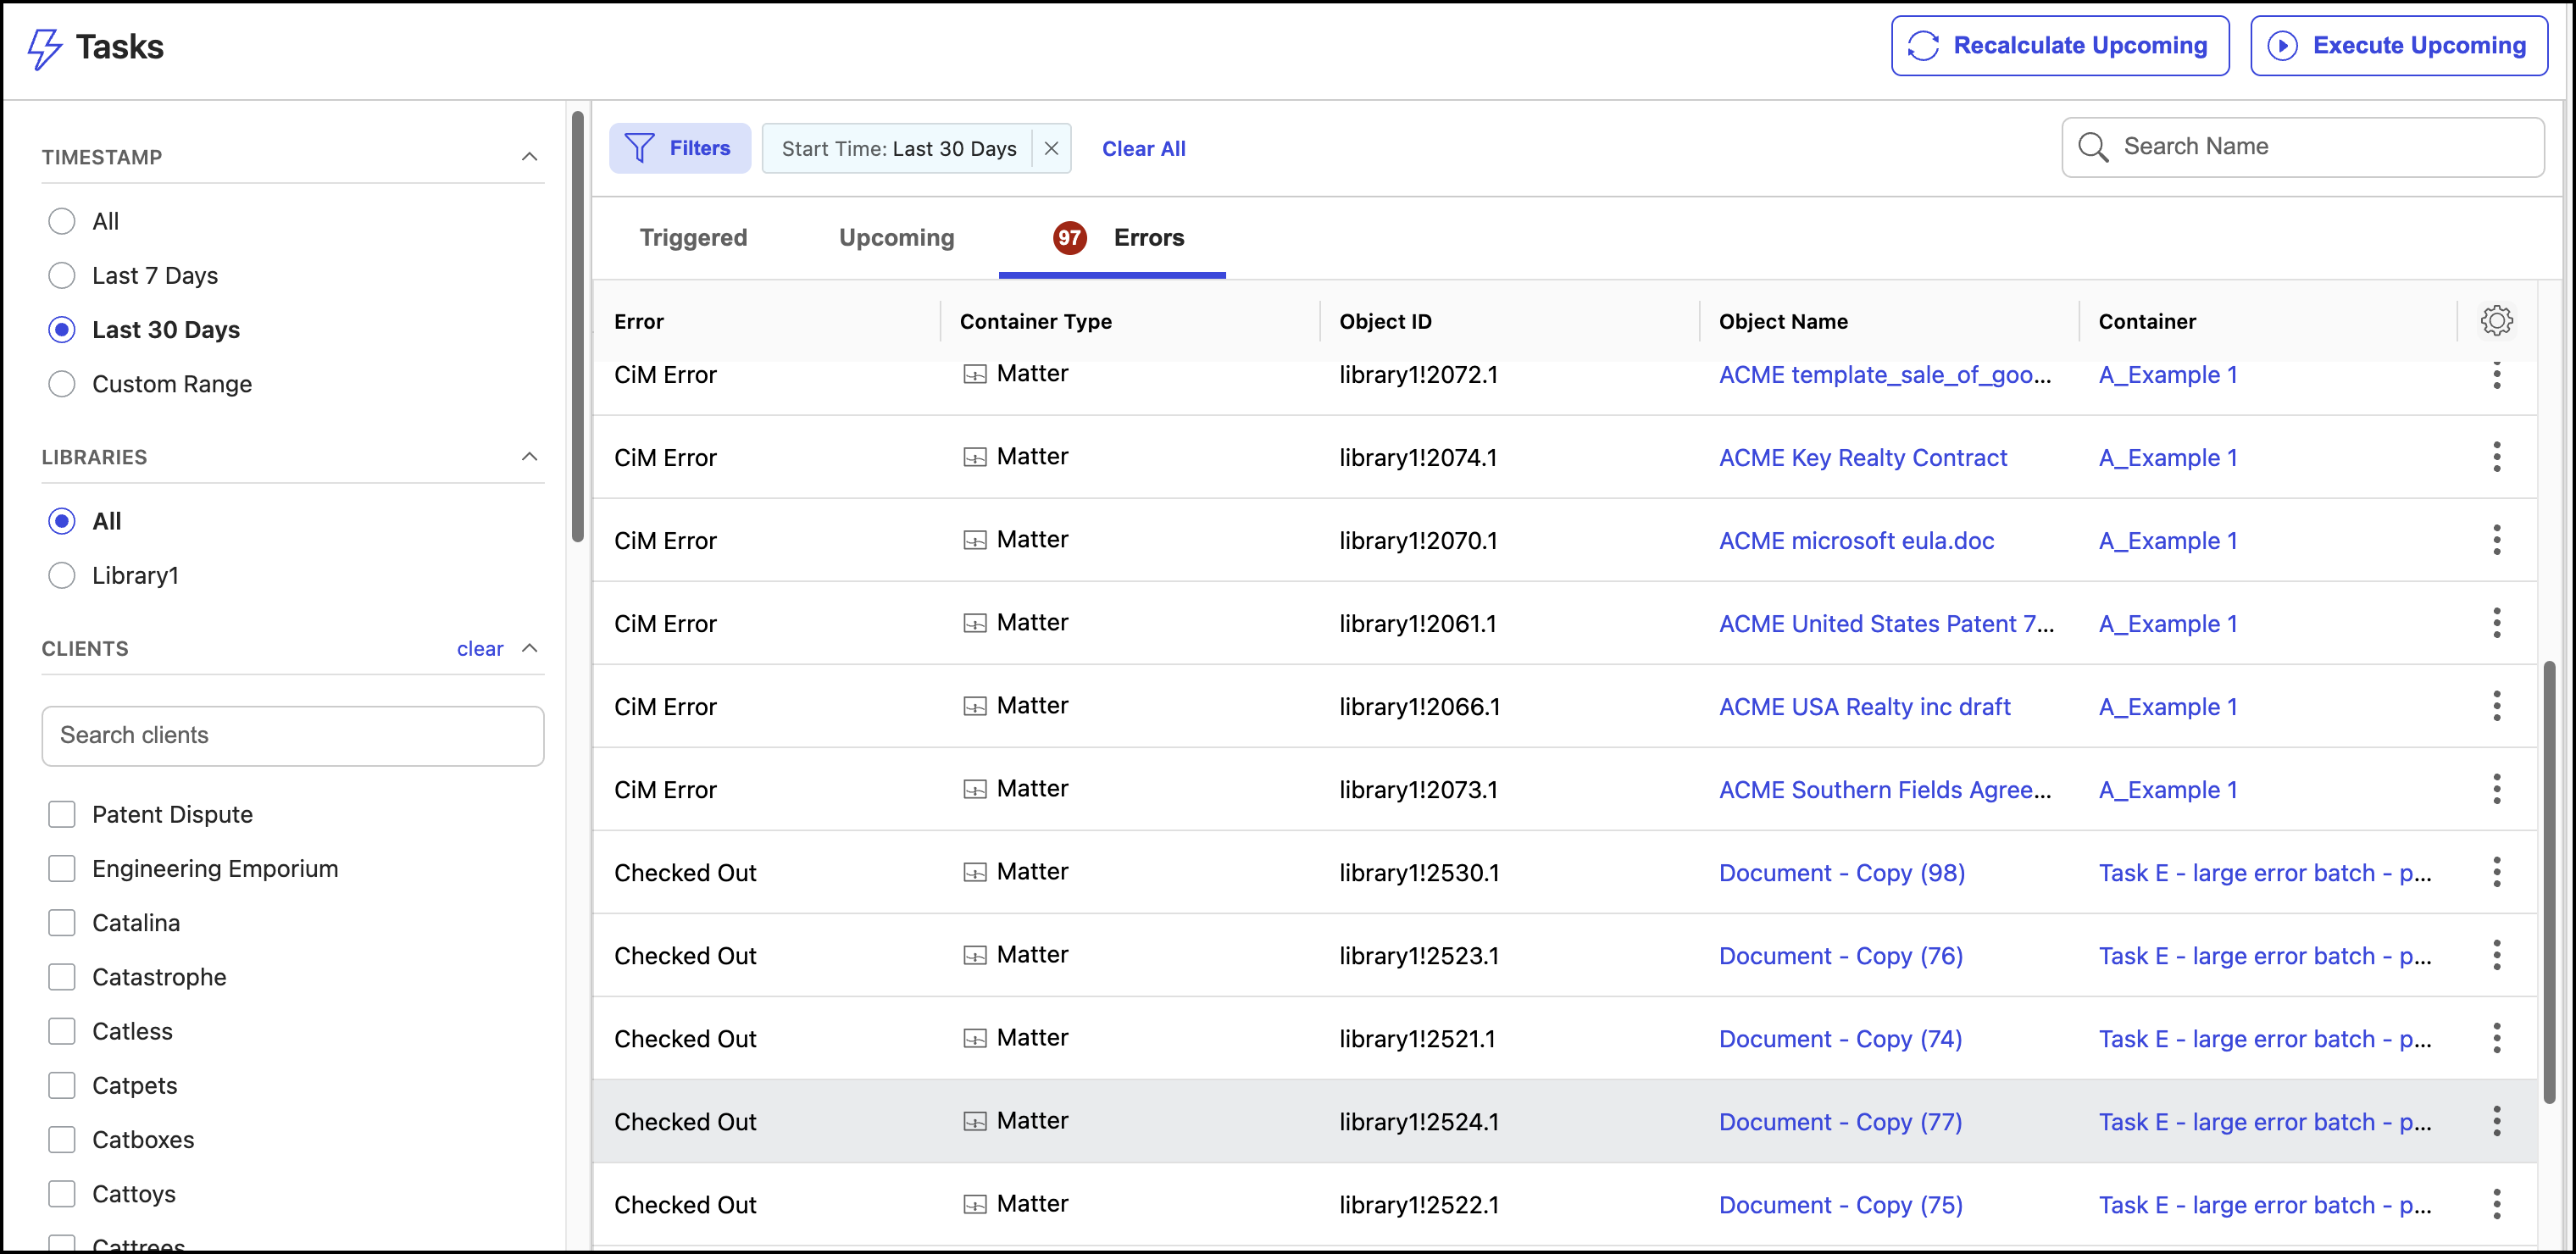
In the Errors tab, select the  icon and then select Retry to try to process the task again after taking the necessary corrective action. After the tasks are processed and completed without errors, they’re no longer displayed in the Errors tab.
For example, if the task wasn't processed because the document was checked out, the task can be processed after the document is checked back in to iManage Work at cloudimanage.com.