As an administrator, you can specifically create unique User profiles for Landing pages. You also have the flexibility to use the same user profile configuration as your search experiences.
IMPORTANT: Users can belong to only one landing page profile group and one search experience profile group only. If you create separate profiles for landing pages and search experiences, users will be part of two groups - one for landing pages and one for search experiences. They can't be part of multiple profile groups within each category.
To create user profiles for Landing pages:
On the Insight+ Admin page, select General.
Next to User profiles, select Edit.
The User profiles dialog opens with For search experiences tab selected by default.Select the For Landing pages tab.
To set up user profiles, in the User profiles dialog for landing pages, you can do either of the following:Option 1
Slide the Use same user profiles as for search experiences toggle to the right.
Figure: Swipe to right to use the same profiles as search experiences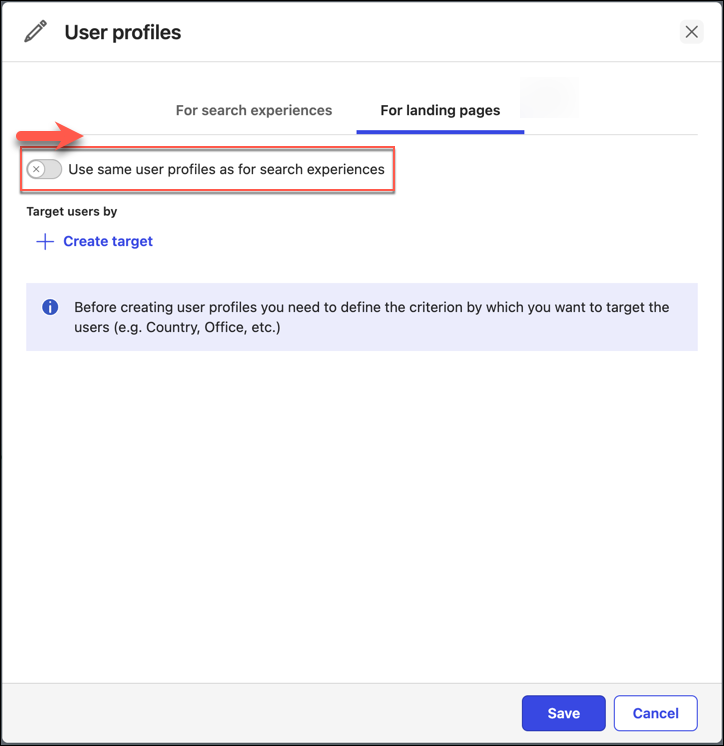
After you select this, the following message is displayed:
“Enabling this setting will permanently delete all current landing pages profiles and the data associated with them such as default filters and filter values.
Are you sure you want to use the same user profiles as for search experiences?”
NOTE: If this is the first time you have configured the Landing pages profile, you can disregard this message.Select Save, to confirm or select Cancel to go back.
Option 2
Select Create target.
You can create user profiles based on your Information Architecture and specific target criteria, for example—Country, Office, and so on.Figure: Creating new user profiles for landing pages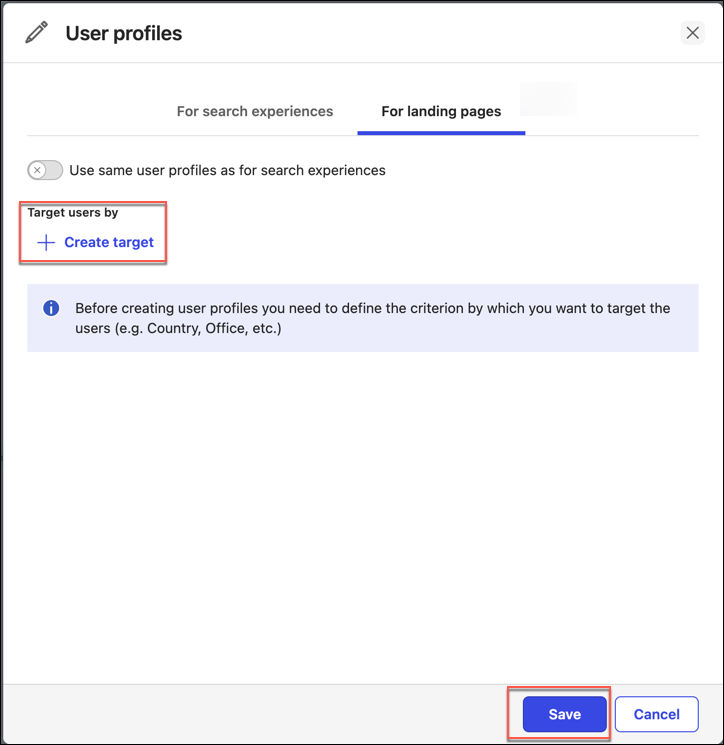
In the Target users by field, enter the target category.
Select Save.
Figure: Creating targets for user profiles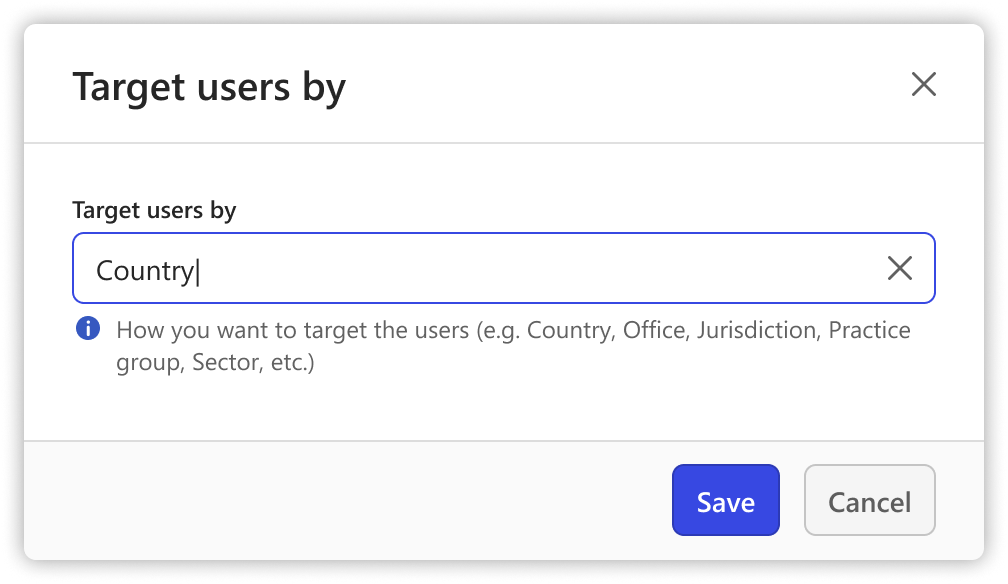
In the table, select New profile.
In the New profile dialog, enter the profile details, for example, London, and then select Create.
Select Save.
You can repeat Steps iv–vi to create multiple user profiles.
NOTE: You can create and save any number of User profiles.
After the User profiles are created, the following message is displayed:
“Successfully updated user profiles”
NOTE: With User profiles created and saved, the administrator configuration for Default filters for user profiles and User onboarding message get activated within the General settings configuration menu.
For more information on configuring these, refer to set up Default filters and user onboarding message.
You can manage the created target by editing it, and editing or deleting user profiles as per requirement. For more information, refer: