After setting up user profiles, as an administrator, you can enable default filters and filter values for all search experiences and Landing pages to apply to the profile groups. Default filters must be configured per search experience to account for the fact that different filters are available for different search experiences. You don't need to set default filters for all search experiences if you don't wish to do so.
Note that these default filters and their values will be displayed in the Insight+ application for your organization’s users based on their user profile. Users can belong to only one profile group, and this will automatically target their search and browse experiences according to the default filters that you configure for the profile.
CAUTION: We recommend that you keep the number of default filters to a minimum, to ensure the best user experience. Too many filters may result in little or no content displaying to your users. Remember that selection of multiple values within a filter will use the OR operator, for example Canada, France. Selection of multiple filters will use the AND operator, for example Country, Office.
NOTE:
User profiles must be created before default filters can be configured. The Default filters for user profiles tab will be enabled only after user profiles are created.
The following field types aren't supported for use in Admin default filters: text, url, email address, date, and Boolean.
Set up default filters for search experience
To configure default filters for specified user profiles for a search experience, follow the steps below:
On the General page, next to Default filters for user profiles, select Edit.
The Default filters for user profiles dialog opens with Search & Find tab selected by default, and the previously created user profiles displayed.Figure: Default filters for user profiles dialog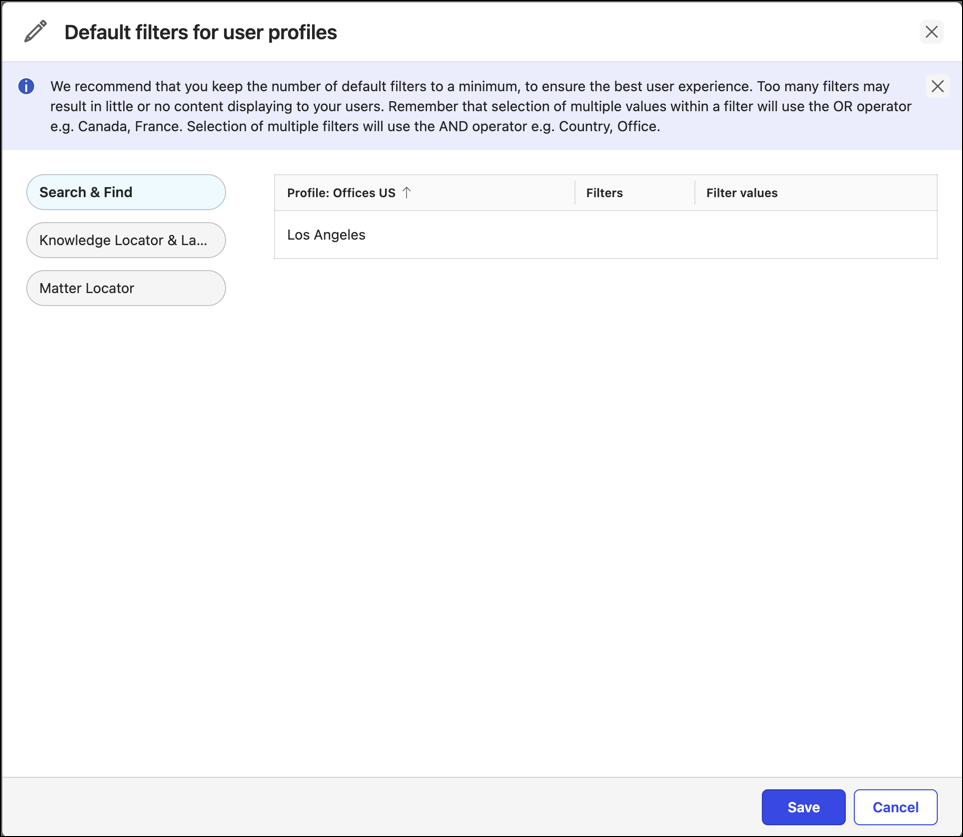
Select a search experience, for example—Knowledge Locator & Landing Pages, Search & Find, or Matter Locator. You may choose to configure default filters for search locators as required, without the need to configure them for all locators.
INFO: As an example, the Knowledge Locator & Landing Pages locator will be used to show how to configure Default filters and Filter values. Follow the same steps for other locators, too.
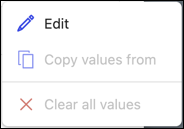
Hover over a user profile, and then select
 > Edit.
NOTE: When you edit the filters and filter values for the first time, only the Edit option is active. Copy values from and Clear all values option remains inactive until at least one filter and filter value has been added.
In the Edit filter values dialog, select Add filter or the drop-down list, and then select a filter. For example—Office, Country, and so on.
After you select a filter, the option to add filter values displays for the selected filter.Select the drop-down under the default filter to select either Is one of (to include) or Is none of (to exclude) option. Excluded filters are displayed with a strikeout in the filters.
Select the next drop-down to the right, and select a filter value.
You can add multiple filter values for the corresponding default filter.To remove a filter value, select
 or select
  to delete the filter.Figure: Adding filter and filter values
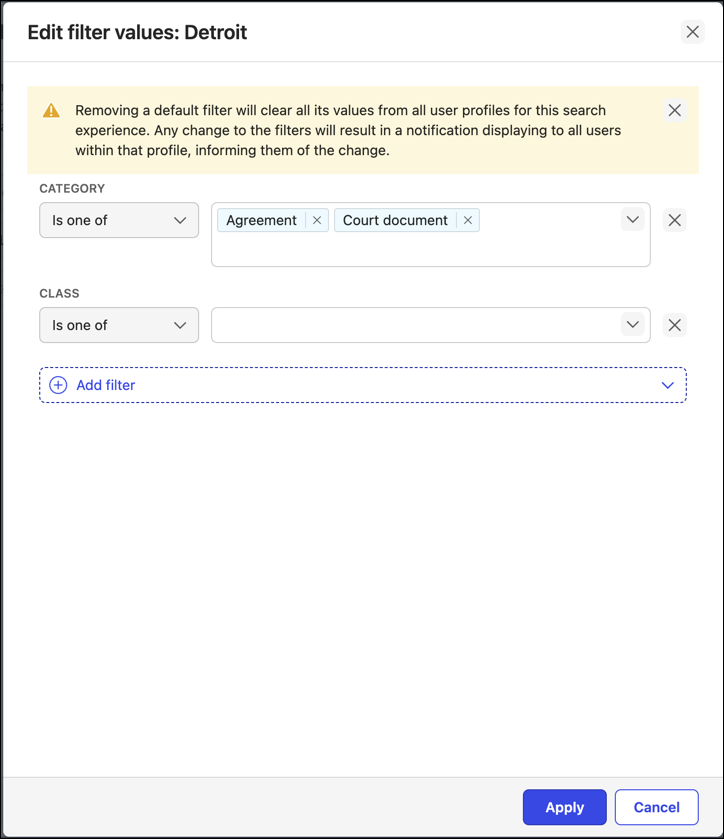
To add multiple filters for the selected user profile, with corresponding filter values, follow Step 4.
Select Apply to confirm, or select Cancel to go back.
Follow Steps 3–4 to edit the filters for each user profile in Knowledge Locator & Landing Pages tab.
NOTE: You can also select other locators to add default filters and filter values similarly.
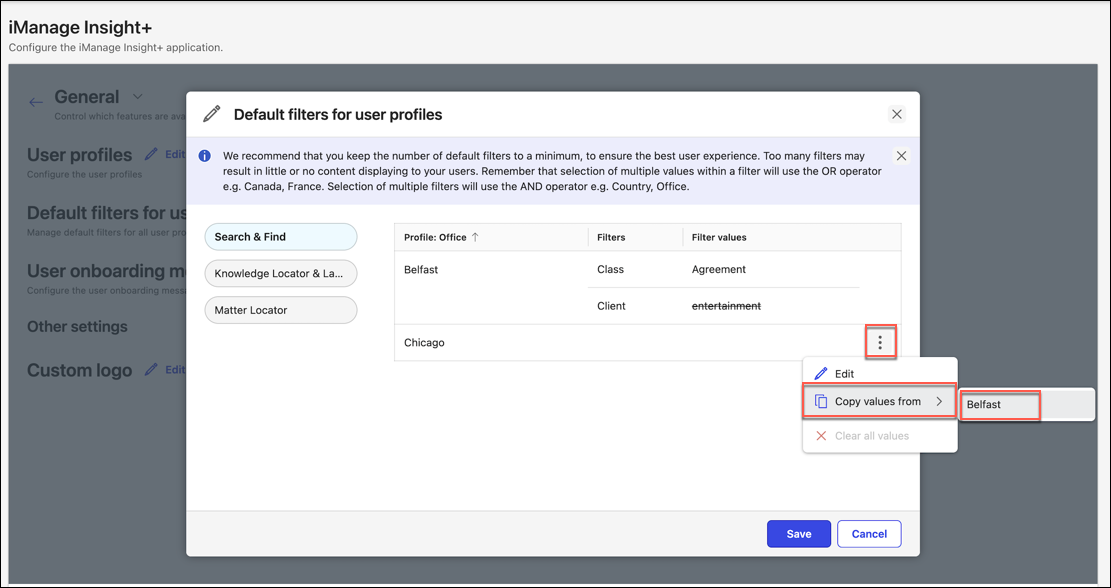
The configured default filters and values are displayed in the Default filters for user profiles dialog. You can select the arrow mark in the Profile column to sort profiles, which are otherwise sorted in alphabetical order by default.
After filters and filter values are added to a user profile:
The Clear all values option becomes enabled, letting you remove all applied filters and filter values for that profile.
Along with Edit option, Copy values from option also becomes active for other user profiles, allowing you to copy all applied default filters and filter values.
To configure default filter values to Landing Pages tab, refer to landing pages default filter.
NOTE: Before saving, you can select other locators to create and add default filters and values to user profiles created for those locators. For example, select Matter Locator.
OR
Select Save.
The following confirmation message displays:
“Successfully updated user profiles”
Set up default filters for Landing pages
Administrators can configure default filters and their values for landing pages, too. These will be displayed to users within Insight+ application upon sign in.
The Landing page filter experience is layered. Admins enable filtering for users by filter type, for example, Knowledge Type, Sector, and Jurisdiction, when they set up the sub-landing pages. For more information, refer to filters set for sub-landing pages.
Users can select values and apply them to those filters.
NOTES:
As an administrator of your organization, if you haven’t enabled Landing pages in Insight+ Admin page, the Landing pages tab is grayed out.
When you have already selected Use the same filters as Knowledge locator toggle while creating user profiles for Landing pages tab, then user profile details, including Admin default filters and filter values automatically get populated for landing pages.
When you haven't set up any user profiles for Landing pages, the following message is displayed:
“You don't have any Landing Pages profiles
Go to User Profiles to create some, then return here to add filters”
You can set up default filters and filter values for Landing pages tab under various scenarios:
Scenario 1: Use the same filters as Knowledge locator toggle isn't selected
Set up default filters and filter values when you don’t want to duplicate the Knowledge locator filters, that is Use the same filters as Knowledge locator toggle isn't selected while creating user profiles for Landing pages.
Select Landing pages tab.
Hover over a user profile, and then select
> Edit.
NOTE: When you edit the filters and filter values for the first time, only the Edit option is active. The Copy values from and Clear all values options remains inactive until at least one filter and filter value has been added.
In the Edit filter values dialog, select Add filter or the drop-down list, and then select a filter. For example—Office, Country, and so on.
After you select a filter, the option to add filter values displays for the selected filter.Select the drop-down under the default filter to select either Is one of (to include) or Is none of (to exclude) option. Excluded filters are displayed with a strikeout in the filters.
Select the next drop-down to the right, and select a filter value.
You can add multiple filter values for the corresponding default filter.To remove a filter value, select
or select to delete the filter.To add multiple filters for the selected user profile, with corresponding filter values, follow Steps 3–5.
Select Apply to confirm, or select Cancel to go back.
Follow Steps 2–6 to configure default filters and filter values for all created user profiles.
Select Save.
The following confirmation message displays:
“Successfully updated user profiles”.
Scenario 2: Use the same filters as Knowledge locator toggle is selected
Set up default filters and filter values when Use the same filters as Knowledge locator toggle is selected for Landing pages tab and all user profiles are automatically populated with default filters and values from the Knowledge locator.
If you later decide that you don't want to use the same filters as Knowledge Locator:
Select Landing pages tab.
Toggle the Use the same filters as Knowledge Locator to the left to clear all filters as used in the Knowledge Locator & Landing pages tab.
A warning dialog displays cautioning that deselecting this will remove all existing filters and its values (if any) for all users on the Landing Pages.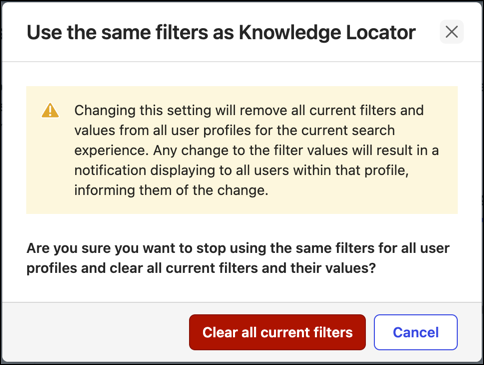
NOTE: This won't be relevant if this is the first time that you're setting default filters for your Landing pages.
You can either select:
Clear all current filters to continue with creating your own set of default filters and values
Cancel to keep current filters.
Follow Steps 2–6 to set default filters and filter values.
Select Save.
The following confirmation message displays:
“Successfully updated user profiles”.