With conditional logic, forms can dynamically display or hide fields based on user inputs. This feature empowers you to create more interactive and efficient workflows by customizing the form experience to align with each user's unique responses.
Single-value and multi-value lookup fields can be used to define conditions for other fields in your submission form.
To understand how to create and edit forms in Workflow Manager, refer to Using Workflow Manager.
Here’s an example that explains how to add conditional logic to your form.
Build a form with conditional logic for a company that offers subscription services with multiple tiers (Basic and Premium) and optional add-ons. The form dynamically adjusts based on user input to ensure they see only the relevant options.
Step 1: Setting up the subscription tiers
Select the library in which you wish to create a new form.
Select Create New Form.
Select the Dropdown field and add it to the form’s canvas.
In the Dropdown field settings, set the field name and the field ID. Let’s rename them based on the below example:
Name: Subscription Tier
Field ID: Sub_Tier
Figure: Setting up subscription tiers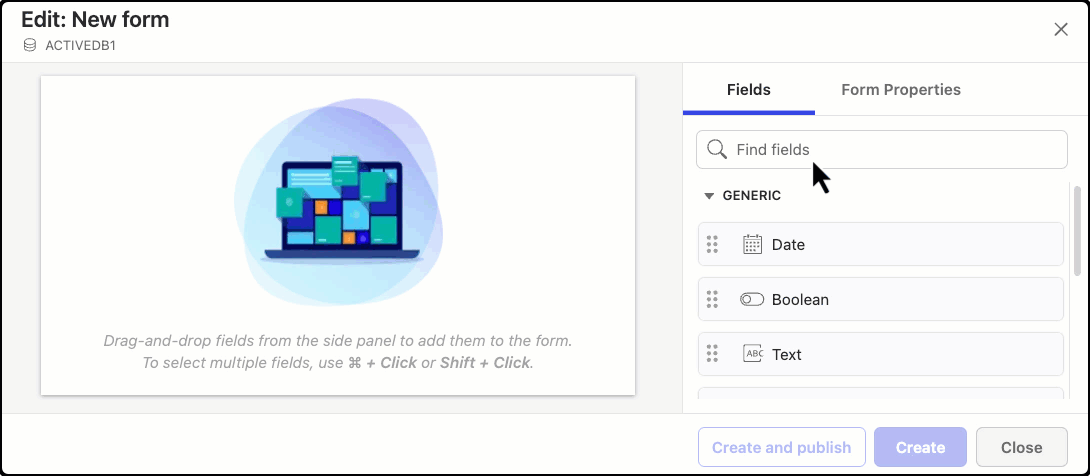
(Optional) To ensure that the value of this field is mandatorily entered by the user, turn on the Required Field toggle.
Add two drop-down values, which are basically the tiers of subscription being offered. As mentioned in the introduction above, the two tiers of subscription must be Standard and Premium. Edit the drop-down values as below:
Value 1:
ID: Standard
Label: Standard
Value 2:
ID: Premium
Label: Premium
Figure: Adding the drop-down values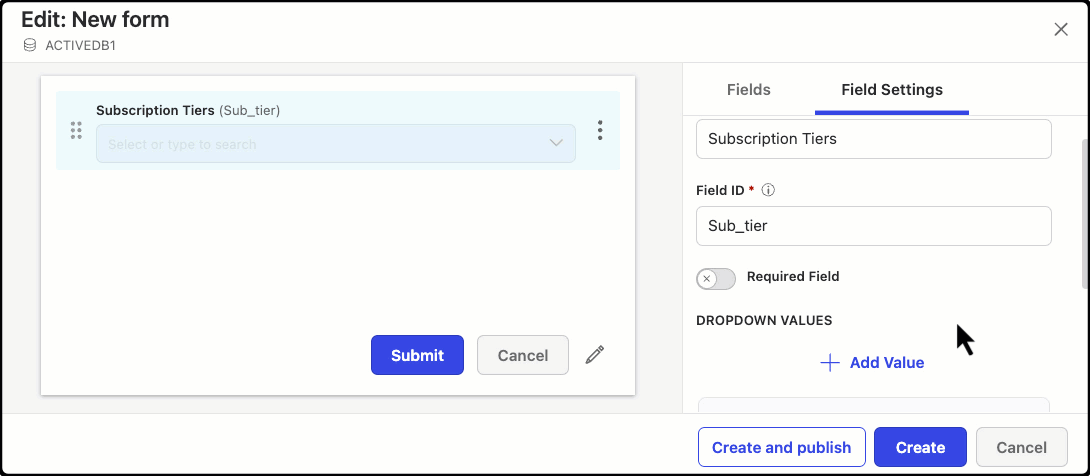
Re-order as required.
Step 2: Setting up the number of users who’ll avail the subscription
Select the Number field and add it to the form’s canvas.
In the field settings for the Number field, set the field name and the field ID. Let’s rename them based on this example as below:
Name: Number of users
Field ID: Number_users
Figure: Setting up the tier for the number of users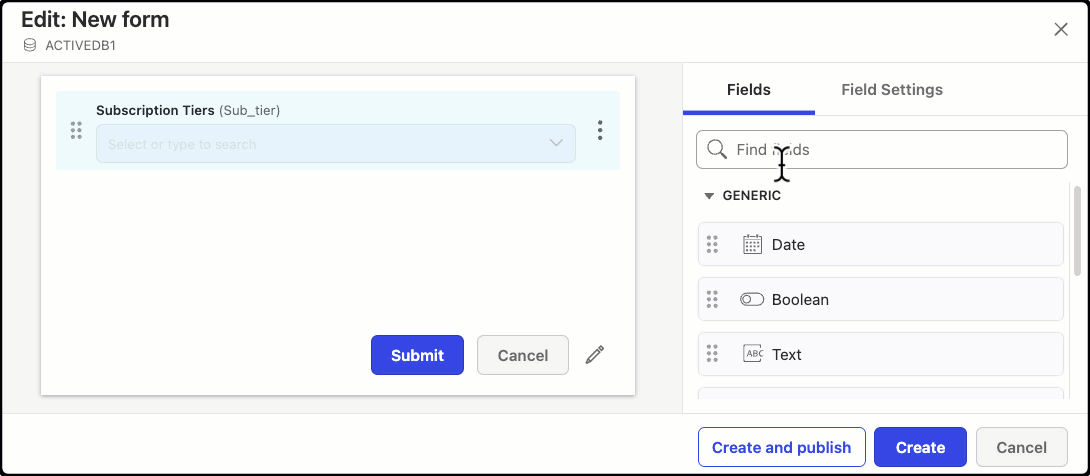
(Optional) To ensure that the value of this field is mandatorily entered by the user, turn on the Required Field toggle.Number Format: Select either Decimal or Integer. For this example, let’s select Integer as the preferred number format.
Set the minimum and maximum values for this field.
Figure: Setting the number format and values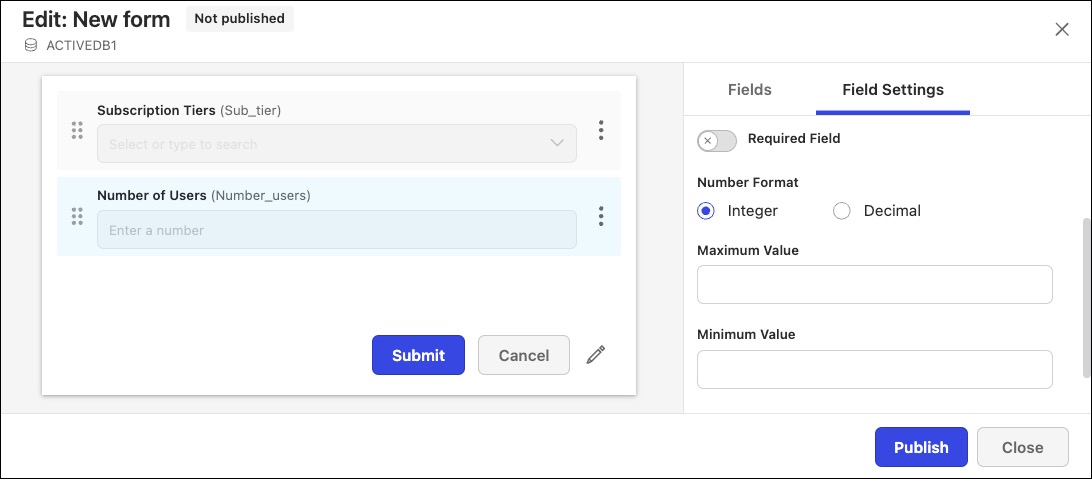
NOTE: After completing Step 2: Setting up the number of users who are going to avail the subscription, select Create in the form canvas to create the form. This saves the form in the unpublished state and also helps you to save all the updates done up until this point.
Step 3: Setting up the add-on options based on the subscription tier
To show optional add-ons based on the subscription tier selected, we must configure them as below:
Add two Boolean fields to the form canvas. As per the example, we'll have to create one add-on for Priority Support and another for Advanced Analytics.
For the first Boolean field, let’s edit the details:
Name: Priority Support
Field ID: Priority_Support
Figure: Boolean field for priority support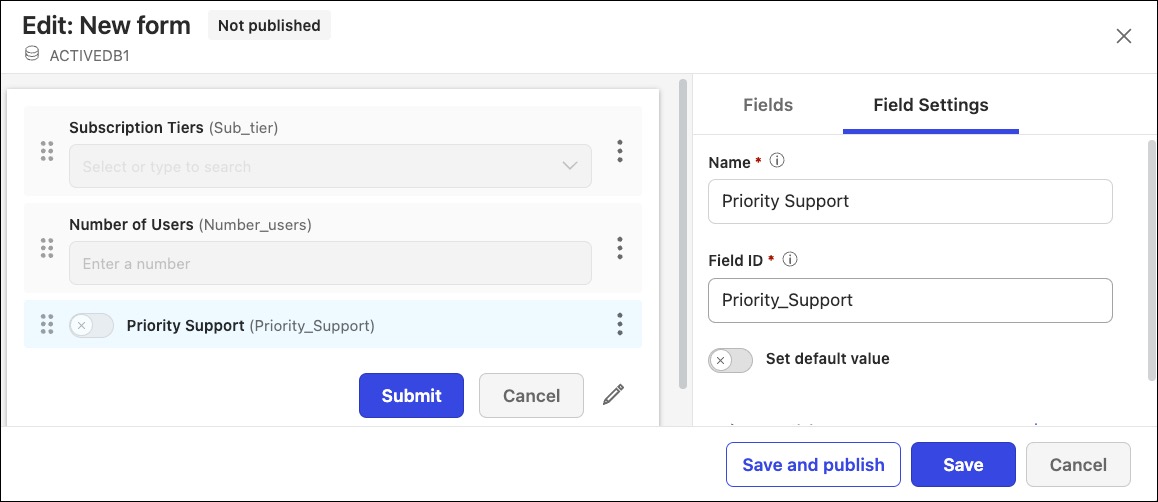
In the Boolean field settings, select Add next to Conditions. A dialog opens with the options to set the conditional logic.
To ensure that the Priority Support add-on is displayed to users if they select either the Standard or Premium subscription, we've set the conditional logic as below:
If Subscriptions Tier <is one of> Standard or Premium <then show> Priority add-on
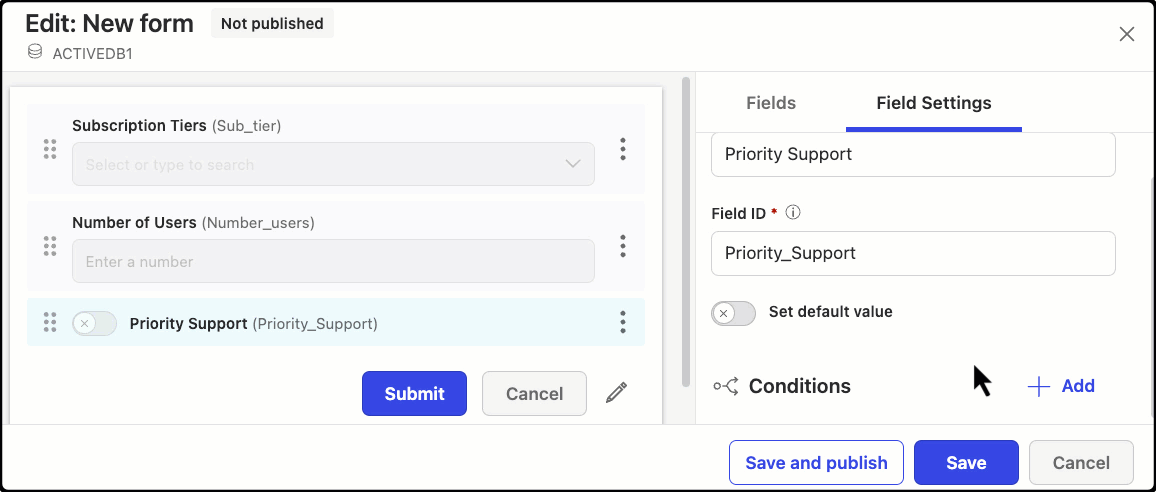
Select Save.
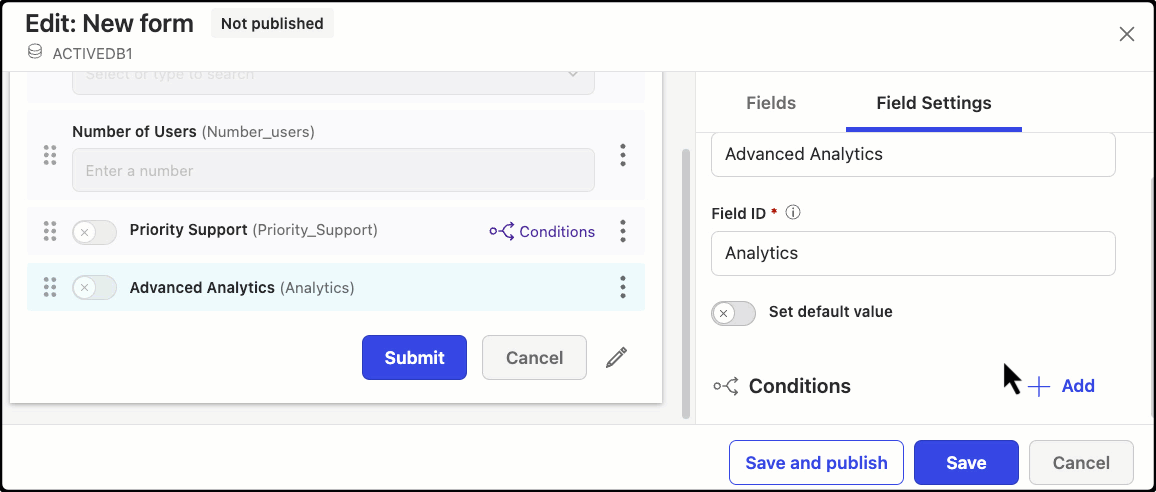
For the second Boolean field, let’s edit the details:
Name: Advanced Analytics
Field ID: Analytics
Figure: In the Boolean field settings field for advanced analytics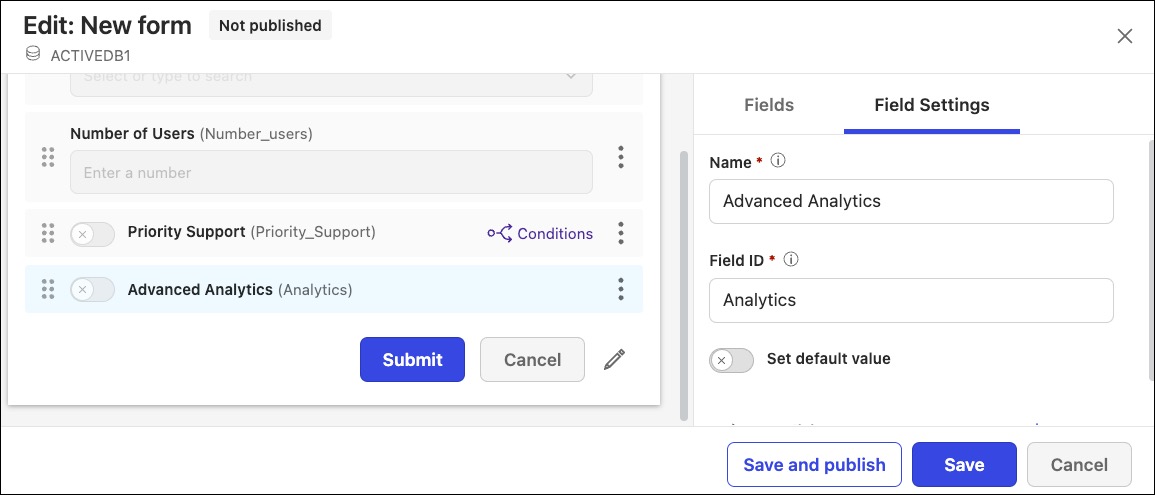
In the Boolean field settings, select Add next to Conditions. A dialog opens with the options to set the conditional logic.
To ensure that only the Advanced Analytics add-on is displayed to users when they select the Premium package, we've set the conditional logic as below:
If Subscriptions Tier <is one of> Premium <then show> Advanced Analytics add-on
Select Save.
Step 4: Setting up a custom heading for the add-ons
As explained in the introduction for this example, we're setting up a subscription service form with optional add-ons. A conditional logic is required to be added here as it'll define how add-ons are made available to users based on the subscription tier they’ve selected.
Select the Custom message field and add it to the form canvas.
In the Custom message field settings, edit the message and set the style.
Figure: Setting up a custom heading for add-ons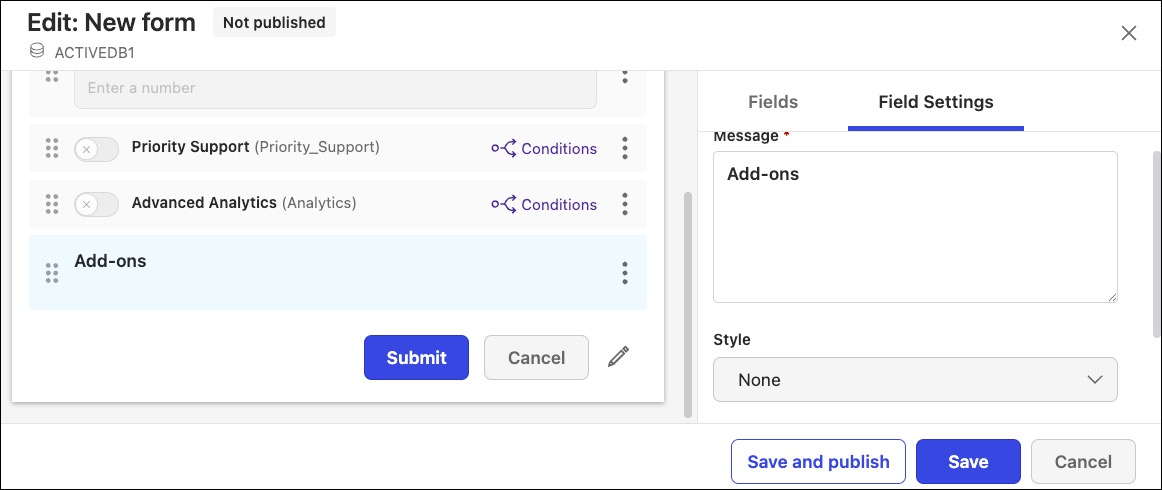
In the Custom message field settings, select Add next to Conditions. A dialog opens with the options to set the conditional logic.
To ensure that the custom heading and the subscription options are displayed to users when they open a form, we have to set the conditional logic as below:
If Subscriptions Tier <is one of> Standard or Premium <then show> add-ons
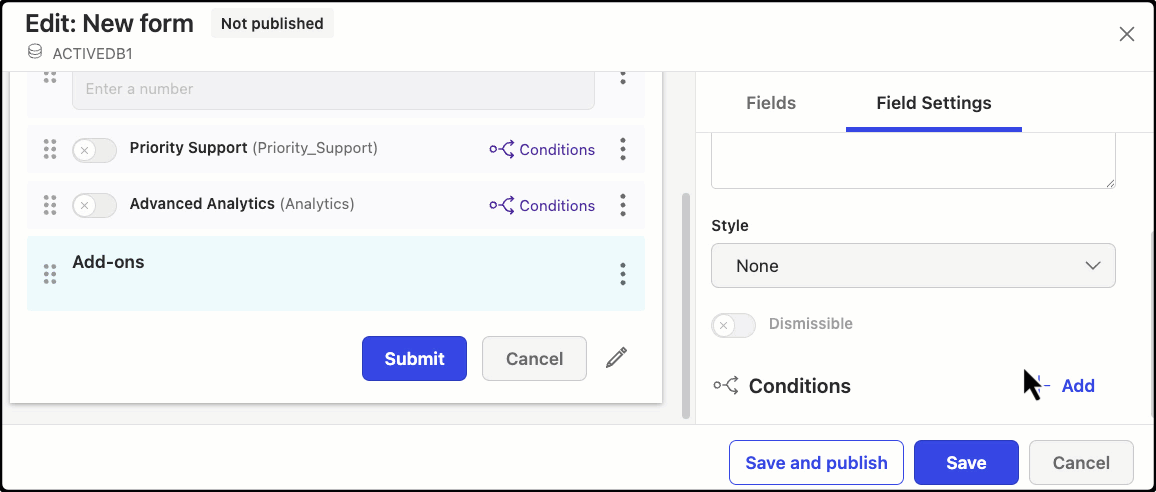
Select Save.
Step 5: Editing the form’s properties and publishing the form
For the add-ons to appear under the custom heading in the users' form based on the subscription selected, move the custom heading field above the add-ons.
Figure: Re-ordering the custom heading field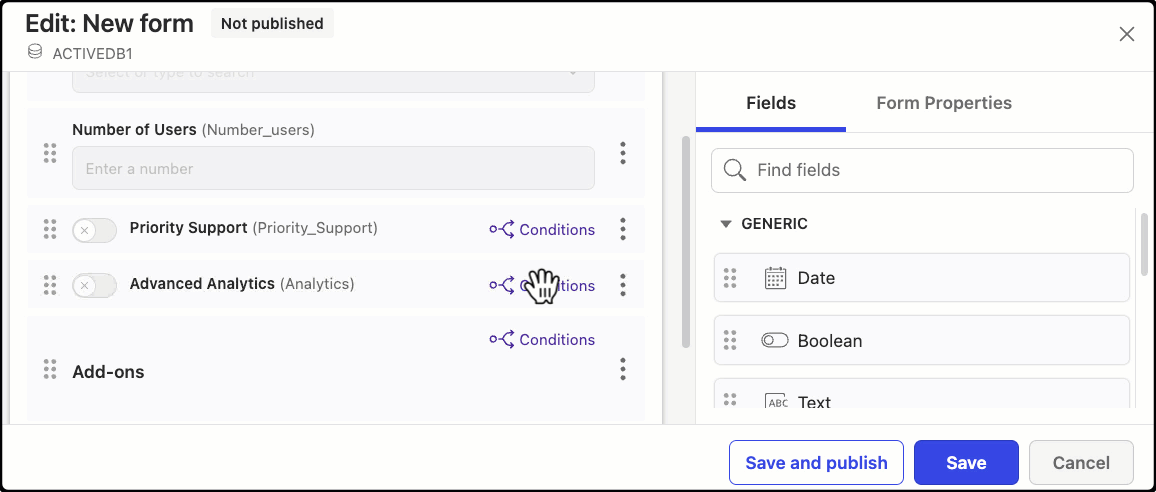
To understand how to further edit a form’s properties, refer to Editing form properties.
To understand the publishing options available for a form, refer to Editing a form.
Here’s the final form with conditional logic that’ll be displayed to users: