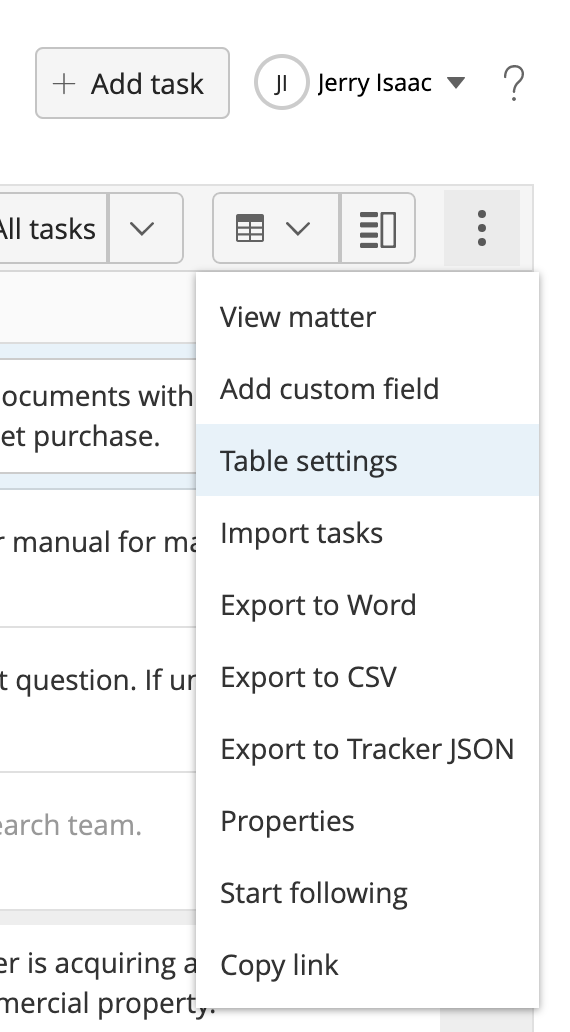
Use the Table settings option on the More options menu or right-click a column title and select Table settings to customize the columns in your checklists:
Add and remove custom and default columns.
Change the order in which the fields appear.
Add custom fields.
Change the name and settings of custom fields and delete them.
Restore the default settings that iManage Tracker provides for checklists.
The customized view is maintained even for the following sign-in sessions.
NOTE:
Default fields can't be deleted. You can only remove them from the table view, but they're always available for selection later.
Select More options in the upper-right corner and select Table settings.
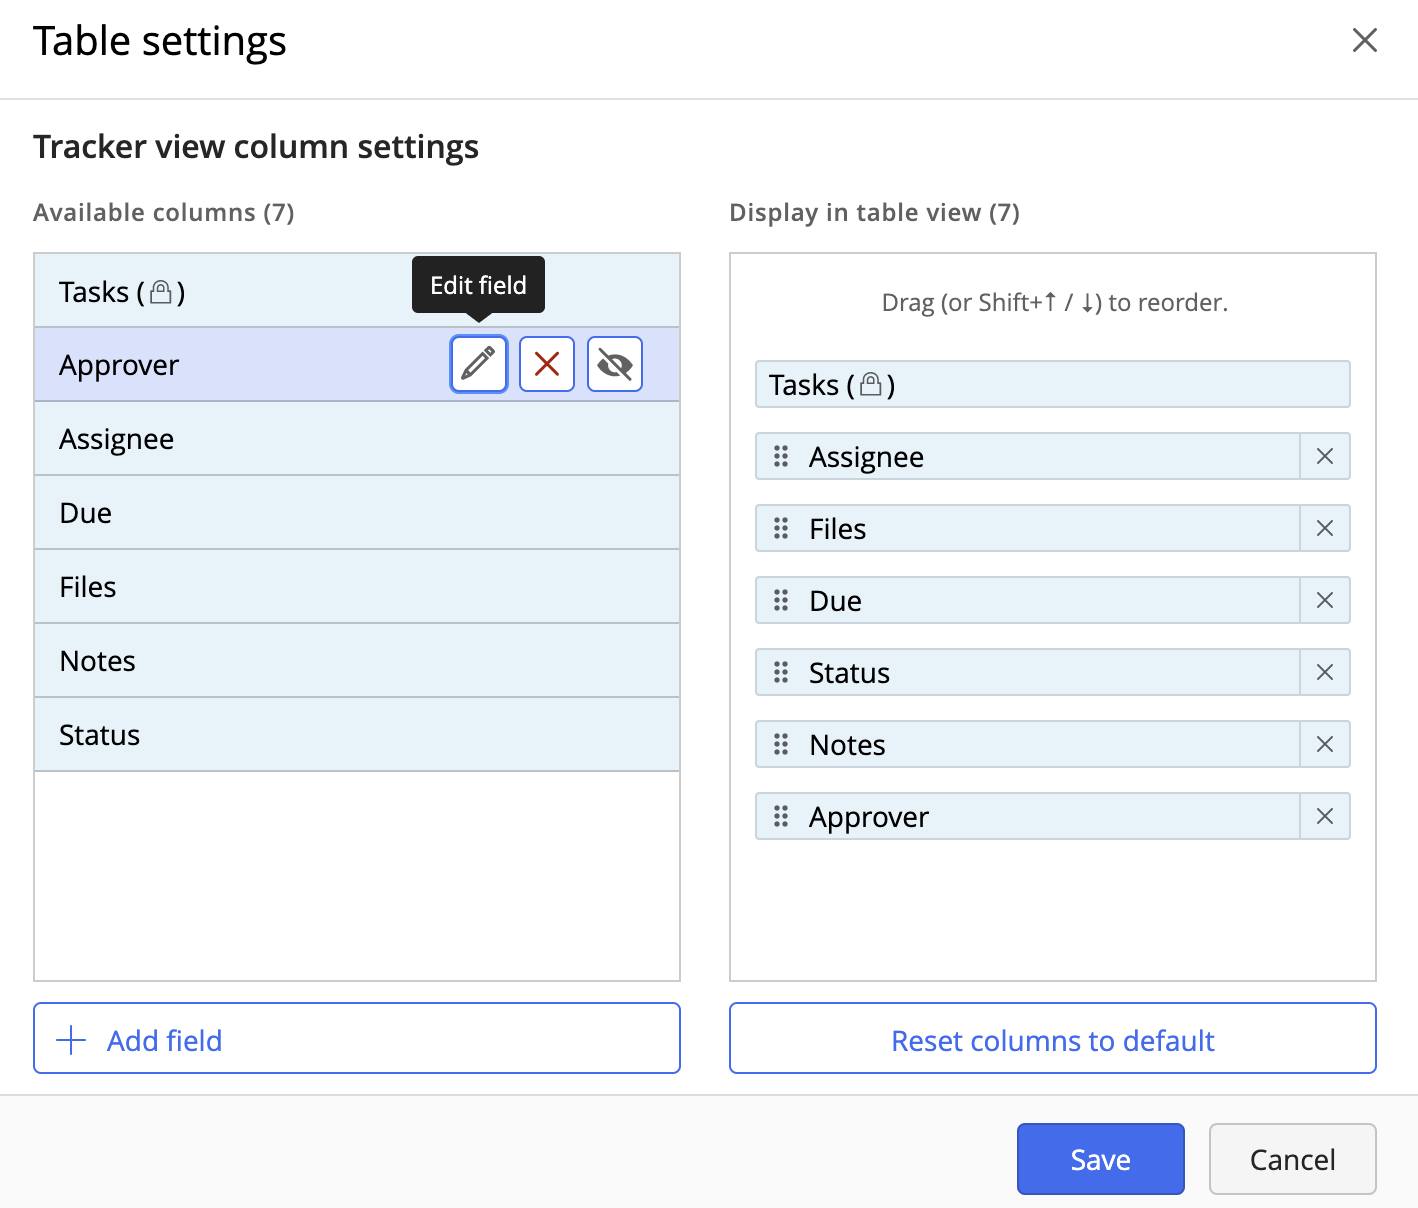
Hover the pointer over the items in the Available columns list and select Show or Hide to add or remove them from the table view.
The Edit field icon is displayed on hovering the pointer over custom fields and the default Status field to enable you to change their name and other settings.
The following figure shows a custom field: Approver. Custom fields also display the Delete field icon.Figure: Table settings dialog boxFor the Display in Table view list, perform the following tasks as required:
Point to and drag up or down to change the order in which the field is displayed. Alternatively, press Shift and the Up or Down key to reorder.
Select to remove a field.
Select Reset columns to default to restore the checklist to its default setting. The Display in Table view list displays only the default columns. However, all default columns and the custom columns you created are still listed under Available columns and you can add them later as required.
Select Add field to add a custom column. For more information, refer to Adding custom fields.
Select Save. The Table settings dialog box closes and you're redirected to the updated task checklist.
NOTE:
You can remove all custom and default columns from the table view except Tasks that displays the lock icon to indicate that you can't change or remove the column.


