Sign in to iManage Work and browse to the matter and open the checklist for which you want to create custom fields.
NOTE:
You can also add custom fields by using the Create new field option while copying tasks from existing checklists. For more information, refer to Copying tasks from existing checklists.
Select More options
 in the upper-right corner and select Add custom field. Alternatively, select Add custom field
  (located after the last field header).
Fields can also be added using More options > Table settings. For more information, refer to Changing the fields displayed.
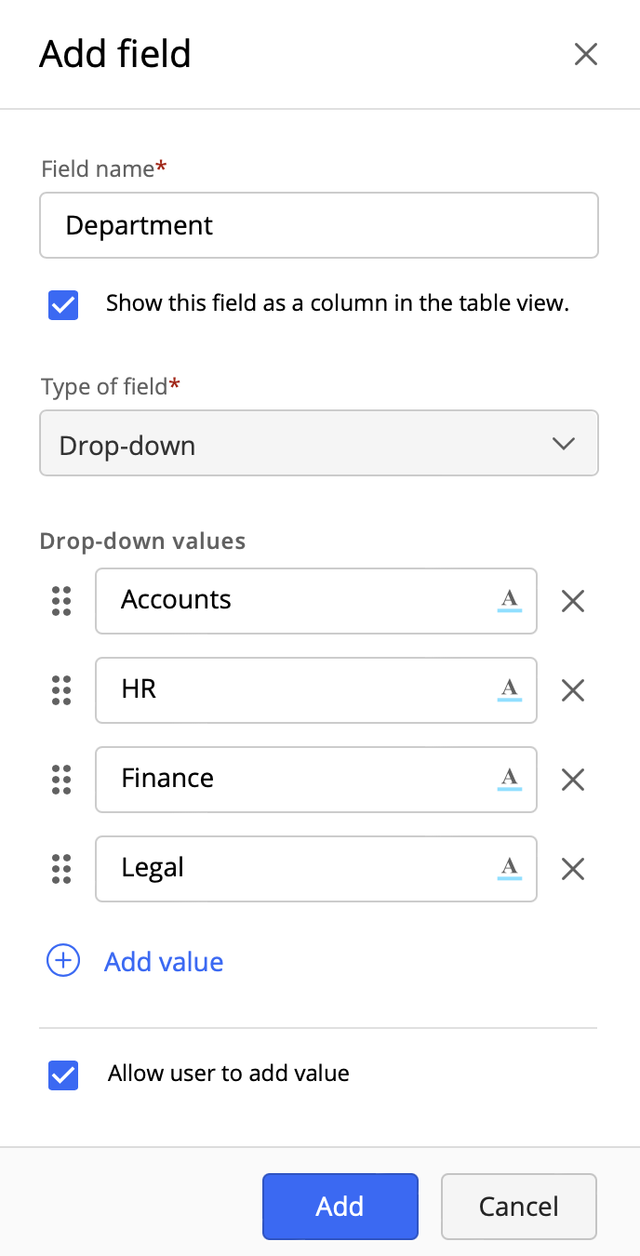
The Add field dialog box appears.Enter a Field name for the new field.
(Optional) Clear the Show this field as a column in the Table view checklist if you want the field to:
be available for selection later in the Available columns list by selecting More options > Table settings.
not appear in the checklist currently.
From the Type of field list, select one of the following options:
Date: Display a calendar for selecting or entering dates.
Drop-down: Create a field where users can choose from the available values or add the values they want. Enter the value for each drop-down and select
 to choose the highlight color for the drop-down.
Multiline text: to enable users to add multiple lines of text by pressing Enter/Return.
Single line text: to enable users to add a single line of text.
(Optional) If you don't want users to add new values to the field, clear the Allow user to add value check box. With this option cleared, warning messages will appear when you import a checklist and assign this field to a column with values that differ from the available ones. In such scenarios, you have to manually change the values to those available or they'll be discarded when you proceed with the import. For more information, refer to Best practices for copying existing checklists.
While importing checklists, if drop-down fields that allow users to add values are assigned to a column being imported, the new values in the column get added to the list of available drop-down values for the fields. Users can access/select these newly added values from the drop-down in the checklist or during subsequent import.
NOTE:
Don't add the same drop-down values or leave any value blank. An error message will show up at the top of the Add field dialog box. You'll be allowed to add the custom field only after you:
add text to the blank drop-down value
remove the duplicate drop-down value.
The values aren't case-sensitive, so "To do" and "to do" are considered duplicate values.
Select Add. The custom field is created and added to the checklist.