Administrators must configure iManage Next Generation Co-authoring in iManage Control Center by adding Microsoft 365 for the web, Microsoft 365 for the desktop applications, and Microsoft 365 for mobile applications. With these applications added, you can co-author files simultaneously on Microsoft Windows, macOS, and iOS devices.
IMPORTANT: It's possible that the Microsoft 365 for Mobile application isn't yet available in iManage Control Center for some of our customers. This is because we are working to resolve a Conditional Access issue with Microsoft. For more information, refer to the following article: https://help.imanage.com/hc/en-us/community/posts/37833845809691-Co-authoring-on-Mobile-Devices
To add Microsoft 365 for the web and the Microsoft 365 for the desktop applications, do the following:
Adding the iManage Microsoft 365 applications
In iManage Control Center, browse to Settings > Applications.
Select Add Application.
From the available applications list in the Add Application dialog, select:
Microsoft 365 for the web to allow users to co-author documents using Microsoft 365 for the web.
Microsoft 365 for the desktop to allow users to co-author documents using Microsoft 365 applications for the desktop on Microsoft Windows and macOS devices and iManage Work Desktop for Windows 10.10.1 or later.
Microsoft 365 for mobile to allow users to co-author documents on iOS devices.
NOTE: You can enable one or all of the applications based on your needs. For example, if you have only Microsoft 365 for the web enabled in your organization, then enable just Microsoft 365 for the web application and make sure Microsoft 365 for the desktop or Microsoft 365 for the mobile applications aren’t enabled.
Select Authentication to configure OAuth details for each of the applications.
Set the Allow Refresh Token switch to Yes.
Figure: Setting Allow Refresh Token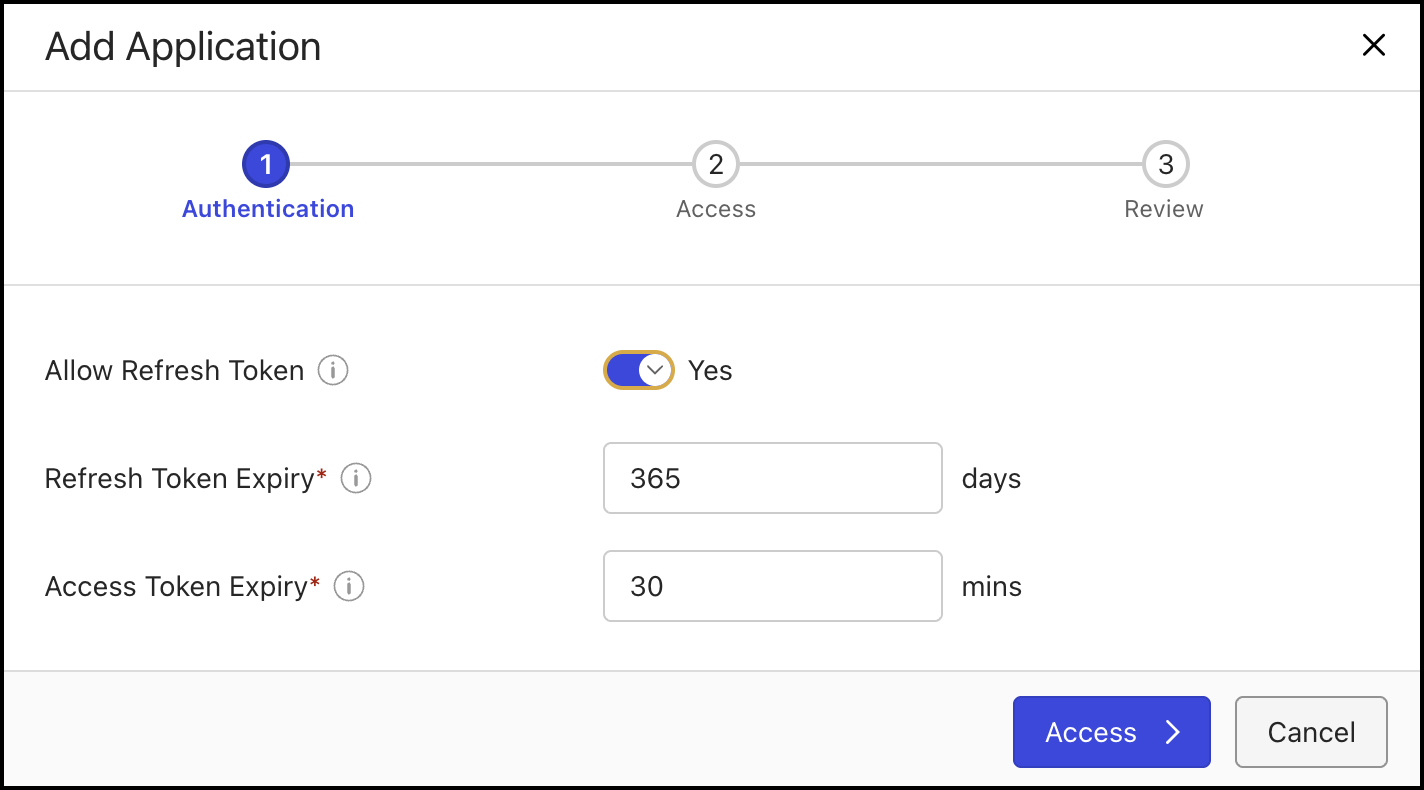
(Optional) In Access Token Expiry, configure the desired duration of inactivity allowed in minutes before invalidating an access token of a user for each application.
To configure the users who can use iManage Work Next Generation Co-authoring, select Access. This is helpful when you have a pilot group of users, or if only specific users have a Microsoft 365 license.
Figure: Allowing user access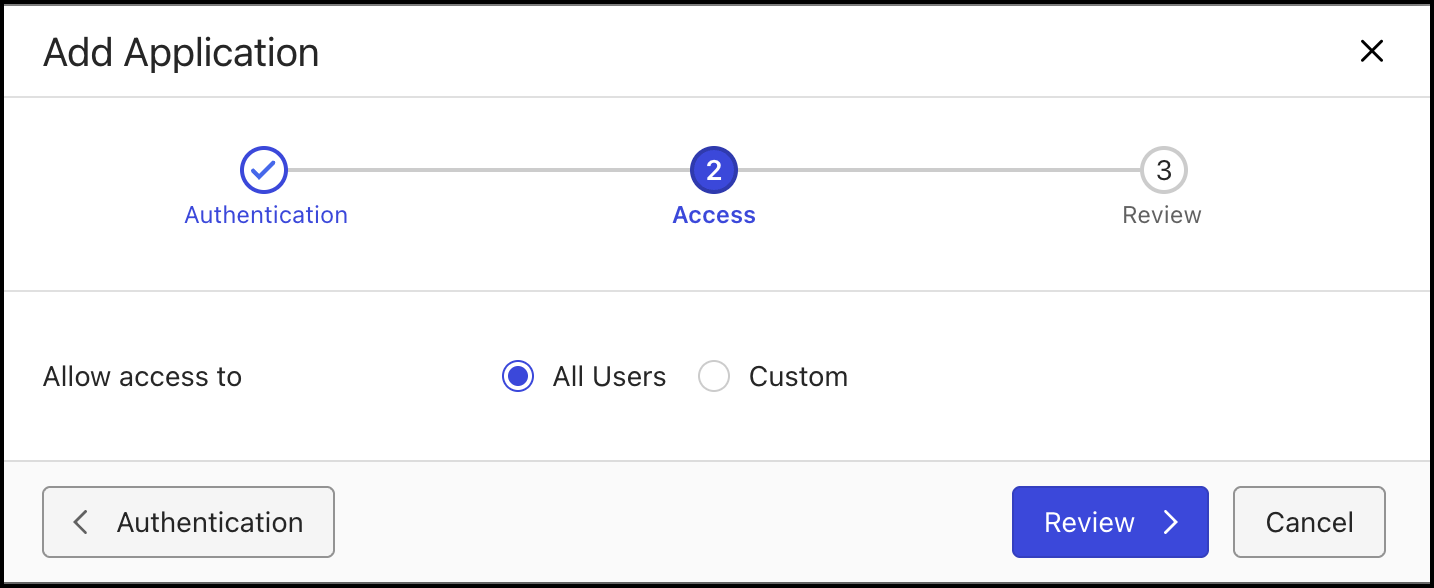
Select one of the following access options:
All users: Select this option to provide access to all the available users.
Custom: Search and add the specific users to provide access to this application. Users who aren't provided access can't view, create, edit, or co-author documents using Microsoft 365 for the web, or the Microsoft 365 applications for the desktop.
Select Review to review your changes.
Set Enable application? to Yes and then select Finish.
Figure: Enabling the application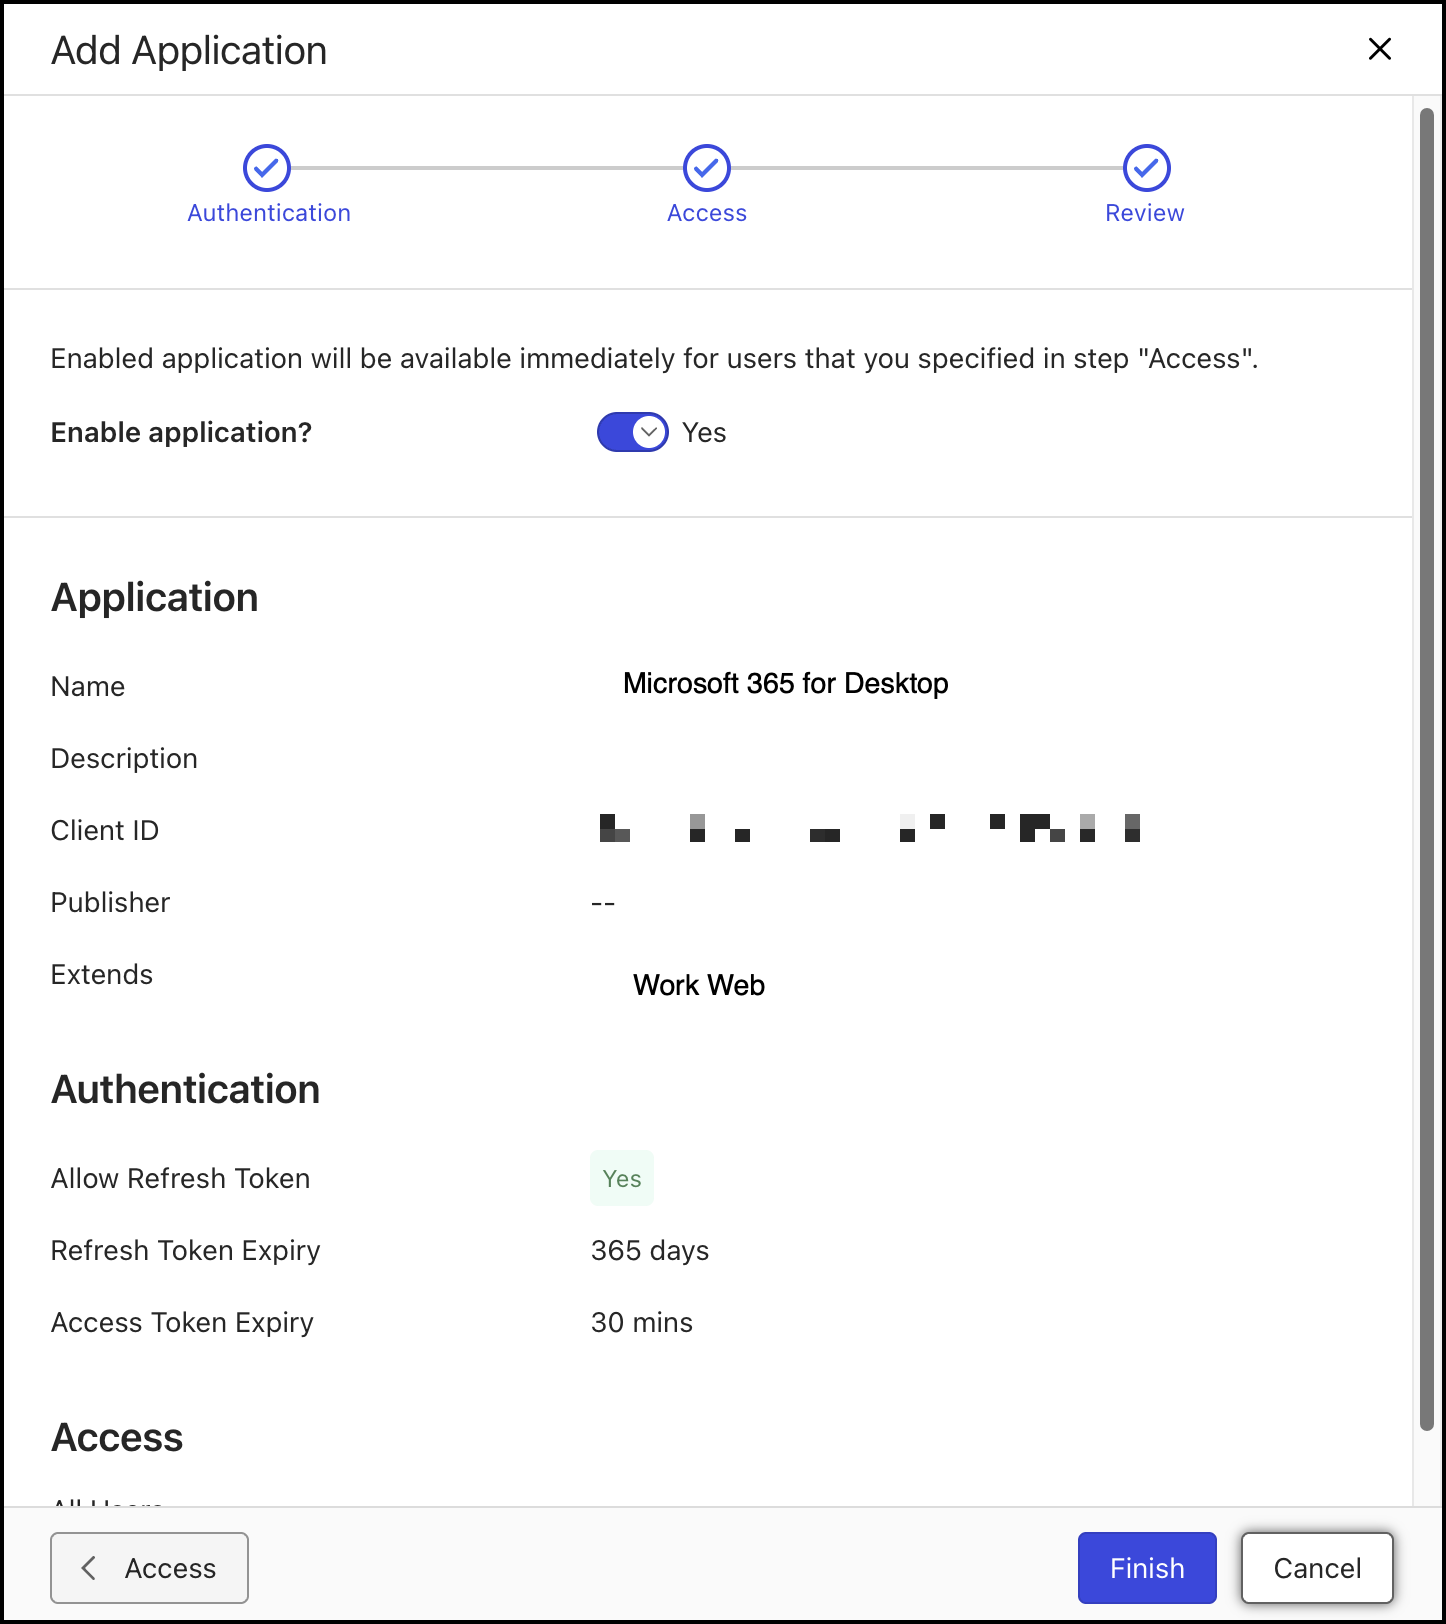
NOTES:
Administrators have to repeat all the above steps three times to add all three of the Microsoft 365 for the web, Microsoft 365 for mobile and the Microsoft 365 for the desktop applications. Additionally, administrators can enable Microsoft Intune for mobile by following the steps outlined in the Enabling and using Microsoft Intune for Microsoft 365 for mobile applications section.
Administrators can enable one or all of the applications based on your needs. For example, if users have only Microsoft 365 for the web enabled in their organization, then administrators can enable just Microsoft 365 for the web application and make sure Microsoft 365 for the desktop and Microsoft 365 for the mobile applications aren’t enabled.
Administrators can have both the existing iManage Work with Microsoft Office for the web Co-authoring and iManage Work Next Generation Co-authoring enabled. This helps users test our new iManage Work Next Generation Co-authoring options while they continue to use our existing iManage Work with Microsoft Office for the web Co-authoring applications.
Configuring the context display menus
If administrators have previously customized the context menus that display in iManage Work at cloudimanage.com, they will need to take additional actions to ensure that the Microsoft 365 for the web and desktop Edit (Co-author) menu options are displayed for users.
Adding Microsoft 365 for the web menu and Edit (Co-author) options
In iManage Control Center, browse to Work Clients > Web Client > Context Menus.
On the Context Menus Customization page that opens, select Documents.
Under the Documents and Versions menus, place the cursor over Open and select
 .
.Select Add action and:
If Microsoft 365 for the desktop application is added, select the following options:
Edit (Co-author)

Edit (Co-author) new version

If Microsoft 365 for the web is added, select the following options:
View in MS Office for the web

Edit (Co-author) in MS Office for the web

Edit (Co-author) new version in MS Office for the web

If Microsoft 365 for mobile is added, select Edit (Co-author)
 .
.
Select
 to confirm your changes.
NOTES:
The Edit (Co-author)
option is enabled by default in the iManage Work app if you have enabled Microsoft 365 for mobile in iManage Control Center. Hence, the above-mentioned steps should be performed only if you're enabling these options on mobile web.Two Edit (Co-author) options (one for iOS device and one for desktop applications) are displayed if you have configured both Microsoft 365 for the desktop and Microsoft 365 for mobile applications.
Adding New File options to Folders
On the Context Menus Customization page, select Folders.
Place the cursor over New File and select
.Select Add action and select the following options.
New MS Word file
New MS Excel file
New MS PowerPoint file
Figure: Adding new file options to folders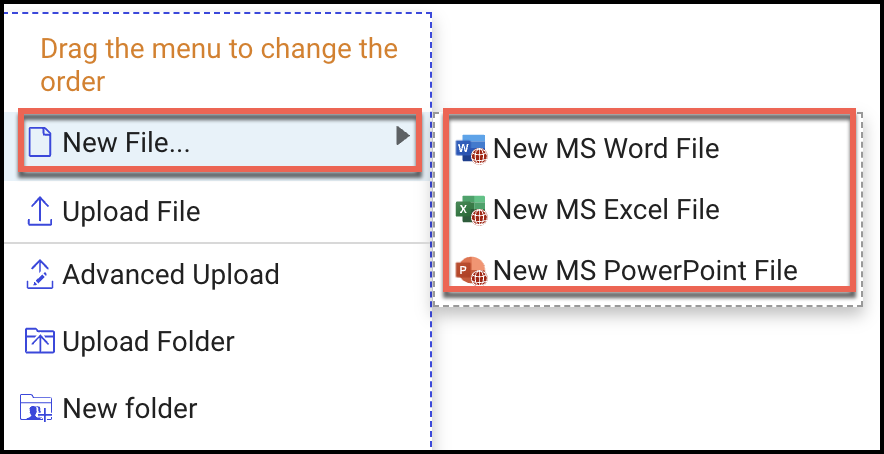
Select
to confirm your changes. Select Save to save your changes.
Adding New File options to the toolbar in Folders
In iManage Control Center, browse to Work Clients > Web Client > Settings.
On the Settings customization page that opens, select Toolbars.
On the Toolbars page, browse to Folders, place the cursor over and select
.Figure: Editing folders on toolbars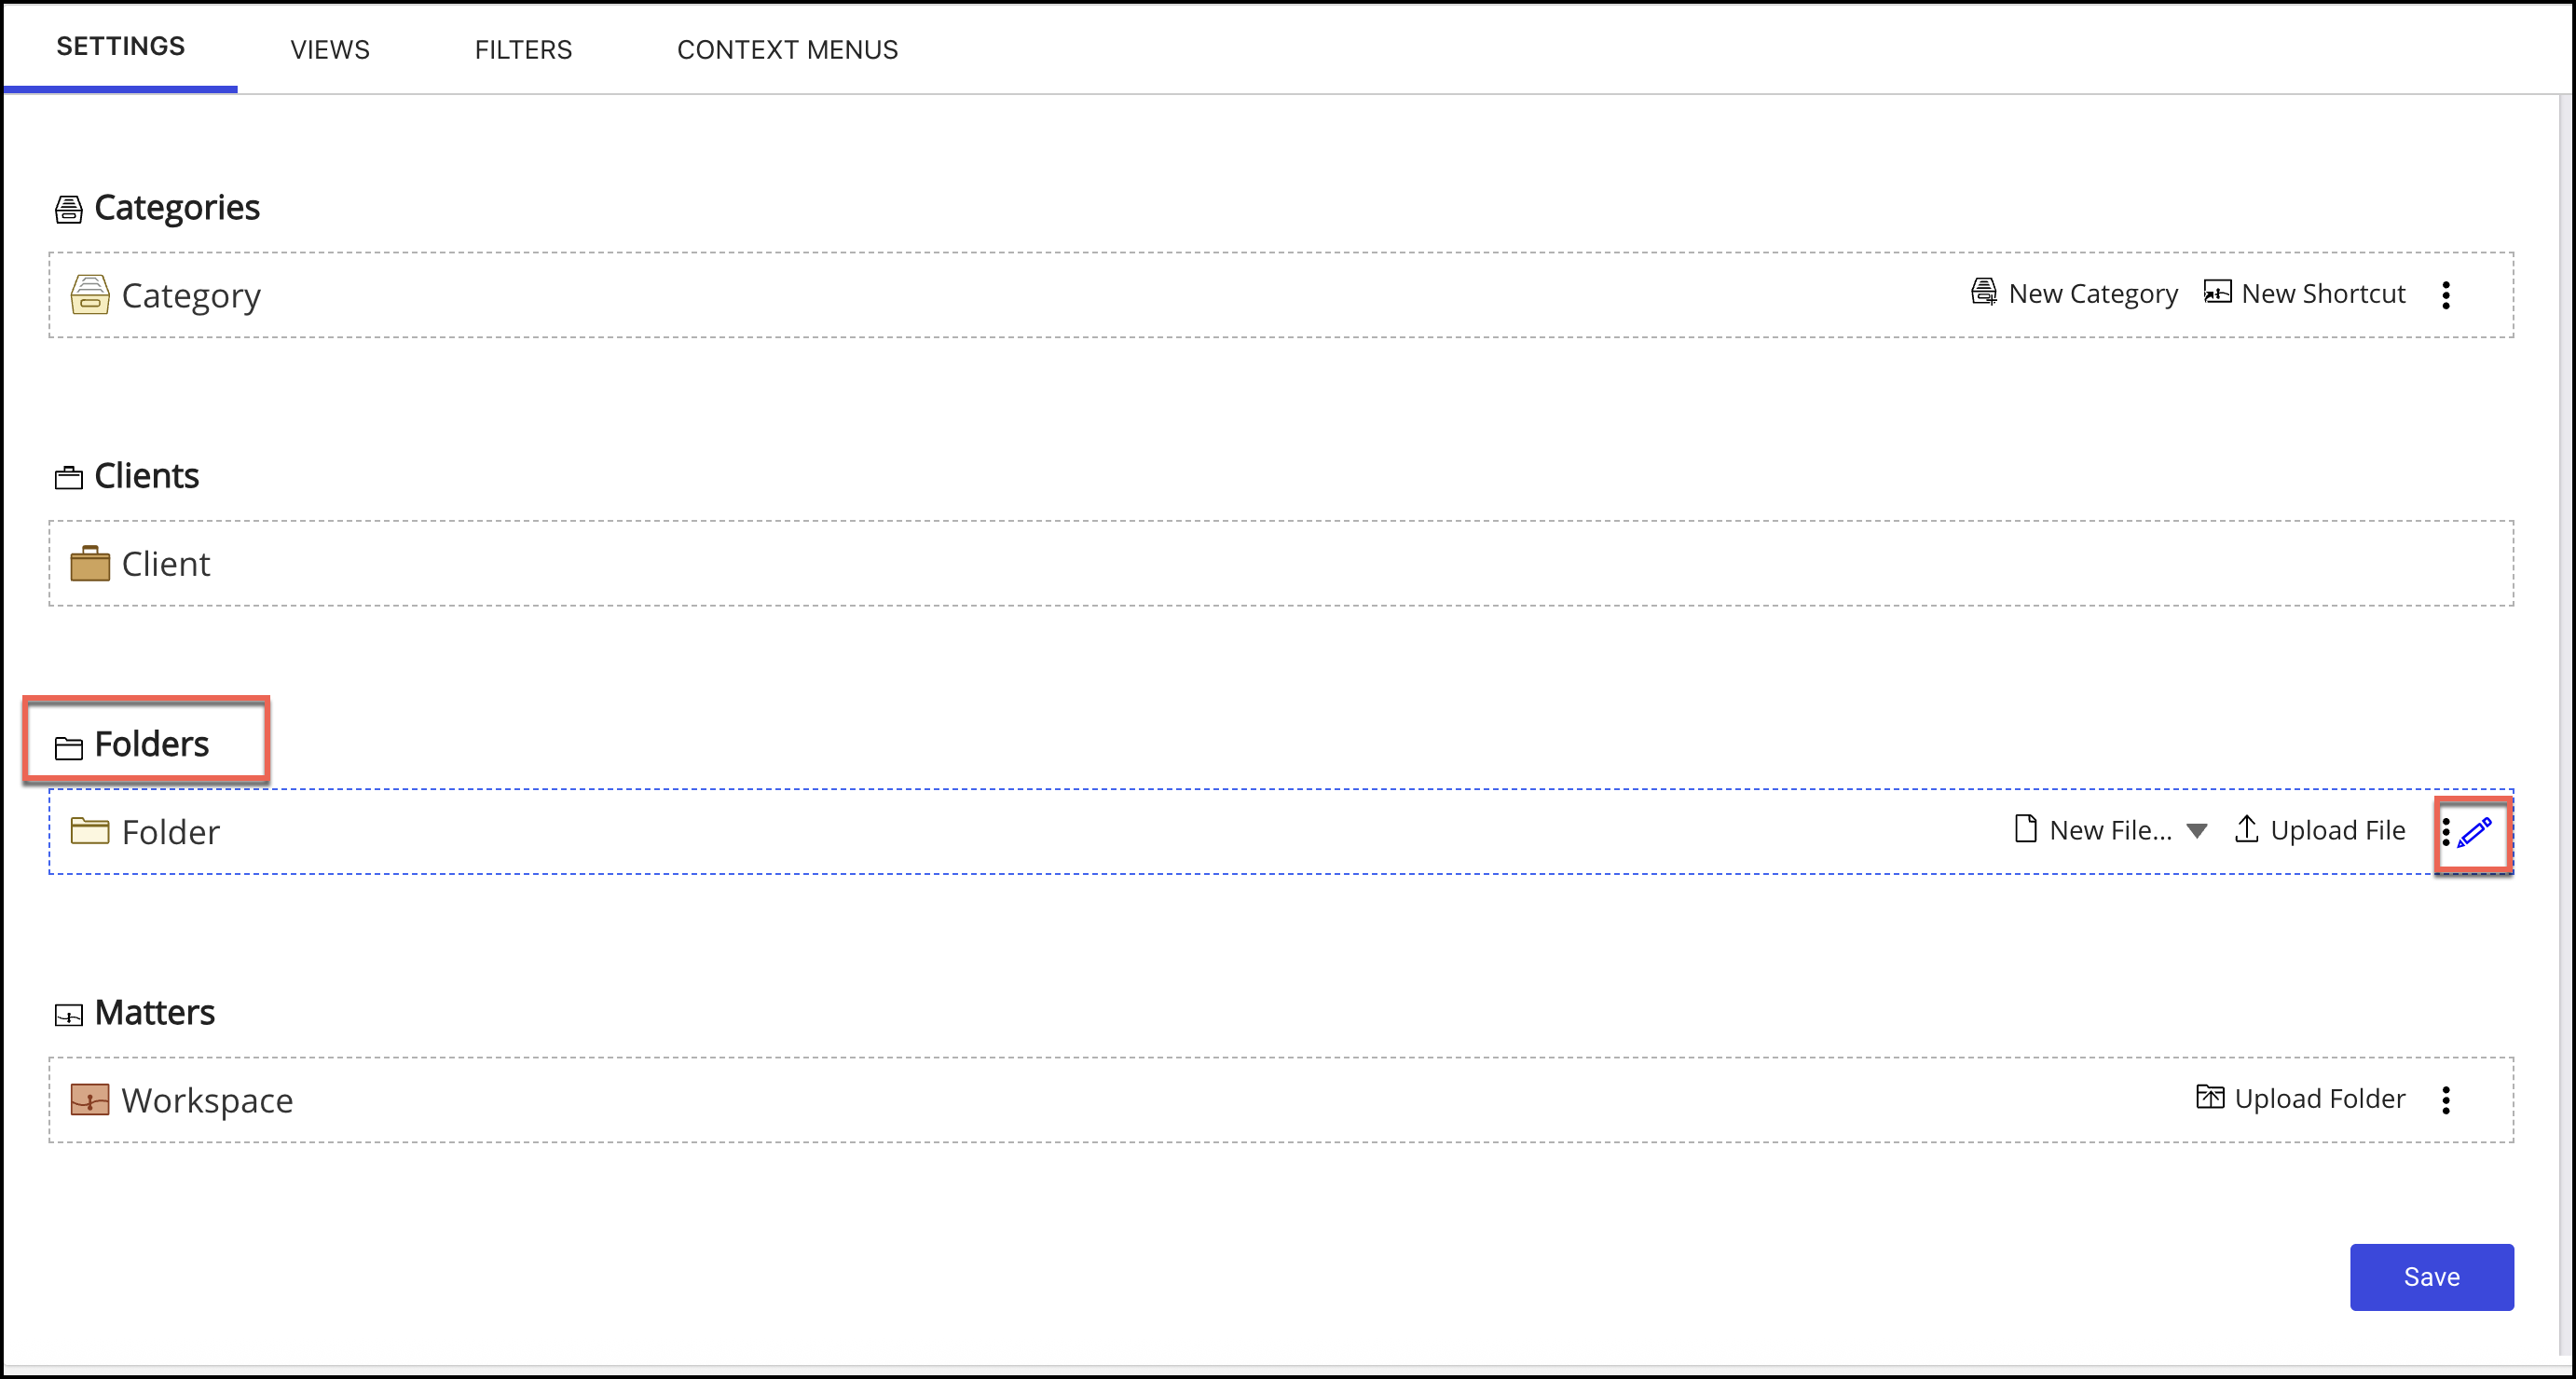
Select Add action and under New File, select the following options.
New MS Word file
New MS Excel file
New MS PowerPoint file
Figure: Adding new file options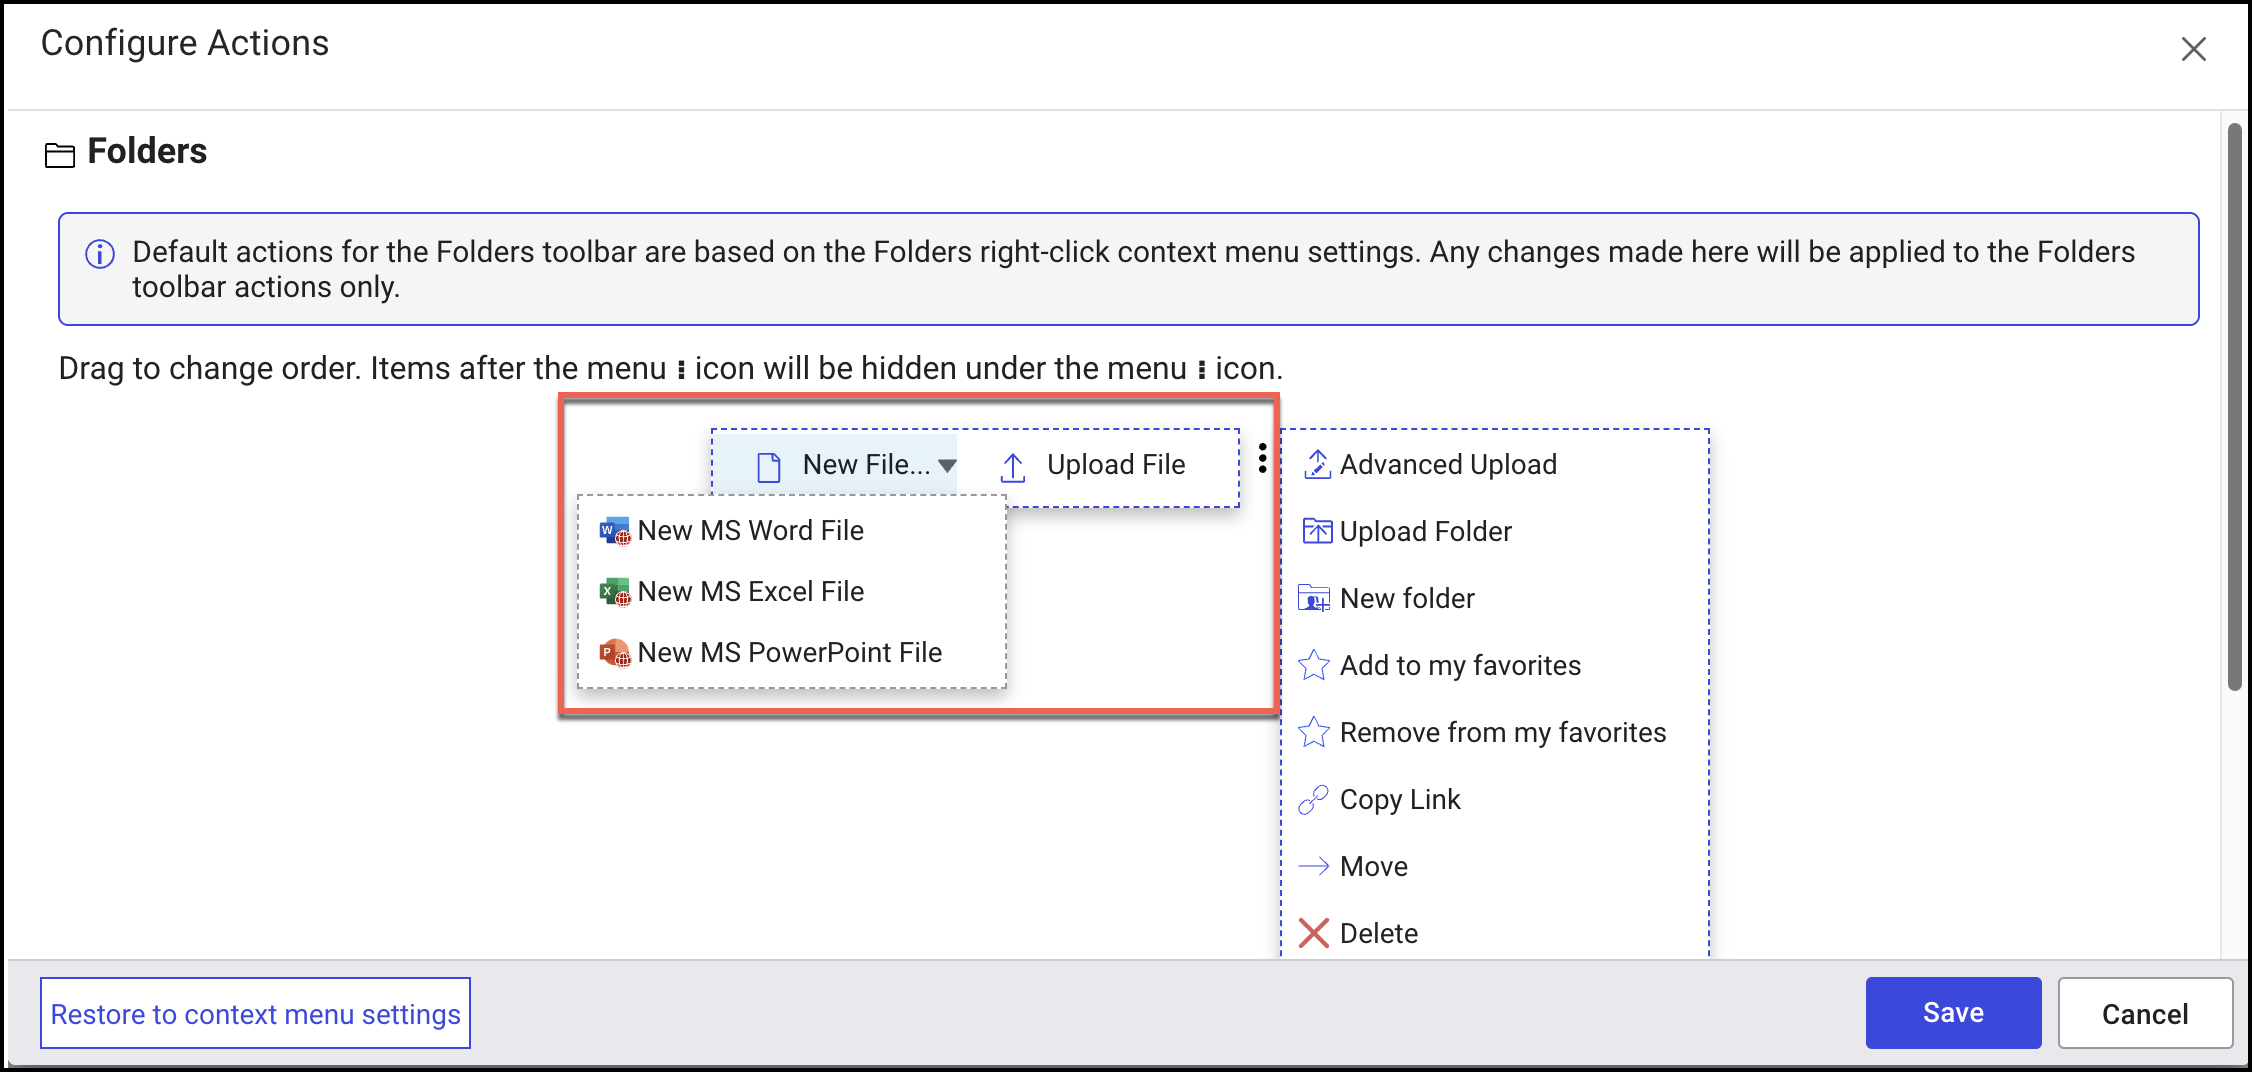
Select
to confirm your changes. Select Save to save your changes.