Lookup properties
This page provides instructions for working with lookup properties. To learn more, refer to Lookup properties.
Add values to lookup properties
The following sections describe how to populate the predefined list of values for lookup properties.
TIP:
You can add values in any order to a lookup property. The system automatically sorts them in alphanumeric order.
Add individual values
To add a single value to a lookup property:
On the Properties page, select the library from the library drop-down menu. Property values are managed separately for each iManage Work library.
Figure: Select a library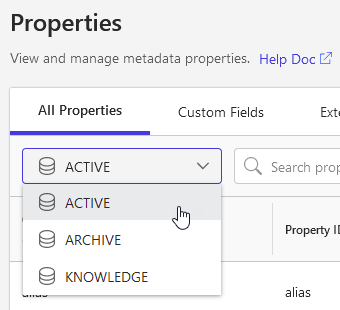
Locate the lookup property on the Properties page to which you want to add a value.
Right-click the property name, and select Add value.
Enter the required alias (ID) and description for the new value, then press ENTER or select the + button to submit the value.
Aliases must be unique, and cannot be longer than 128 characters.
Descriptions are optional, and cannot be longer than 256 characters.
To delete any of the values, select the value and press X, or select Delete.
Figure: Deleting values before you save your changes
When you are finished adding values, select Save.
These values can now be applied to documents and emails in iManage Work.
TIP:
After you save your changes, you can’t delete a value. You can, however, disable a value from being used in the future. Any documents or emails that have this value applied are not affected when you disable a value.
To edit the alias or description of a value, refer to Edit a value.
Add multiple values
Use this option to quickly add multiple values at a time.
Locate the lookup property on the Properties page.
Right-click the property name, and select Add multiple values.
The Add Multiple Values dialog box opens.
Figure: Adding multiple values to a lookup property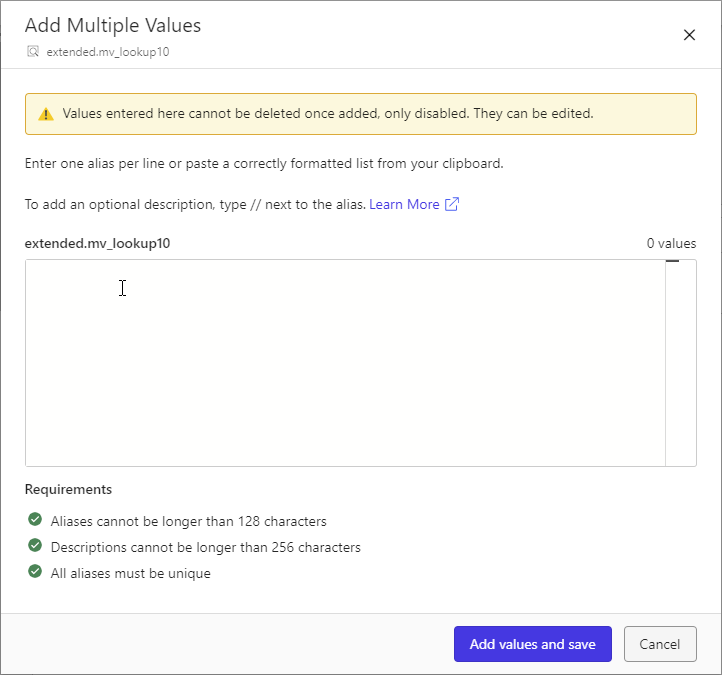
Enter one alias and description per line for each value.
You can also copy values from another application or document and paste them into the editor.Separate the alias and description using the // characters.
Enter a tab to indent child values.
For example:Company Policies // employee expectations and responsibilities
Maternity and Paternity // policies for employees before and after the birth of a childCompensation and Payroll // salary, bonus, and stock plan informationRecruitment, Hiring, and TerminationTraining and Career DevelopmentAliases must be unique, and cannot be longer than 128 characters.
Descriptions are optional, and cannot be longer than 256 characters.
Extra spaces are automatically removed.
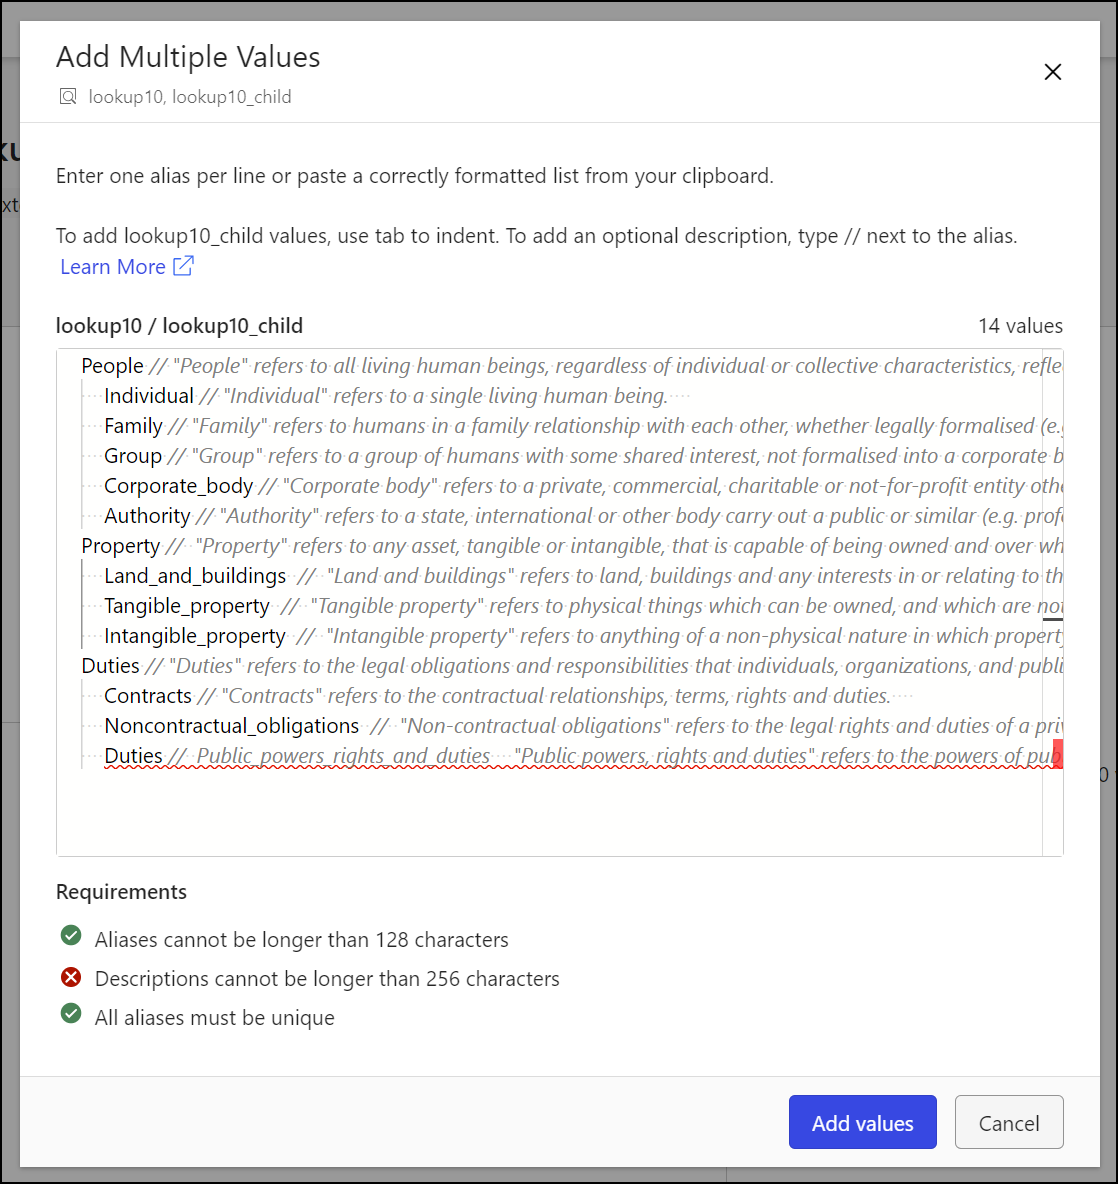
Errors in the editor are displayed with a red underline, and the specific requirement is marked at the bottom of the dialog.
Figure: Manually entering lookup property values
To save your changes, select Add values and save.
NOTE:
If your session times out while adding values to a lookup or taxonomy property, iManage Control Center may not be able to save your changes.
To prevent any loss of work, select Export all to CSV to download the values you entered. Sign in again, and then use the Import from CSV option to reload the values from the CSV file you exported.
Import values from a CSV file
Property values can be imported directly from a comma-separated value (CSV) file.
Importing values from a CSV file is allowed only when no other values have previously been added to the property. If you’ve already added values to this property, you can still add additional values using the Add value or Add multiple values options.
Downloading CSV template and example files
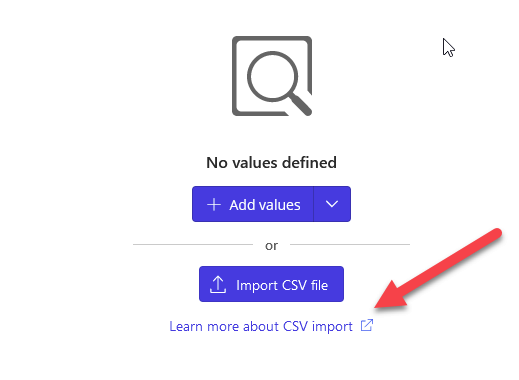
CSV template and example files are available for download on the CSV templates page. You can also access these files from the Learn more about CSV import link as shown in the following figure.
Figure: Accessing the template and example files from iManage Control Center
Importing from CSV
Before importing values from your CSV file, verify that your CSV file is complete and formatted correctly.
On the Properties page, select the library from the library drop-down menu. Property values are managed separately for each iManage Work library.
Figure: Select a libraryLocate the lookup property on the Properties page.
Right-click the property name, and select Import CSV. The Import CSV file dialog box opens.
Drag your CSV file and drop it onto the Import CSV file dialog box as shown in the following example.
Figure: Importing values from a CSV file
Review the imported values, then select Save.
Confirm your changes by selecting Save again.
TIP:
Before importing any values from your CSV file:
Verify that your CSV file is complete and formatted correctly.
If your file contains values with leading zeroes, such as 001 or 00093, note that Microsoft Excel automatically removes these leading zeroes. As a workaround, use a text editor other than Excel to edit files with such values.
If your file contains values with special characters, they might not import correctly. To avoid this issue, make sure your file is fin UTF-8 format. In Microsoft Excel, you can do so by selecting Save As and then selecting CSV UTF-8 (Comma-delimited)(.csv) as the File Format.
Edit a value
Locate the lookup property on the Properties page.
Select the property name to open the property detail page. This page displays a list of all values for this property.
Select the value you want to edit and press E, or select the pencil icon, as shown.
Figure: Editing a property value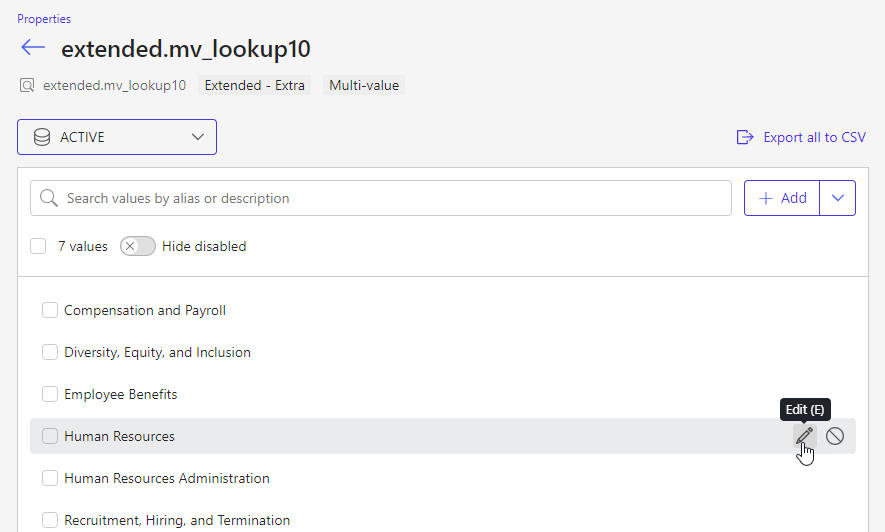
After editing the alias or description of a value, press ENTER, or select the checkmark.
Confirm your changes by selecting Save again.
Figure: Update property value confirmation dialog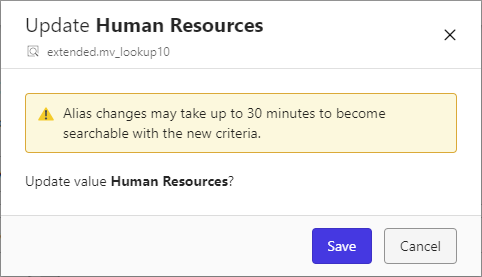
Add a child value
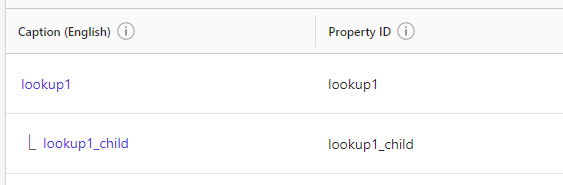
For lookup properties that have a parent-child relationship, you can define child values for each parent. These properties are displayed together on the Properties page in iManage Control Center.
Figure: Parent-child lookup properties displayed together
To add child values to these properties:
Locate the lookup property on the Properties page.
Select the parent property name to open the property details page.
The left panel displays the parent values, and the right panel displays the child values for any parent value you select.
Figure: Adding child values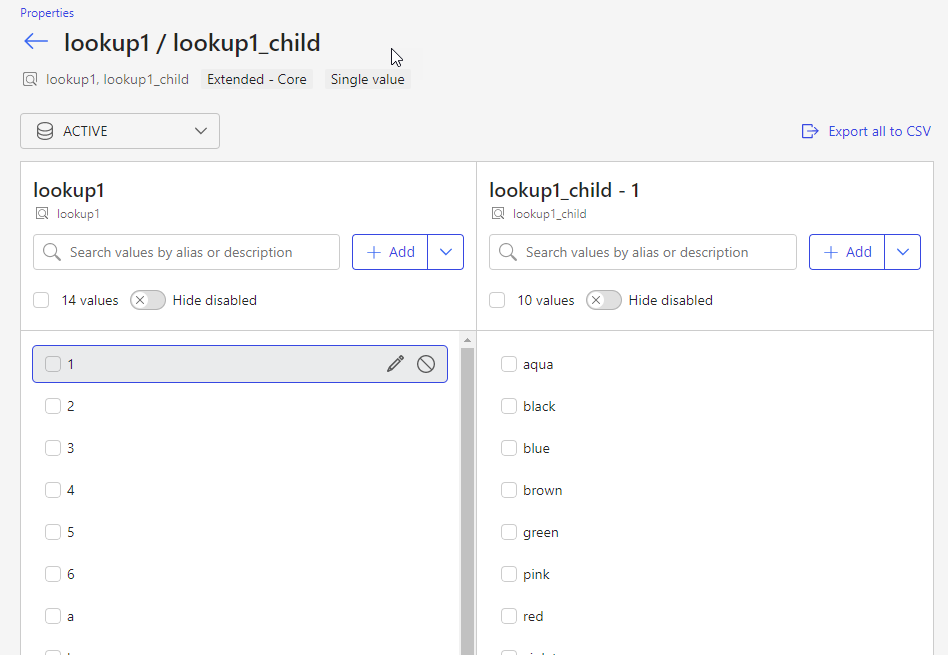
To add individual values, select Add.
To add many values all at once, select Add multiple.
NOTE:
When accessing iManage Control Center on some iOS devices, you must tap the parent value twice to display any associated child values.
Disable a value
To maintain the integrity of the data applied to a document, property values cannot be deleted. Instead, you can disable values.
When you disable a value, the value can no longer be applied to a new or existing document. Disabled values can also be re-enabled at any time.
Any documents with a disabled value applied are not affected:
The disabled value is retained on documents where it's already applied.
You can search for documents that have this disabled value applied.
To disable a value:
Locate the lookup property on the Properties page.
Select the property name to open the property detail page. This page displays a list of all values for this property.
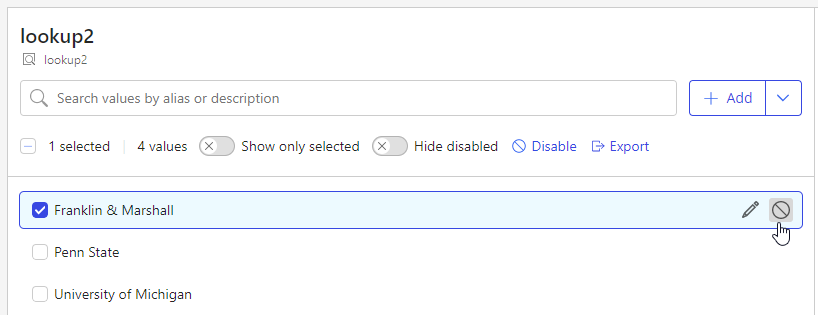
Select the value you want to disable and press D, or select the disable icon, as shown.
Figure: Disabling a lookup property value