To create an event:
In the left pane, under Retention, select Events.
Figure: Select Events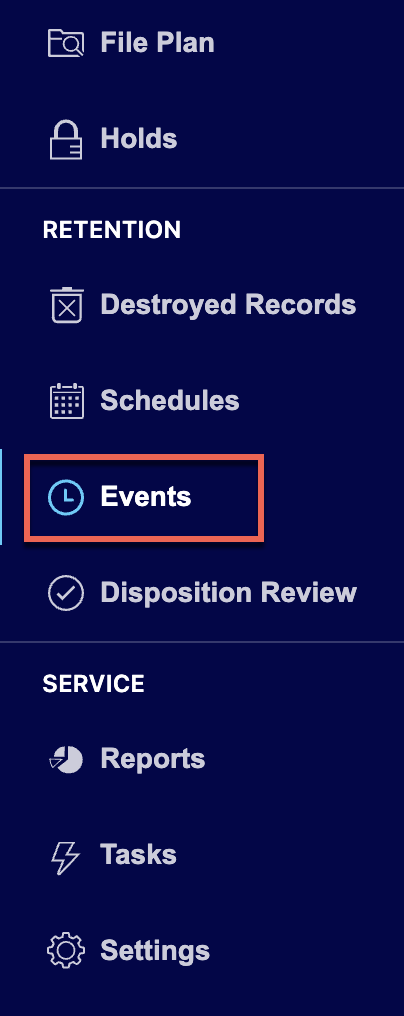
Select Add Event.
Figure: Select Add Event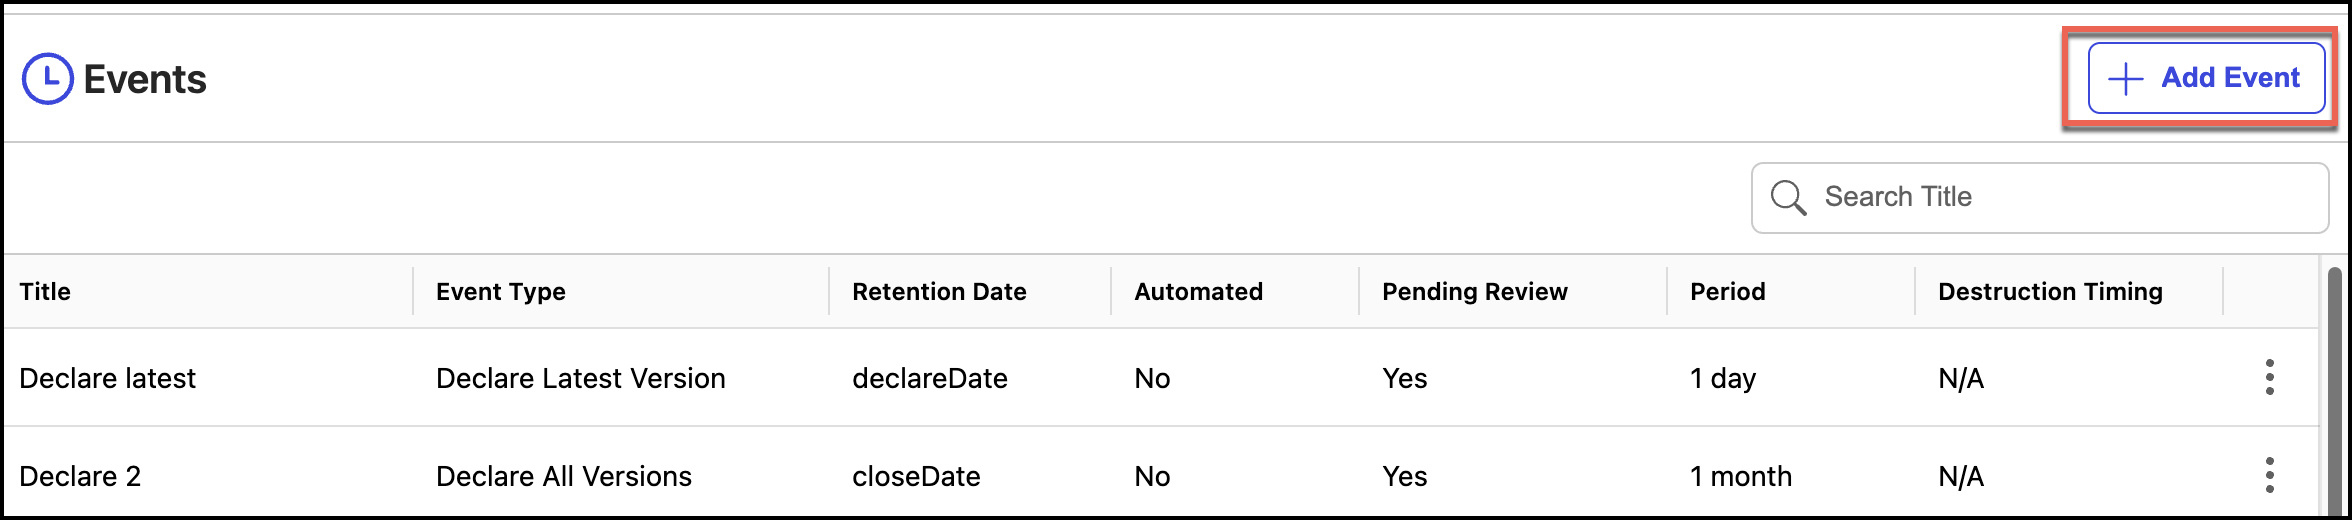
In the Add Event dialog:
Enter the event name in the Title field.
(Optional) Enter the description in the Description field.
Figure: Add title and description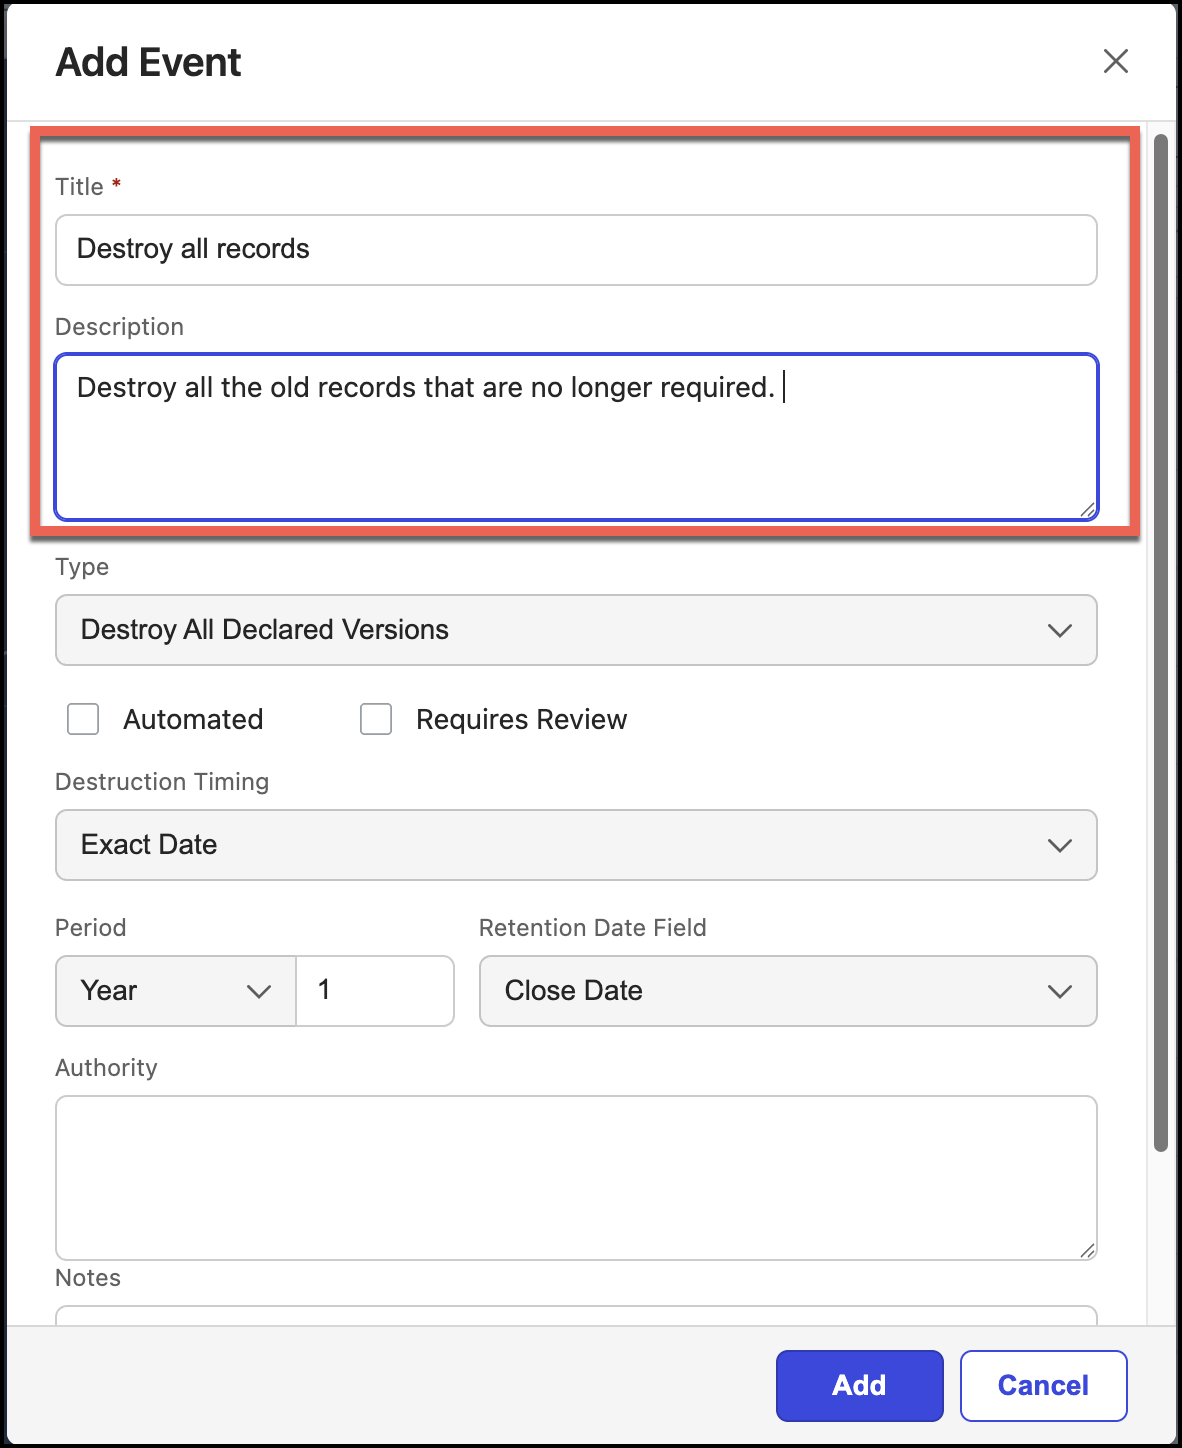
Select a type from the Type drop-down list. Declare All Versions is selected by default.
Figure: Select event type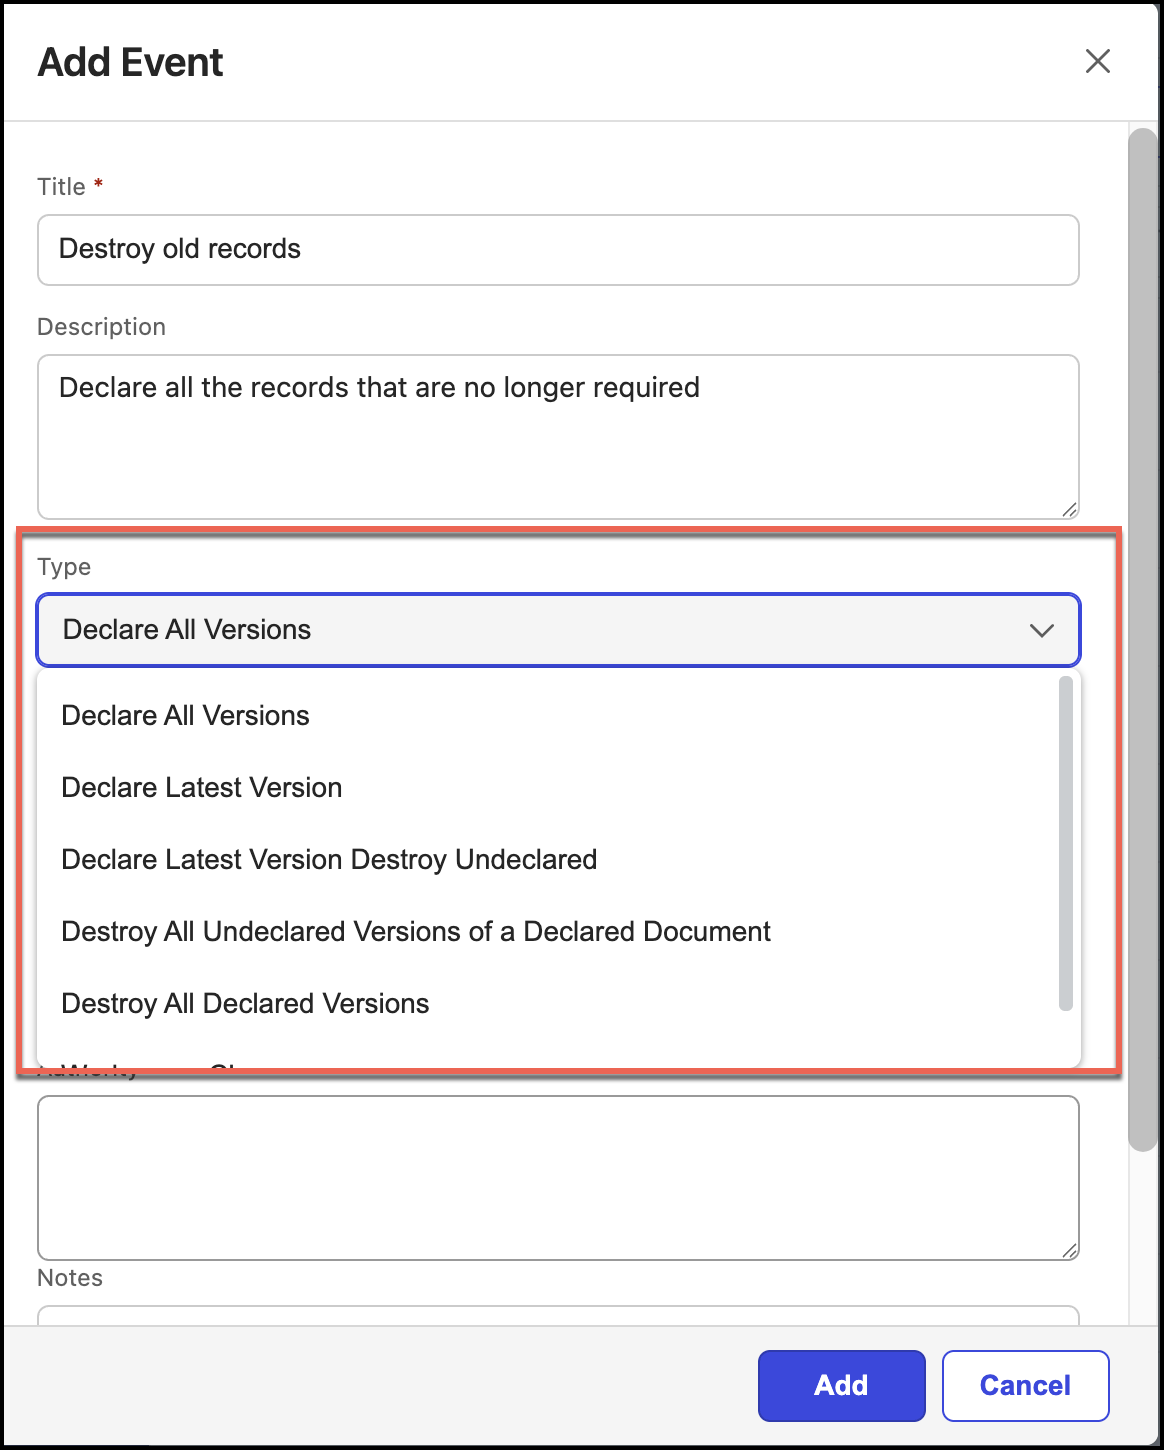
Select Automated if you want to declare or destroy documents (latest or all versions), or make the workspace or folder read-only automatically when the criteria are met.
Figure: Select Automated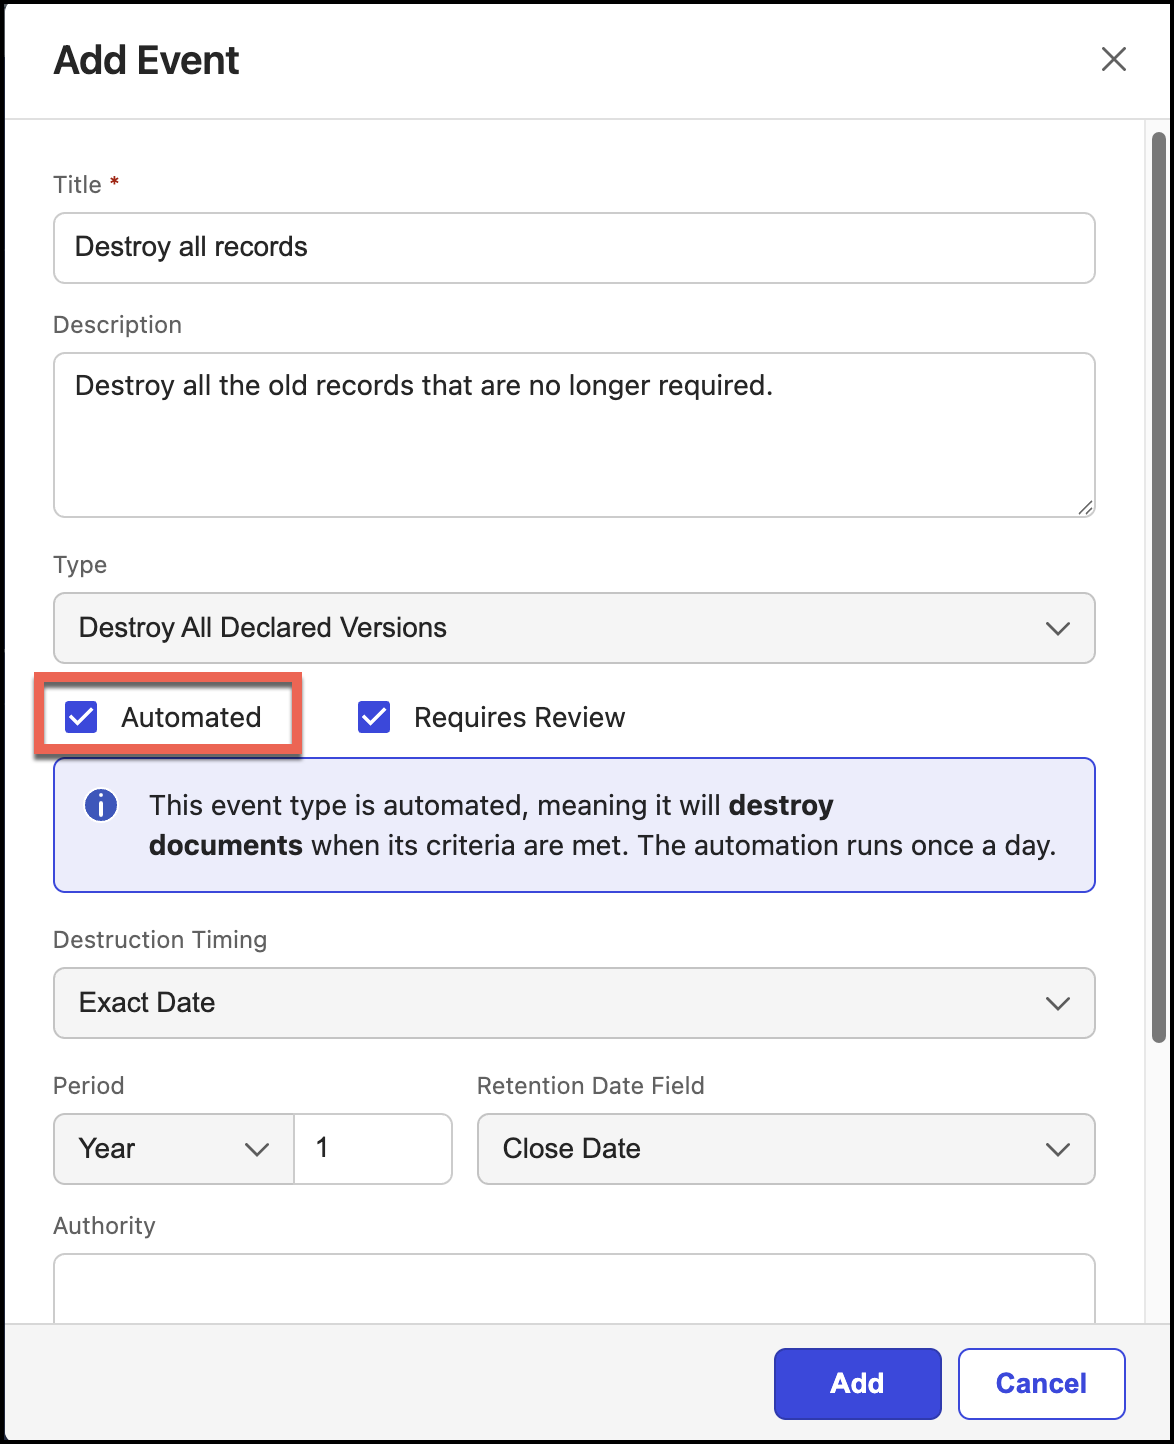
When Records Managers select Automated, the note is now updated to indicate that automation is run once a day, as shown in the following figure.
Figure: Note displayed when Automated is selected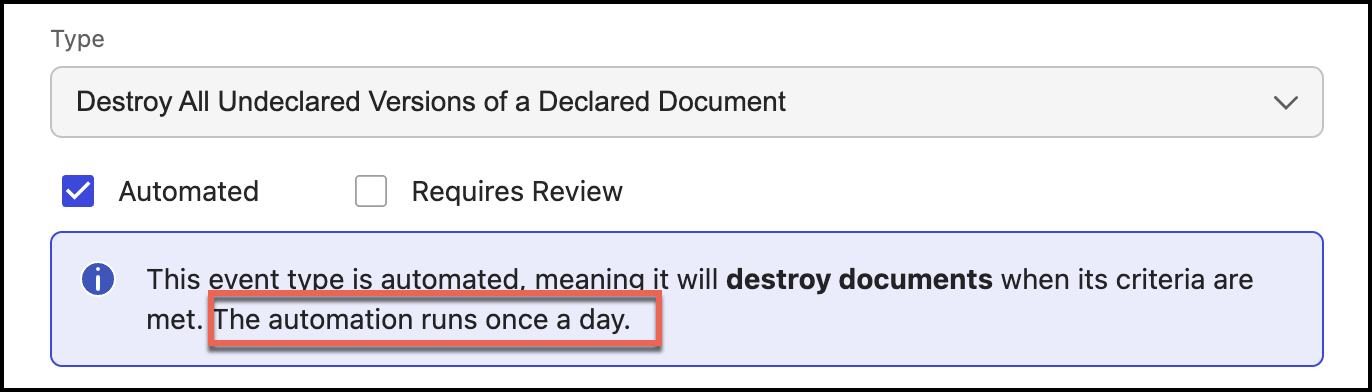
IMPORTANT: When records are destroyed, they're deleted from iManage Work at cloudimanage.com and cannot be retrieved or restored.
Records aren't destroyed immediately when events to destroy records are created or added to a schedule, or applied to workspaces, folders, or subfolders. Records are destroyed when tasks defined by these destroy events are executed manually or automatically.
Select Requires Review if the event requires review.
If events require a review, Disposition reviewers can view them on the Disposition Review page.
Figure: Select Requires Review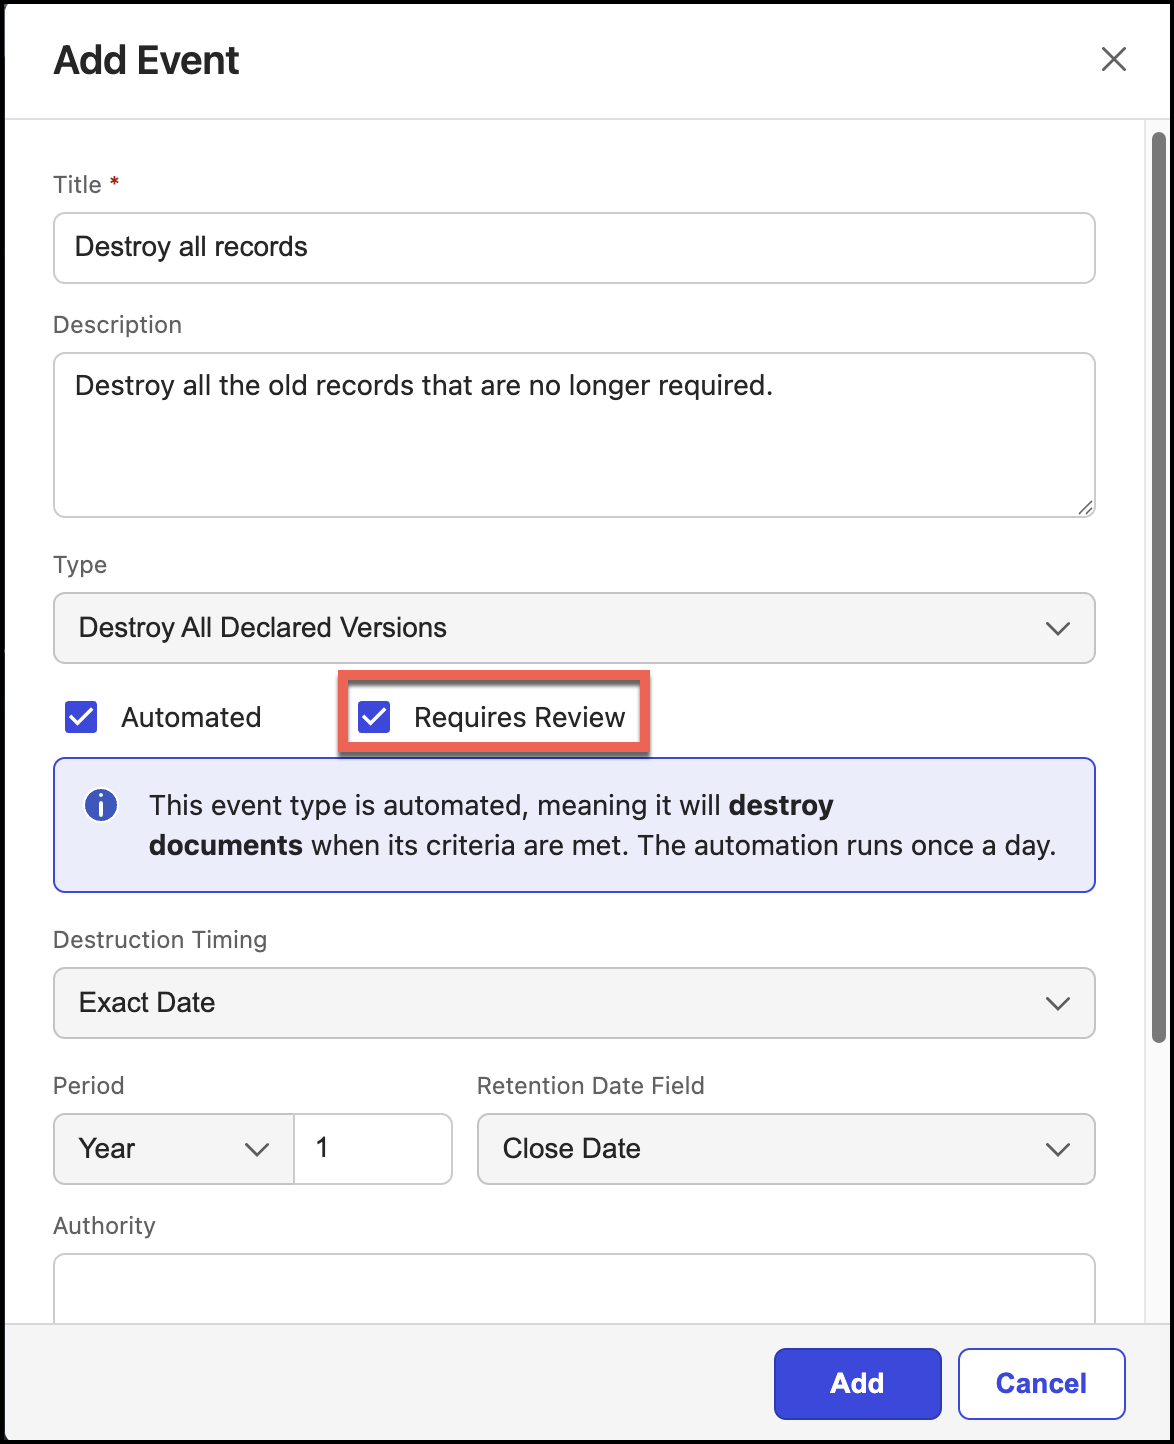
NOTE: In the Type field, if Declare All Versions or Declare Latest Version is selected, the Requires Review option isn't displayed.
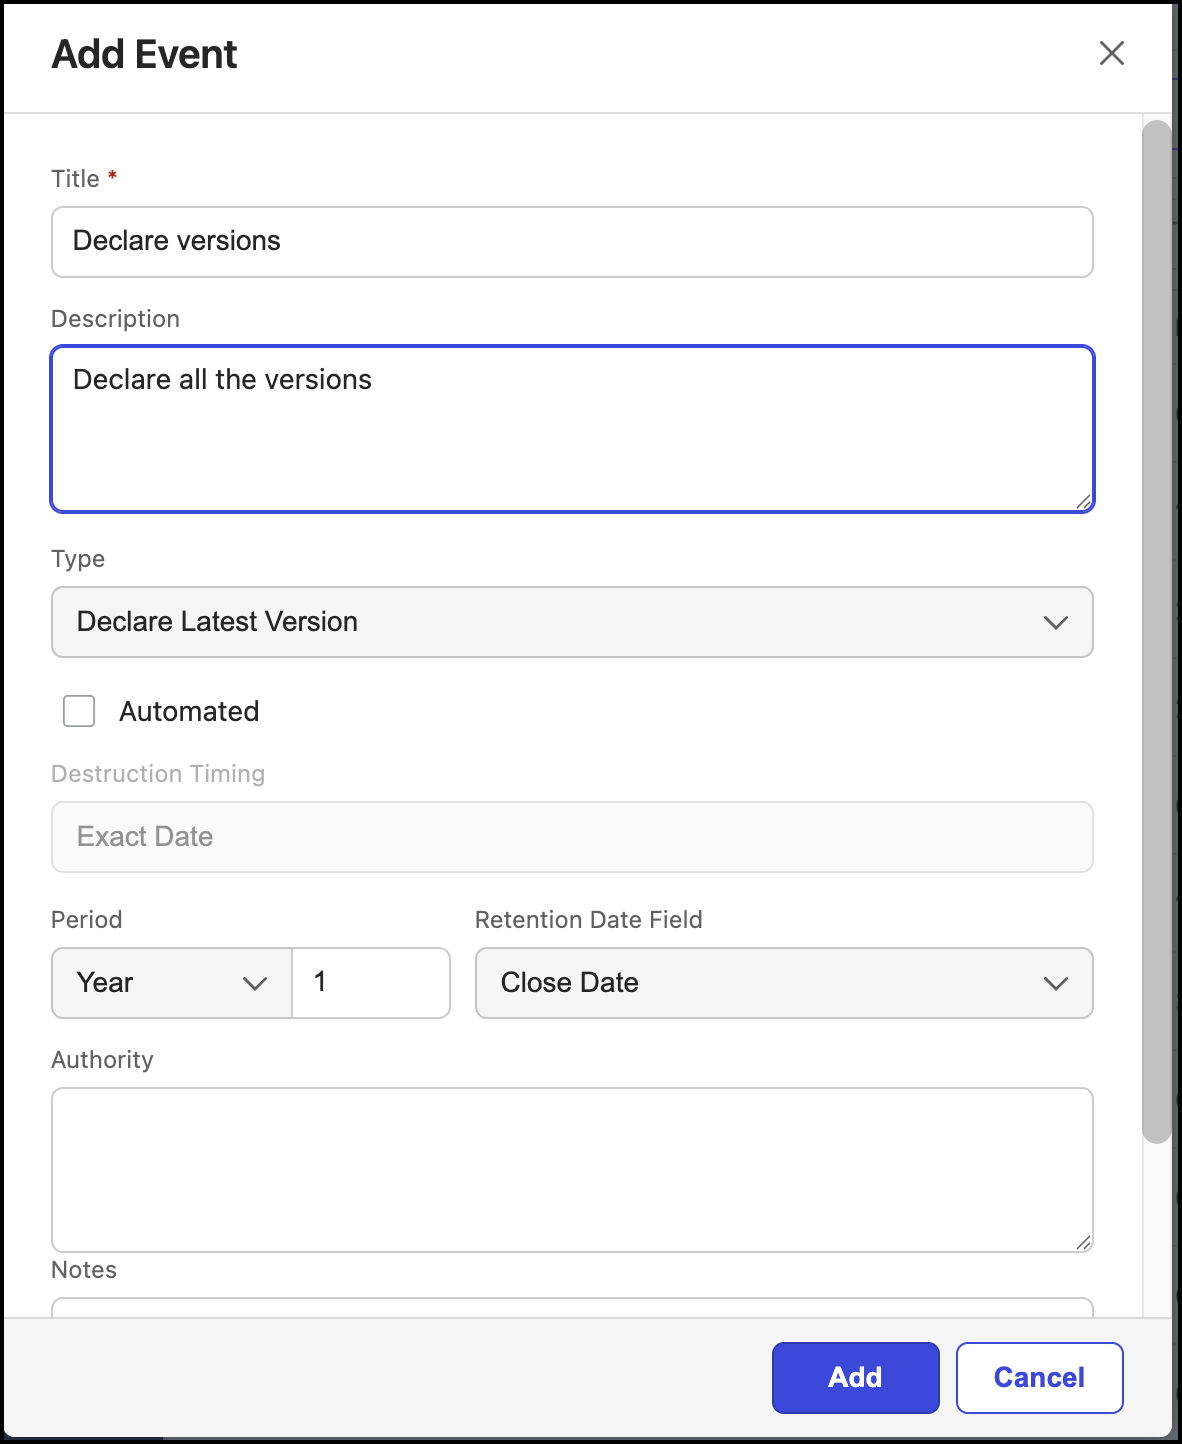
For more information about what happens to events when Automated or Requires Review is selected or not selected, refer to Understanding the Automated and Requires review options.
(Optional) If the Make workspace/folder read-only event type is selected, select the Transfer Workspace/Folder Ownership option to transfer the workspace or folder ownership.
Figure: Select transfer ownership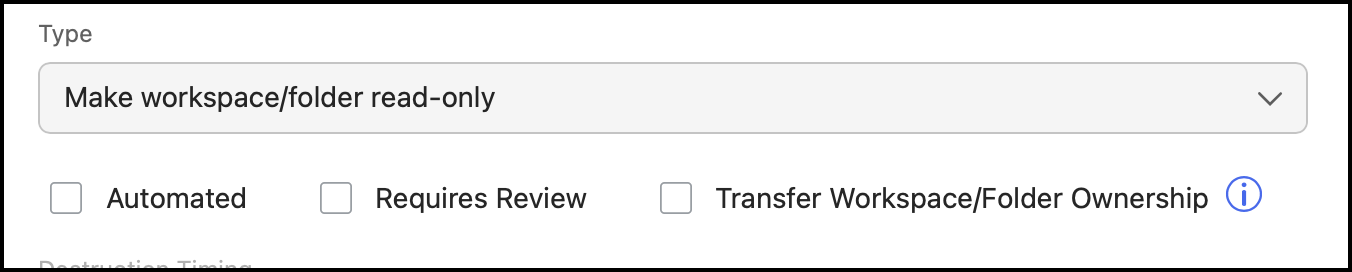
In the New owner field, select the new owner.
Figure: Select new owner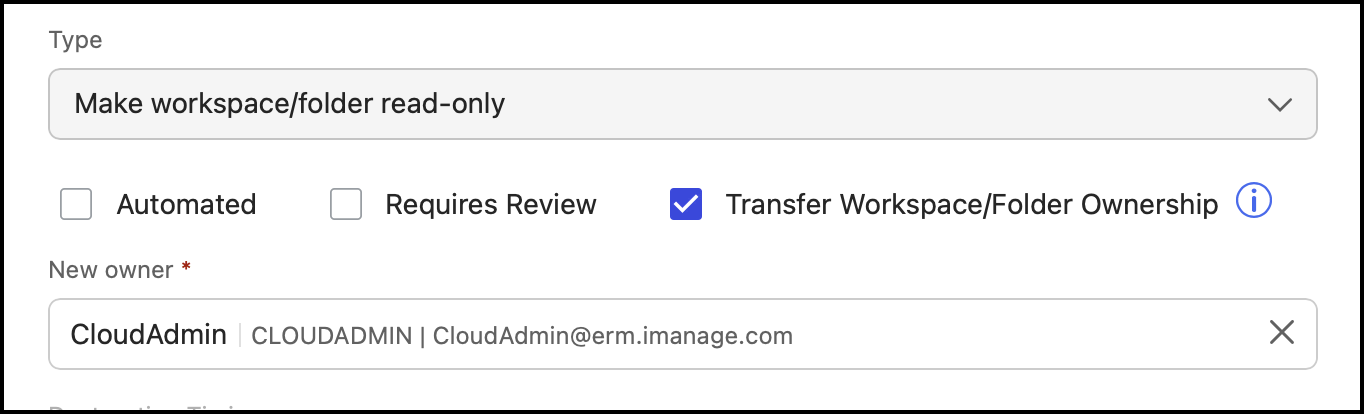
NOTE: This step is applicable if the selected event type is Make workspace/folder read-only.
Select destruction time from the Destruction Timing drop-down list. Two values are available.
The Destruction Timing drop-down list is available only when you select Destroy All Undeclared Versions or Destroy All Declared Versions.
Exact Date: Select this option to destroy the records on the date specified by the retention policy. Exact Date begins destruction on exactly the day the content meets retention, according to the schedule.
End of Month: Select this option to destroy the records on the last day of the month. End of Month destroys records at the end of the month when the content meets retention, according to the schedule.
When this option is selected, email notifications are minimized; however, reminder notifications are still sent.Figure: Select destruction timing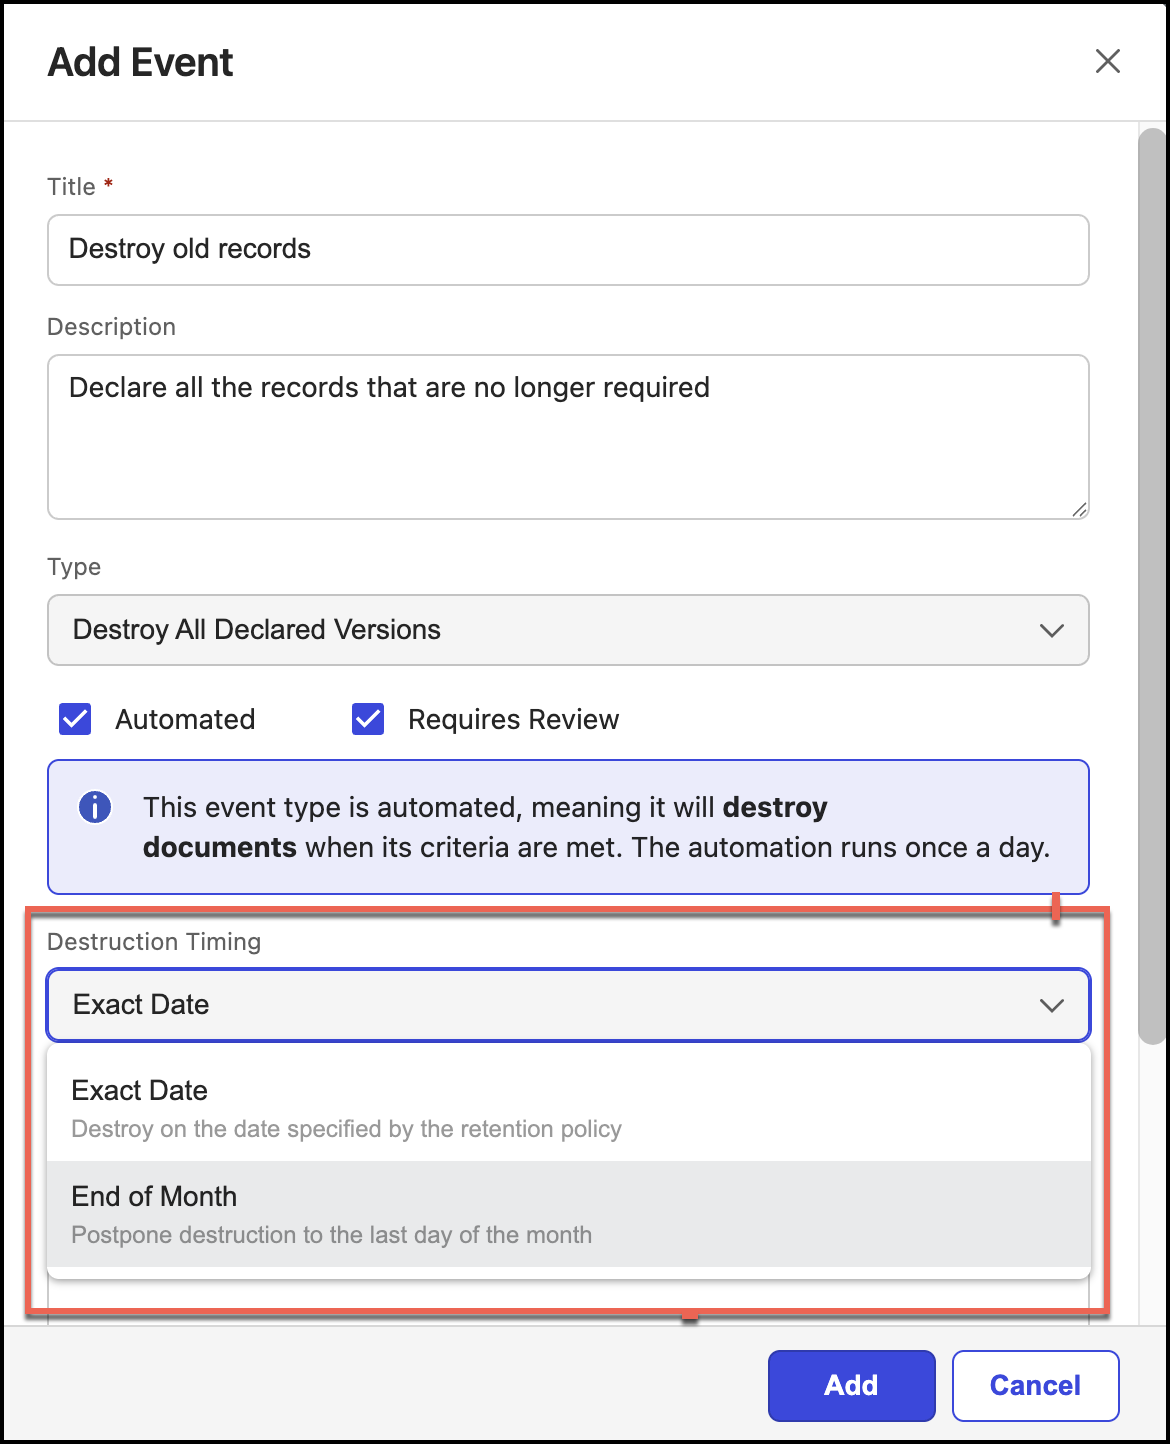
Select the period. This field determines the amount of time before the event occurs. Enter the appropriate number, and then select the time period (Years, Months, or Days).
Figure: Select the period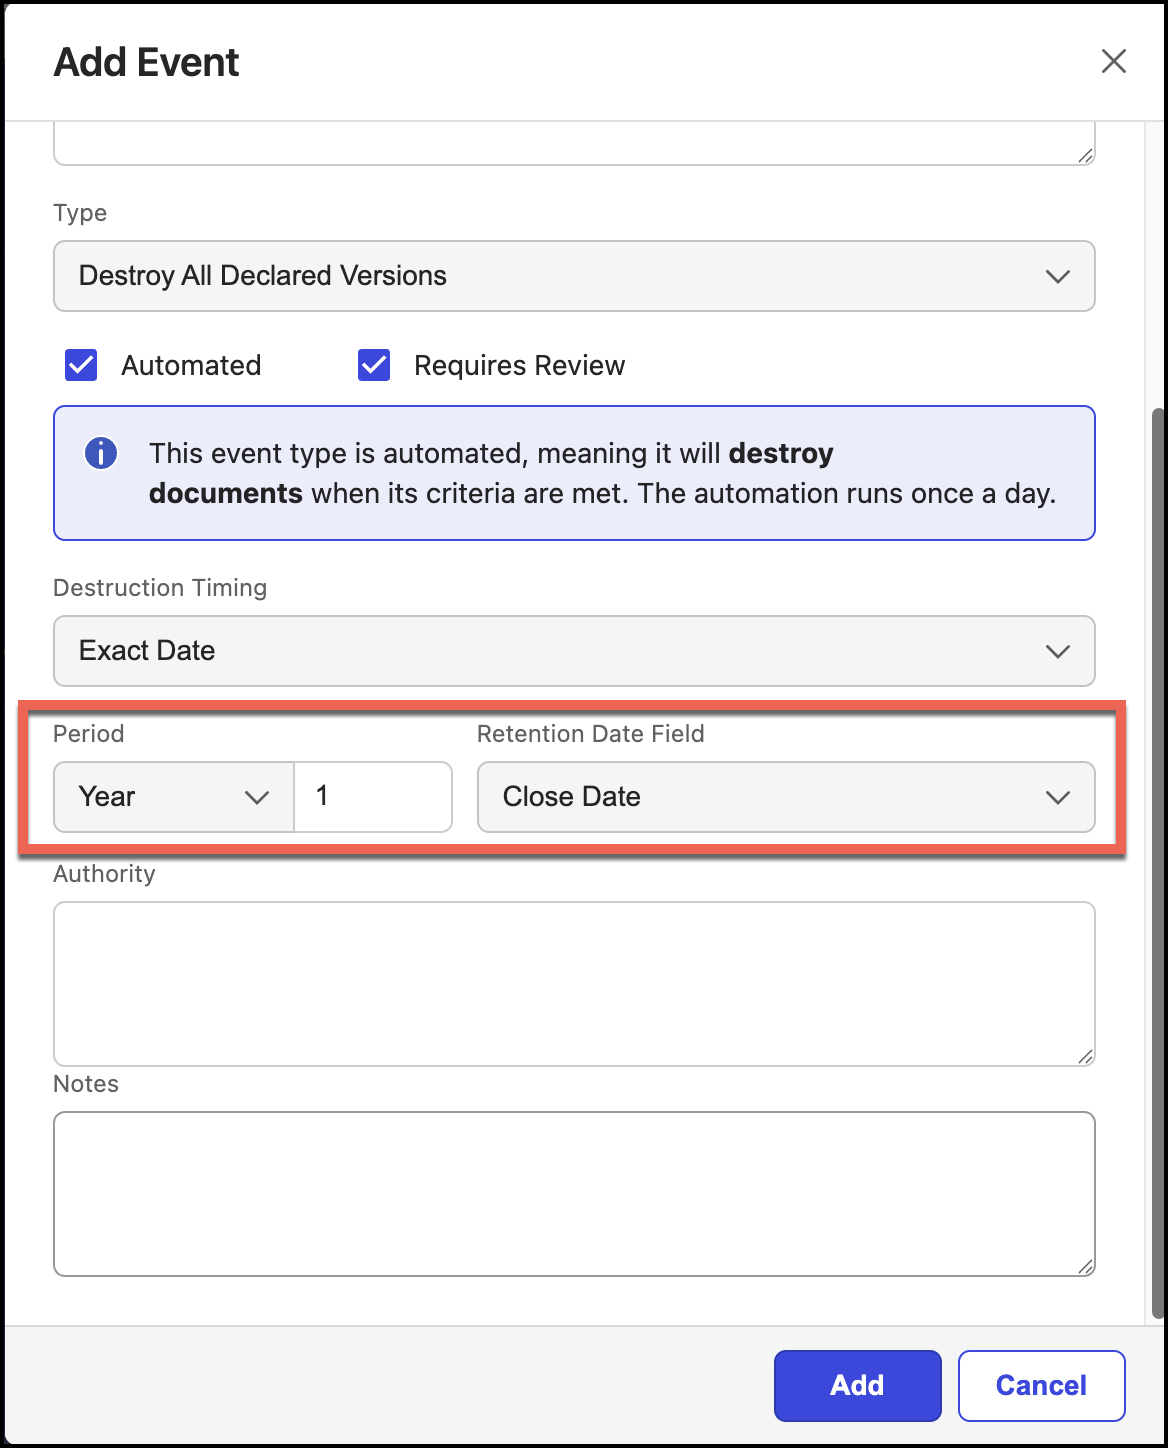
NOTE: If you select 0 (zero), the event takes place on the date in the specified date field, and if the date is passed, the event takes place immediately.
(Optional) Enter the legislation or business rule in the Authority field.
(Optional) Enter notes information in the Notes field.
NOTE: You can enter text in the Authority and Notes fields.
Select Add to create the event.