Modifying iManage Drive accounts
Select the iManage Drive
 icon in the Windows task bar, select the Access iManage Drive settings
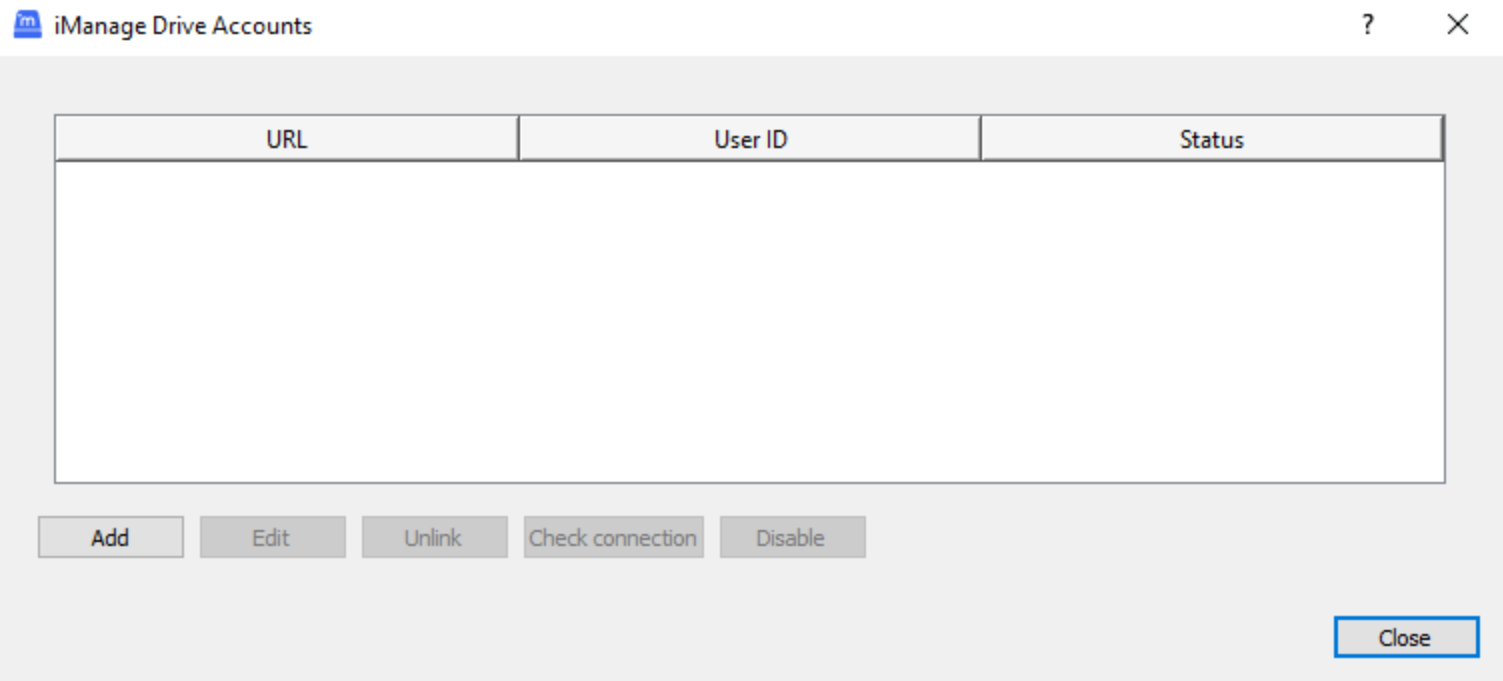
  icon, and select Account Settings. The iManage Drive Accounts dialog box appears.
Figure: iManage Drive Accounts dialog box

Select Add and follow the instructions in the quick setup wizard to add an iManage Work account and sync the desired workspaces to your local drive. (Optional) Select Add again to display the wizard and add more iManage Work accounts.
(Optional) Select an iManage Work account and select:
Edit: To change the details for the account.
Unlink: To remove the account from the iManage Drive Accounts list and stop syncing files from the account. A dialog box appears informing you that file syncing from the account will stop but the existing files in iManage Work will not be deleted. Select Yes. The files and folders from the unlinked iManage Work account are removed from your computer and the iManage Drive user interface.
Check connection: To test if you can connect to the selected iManage Work account.
Disable (toggles to Enable for a disabled iManage Work account): To stop sync activity and temporarily hide the files and folders from the disabled iManage Work account in your computer and iManage Drive user interface. The status of the iManage Work account is displayed as Disabled.
The button changes to Enable. Select the disabled iManage Work account from the list and then select this button to enable the account again. The status of the iManage Work account is displayed as Connected.