Integrating iManage Work with iManage Share
iManage Share provides a secure, cloud-based sharing solution, that ranges from secure email attachments to large file exchanges, and even shared collaboration folders. iManage Share enables users to access their private and shared content. It also enables the company administrators to govern user access and company content.
iManage Work integration with iManage Share provides the fastest and easiest way for professionals to share content with users outside their organization. Administrators must perform the following steps to integrate iManage Share Agent with iManage Work:
In iManage Control Center, select Settings in the left pane and then select Applications.
Select Add Application. The Add Application dialog box appears.
From the available list of applications, search for and select iManage Share.
Figure: Add Share application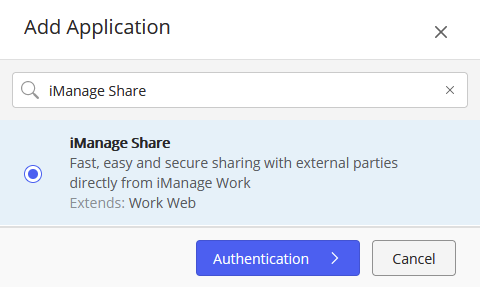
Select Authentication. The following dialog box appears displaying the configuration:
Figure: Authentication configuration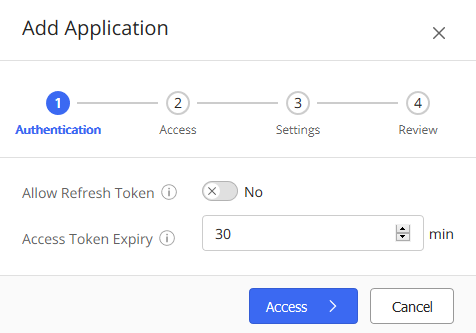
Allow Refresh Token: Allow the application to obtain new access token when it expires, without prompting the user for authentication.
Access Token Expiry: Duration of inactivity allowed in minutes, before invalidating an access token of a user.Select Access. The following dialog box appears displaying the configuration:
All Users: Select this option to allow all users within your company to use this application.
Custom: Select this option to allow specific users or groups to use the application. Selecting this option provides the administrator with a search tab to add the desired users or groups.Review the configurations, make any changes if necessary, and then select Setting. The Settings dialog box appears.
Figure: Sample Settings
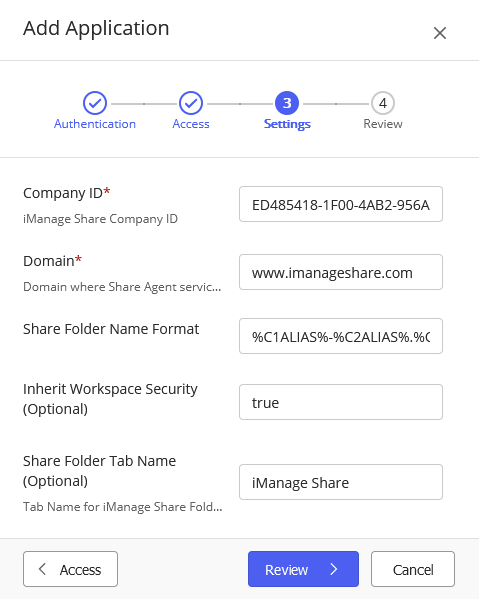
Enter the following information:
Table: Application settingsSetting name
Description
Company ID
Enter the unique 32 digit alpha numeric ID of your iManage Share company. Administrators can access this ID on the iManage Share web portal under Settings > Company Profile.
Domain
Based on your geographical location, enter one of the following iManage Share URL:
US: www.imanageshare.com
UK: www.imanageshare.co.uk
Asia: www.imanageshare-au.com
EU: www.imanageshare-eu.com
Canada: www.imanageshare-ca.com
(Optional) Share Folder Name Format
Specify the format for the default name of the first Shared Folder in a workspace. For an example, see the following syntax:
%C1ALIAS%-%C2ALIAS%.%WORKSPACE_NAME% translates to CUSTOM1-CUSTOM2-Workspace Name(Optional) Inherit WorkSpace Security
Enter one of the following values:
true / 1 (default): To add users from the Workspace Security in iManage Work to the Shared Folder with equivalent rights in iManage Share.
ORfalse / 0: To not add users from the Workspace Security in iManage Work to the Shared Folder.
(Optional) Share Folder Tab Name
Specify a name for the grouping of iManage Share folders under a tab in iManage Work. You can name the tab as desired.
Select Review. A dialog box appears listing all the settings configured. Administrators can perform one of the following actions:
Select the Enable Application toggle switch to make the application immediately available to users.
Select Finish and enable the application later.
After integrating iManage Share with iManage Work, administrators must enable the iManage Share menu for documents and emails.
Enabling iManage Share for the documents context menu:
In iManage Control Center, select Web Client and then select CONTEXT MENUS.
In the CONTEXT MENUS page, select Documents tab.
Select
 Share. A dialog box appears with the the Add option.
Select Add and the following iManage Share actions are displayed:
Send Secure Link
Copy to Share Folder
Choose the preferred iManage Share actions you wish to enable. After you have added the desired Share actions, select
 .
.Select Save to complete.
Enabling iManage Share for the emails context menu:
In iManage Control Center, select Web Client and then select CONTEXT MENUS.
In the CONTEXT MENUS page, select Emails tab.
Select
Share. A dialog box appears with the the Add option.
Select Add and the following iManage Share actions are displayed:
Send Secure Link
Copy to Share Folder
Choose the preferred iManage Share actions you wish to enable. After you have added the desired Share actions, select
.Select Save to complete.
NOTE:
After adding the iManage Share actions, use
![]() to change the order of the actions appearing in the Share context menu.
to change the order of the actions appearing in the Share context menu.